What tools will you need to install Helium Hotspots? After putting up Hotspots on houses, buildings, mountains, and poles, and spending more money than I’d like to admit on all kinds of tools, I thought I’d put together a list for you to find all of ’em in one place. No matter how basic or advanced you want to get, the tool you need to find for an excellent Helium deployment is somewhere on this list. Let’s get started!
I’ll break it down into 3 main sections: Software Tools, Install Tools, and Coverage & RF Tools.
Software Tools
First, the software side. Obviously you’ve used Helium Explorer to poke around and see how much your neighbors are making, or what the local scale is. That’s a good(free) start, but there are at least three more great options that’ll let you dive way deeper into finding great locations (HeliumVision), seeing where you’re getting scaled and managing your fleet (Hotspotty), and keeping track of what all your Hotspots are doing (HeliumTracker.)
If you’d like to keep it super simple, check out HotspotRF. It’s probably the most popular tool for assessing locations and very simple to use. I find the other tools allow you to dive way deeper, but not everyone has the time to dive deep.
If you’d like to make sure you’ve got a good fundamental understanding of Helium, I’d recommend taking the Helium Basic Course.
One thing to know about Helium’s Explorer is that both the app and the site can be behind by a few days, and it’s hard to tell how far behind it is. If you want up to date info, use HeliumStatus.io to ping, connect, and otherwise diagnose troublesome Hotspots in more or less real time.
Ok, so that’s the software side.
Install Tools
Let’s break this down into 3 categories: Basic Installer, Enthusiast Installer, and Professional Installer. I would place myself firmly in the last category, but there’s no need to get that deep into it, and in general it’s not the most profitable way to mine Helium; I just like to geek out on tools. How do I define the other two? I think of this in terms of effort.
A Basic Installer is probably going to do mostly indoor, easier installations. They’ll run ethernet cable, set up an antenna indoors, and keep their cost, effort (and HNT earnings) relatively low.
An Enthusiast Installer understands the value of getting outside and up high. They plan on getting aftermarket antennas, putting them outside, and being handy enough to install an antenna on, say, a 20′ mast attached to a building. They’ll do a little DIY but it’s typically not worth it for an Enthusiast to make their own antenna cables. Most people in the Helium space who read this probably fall into this category; it’s probably the best balance of effort & HNT returns. Typically, Enthusiasts *won’t* build an off-grid miner.
Finally, there’s the Professional Installer. I think of ’em (myself included) as the batshit crazy version of the enthusiast. These are the people who will climb cell towers, mountains, trees, and pretty much anything in order to get their antenna as high as possible. They’ll measure twice, cut once, double check the output, test the power draw, go off grid, and love the game of installing just as much as they love the stream of income.
These people usually don’t need my help to build a toolkit, but I’ll include what I’ve picked up just as a reference point for your tool-hoarding obsession.
Ok, let’s start with what you need at a basic level.
Basic Installer Tool Kit
- Drill - standard cordless drill, for drilling holes in order to mount the enclosure, antennas, cable management, etc.
- Drill bit set — A general set off Amazon is totally fine, there’s no need to get fancy drill bits. Yet.
- Driver — optional for the Basic kit, but a Driver is one of those things that every serious builder should have. It is NOT a drill, though a drill can be used as a driver and is totally fine for most one-off around-the-house jobs. I lived for years without a Driver. Then I bought one and I’ll never use a drill to drive again.
- Driver bit set — Again, a standard set is fine, you don’t need the million optional bits.
- Fasteners (this is what normal people would call screws and nails)
- Screwdriver set with Phillips & flat head. Yes, you can use the Driver above with bits, but sometimes you need to do more delicate work.
- Pliers — You can get ’em one at a time, or just pick up a kit on Amazon.
- Ethernet cable terminator tool kit (this cheap one is fine for small jobs). The ability to make custom Ethernet cables makes your installs much cleaner.
- Box Cutter — These are useful for damn near everything.
Enthusiast Installer Tool Kit
As an Enthusiast, the main difference will probably be that you’re going outside, so you’ll need a different set of consumables. The tools are generally the same.
- Hacksaw ‑For trimming poles to the correct length
- Hose clamps — For attaching enclosures and antenna mounts to poles. Make SURE you get the right size for your pole.
- Electrical tape — For generally cleaning up wire and minor sealing.
- Silicone sealant — For sealing small holes in the enclosure. Methods vary on enclosure penetrations, use what works for you.
- Cable glands — For going through your enclosure.
- Copper ground wire — Size to your local regs
- Socket set - Super nice when you’re tightening up a bunch of hose clamps with a driver.
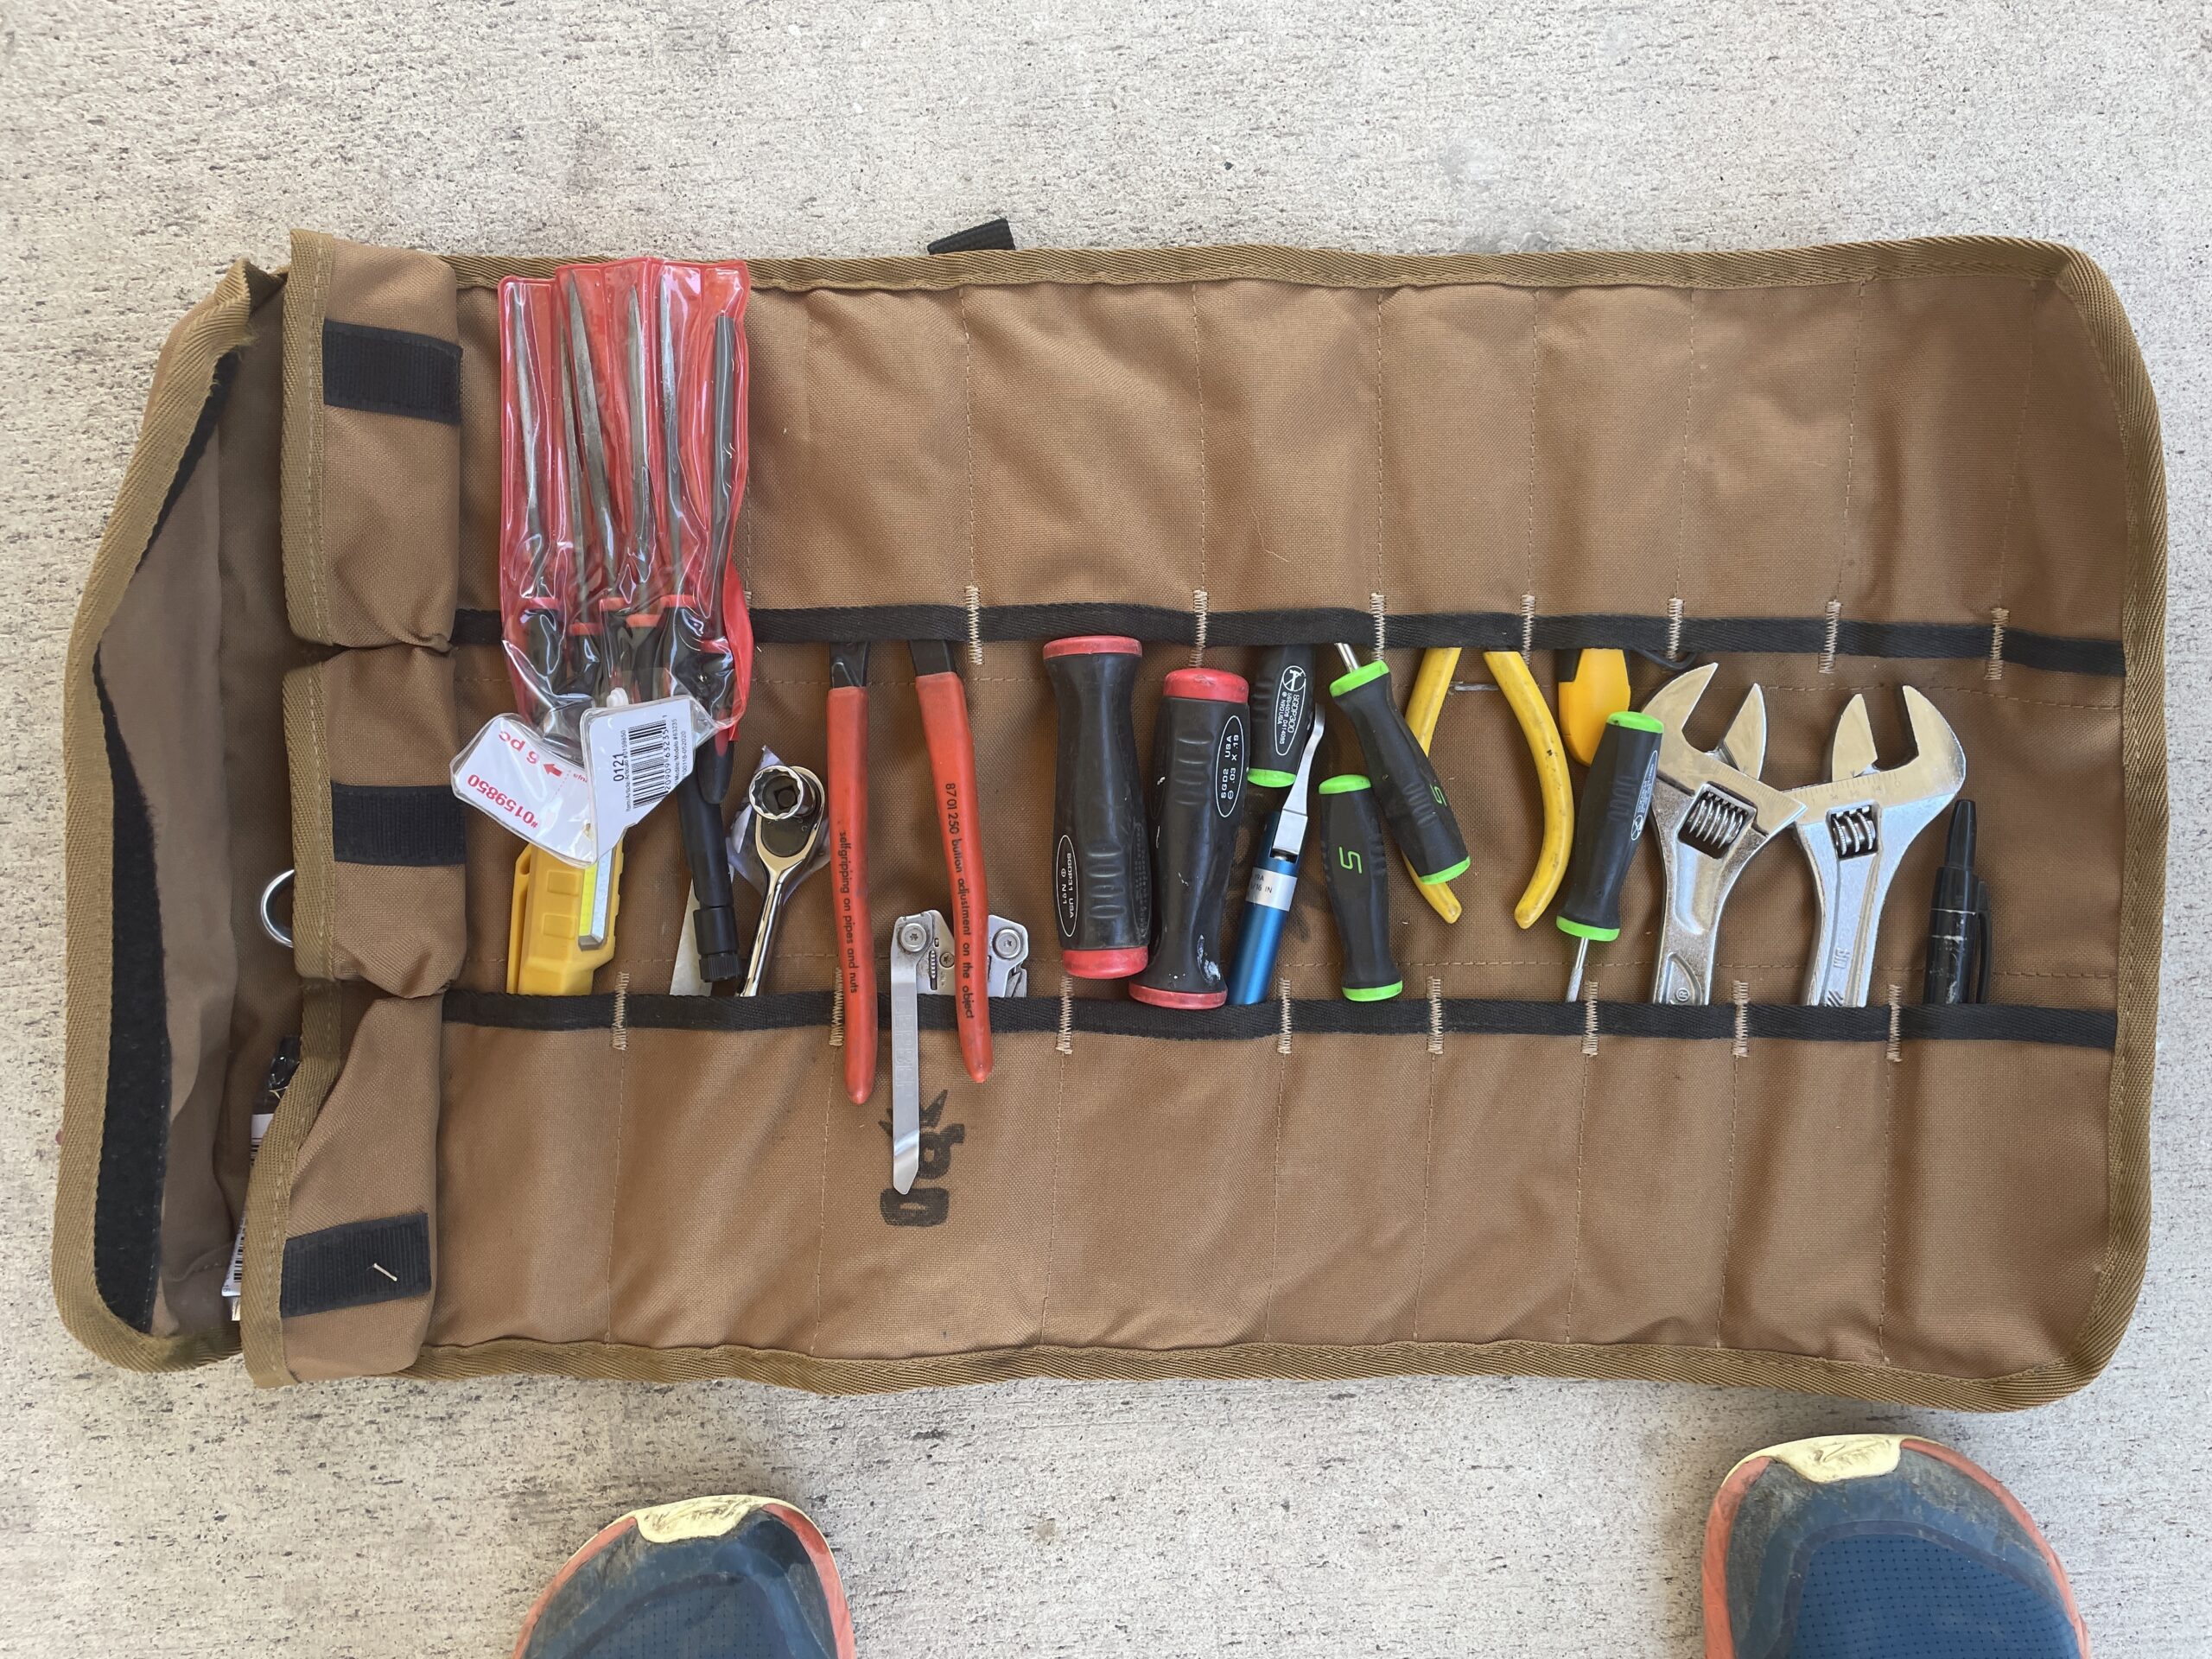
- Tool Roll - A great way to carry the essential tools around.
Professional Installer
At this level you probably already have a fairly well stocked shop. Your Dad, like mine, may have instilled in you the “Right tool for the job” mentality. Here’s a short list of what I’ve got in my shop that I’ve used during various Helium installs or for preparation. Some of this is far more expensive than it needs to be. Some of it is a little cheaper than a true professional would want, but it gets the job done well. None of this is needed to do a fine job, though it does make many jobs much easier to do. I’d break this down into 2 main categories: Cable Prep, and Everything Else.
Making your own coax (antenna) cables is a sign you’re getting serious. It’s almost never worth it cost-wise, but for time and efficiency (I need a 22″ section of LMR400 today!”) you can’t beat it.
Cable Prep
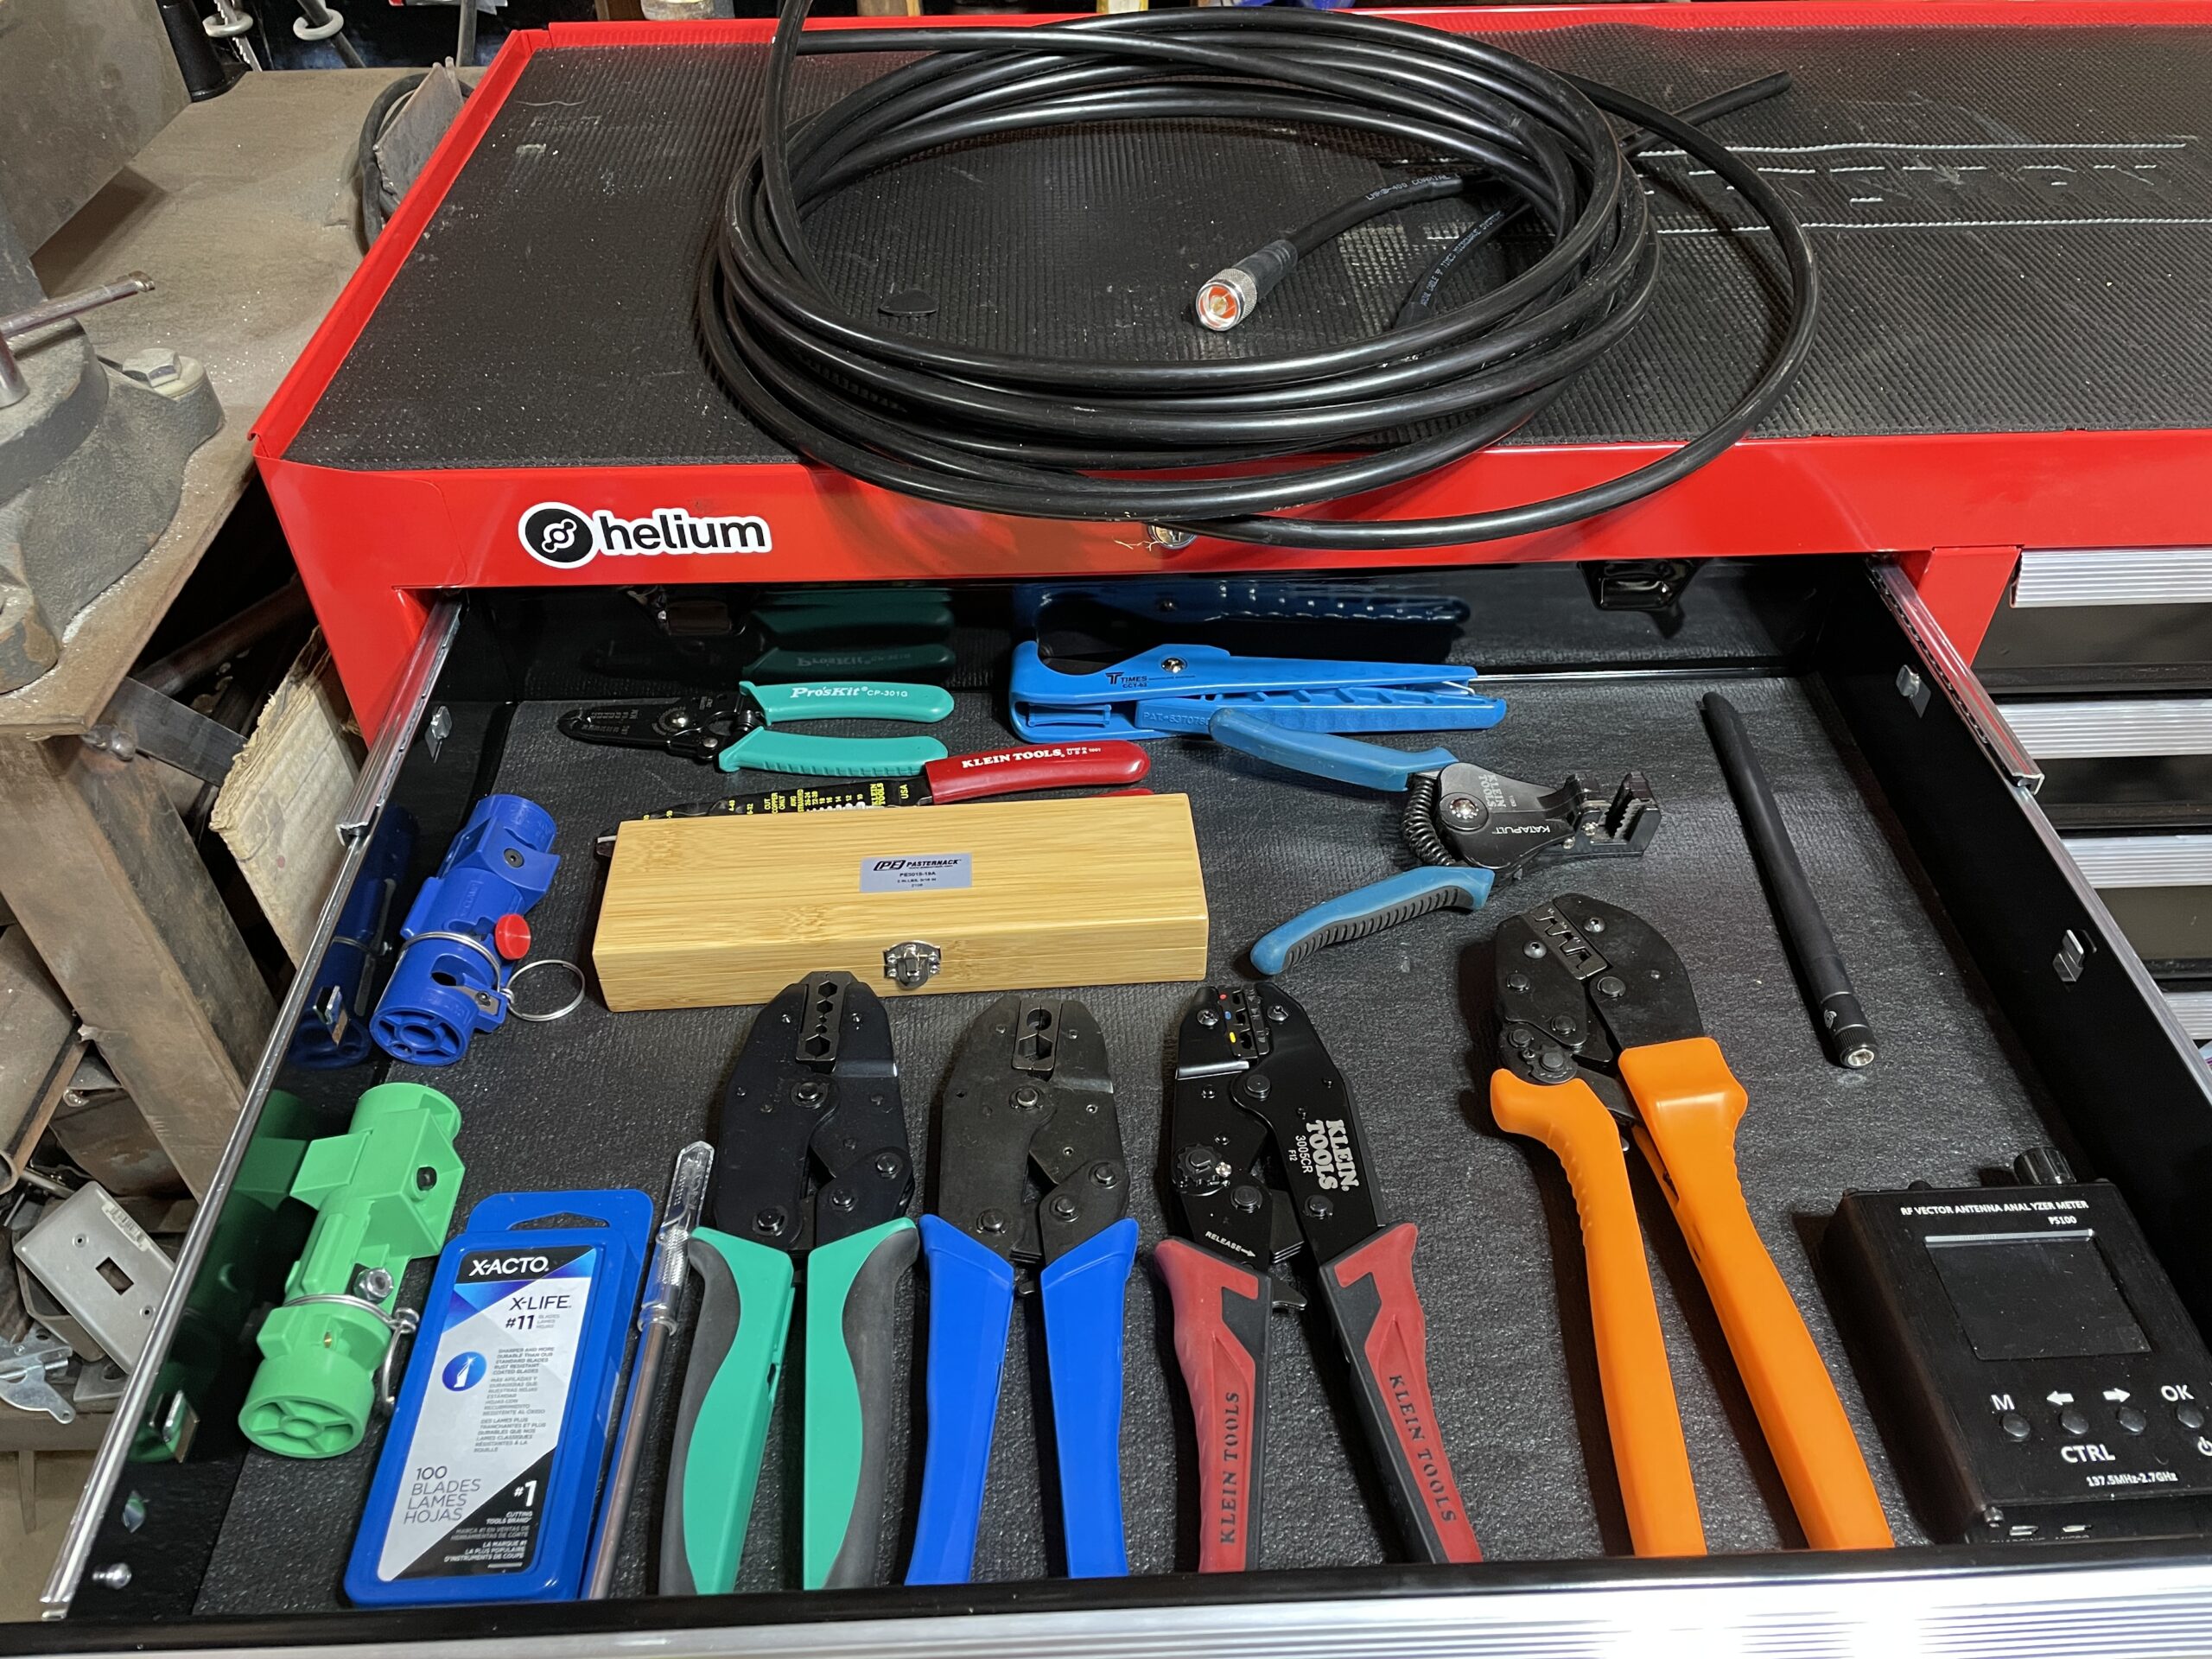
- Cable prep tools for LMR 195, LMR 240, and LMR 400
- Cable cutting tool — Built for cutting coax cleanly.
- Cable crimp tools for 195 & 240, and 400.
Everything Else
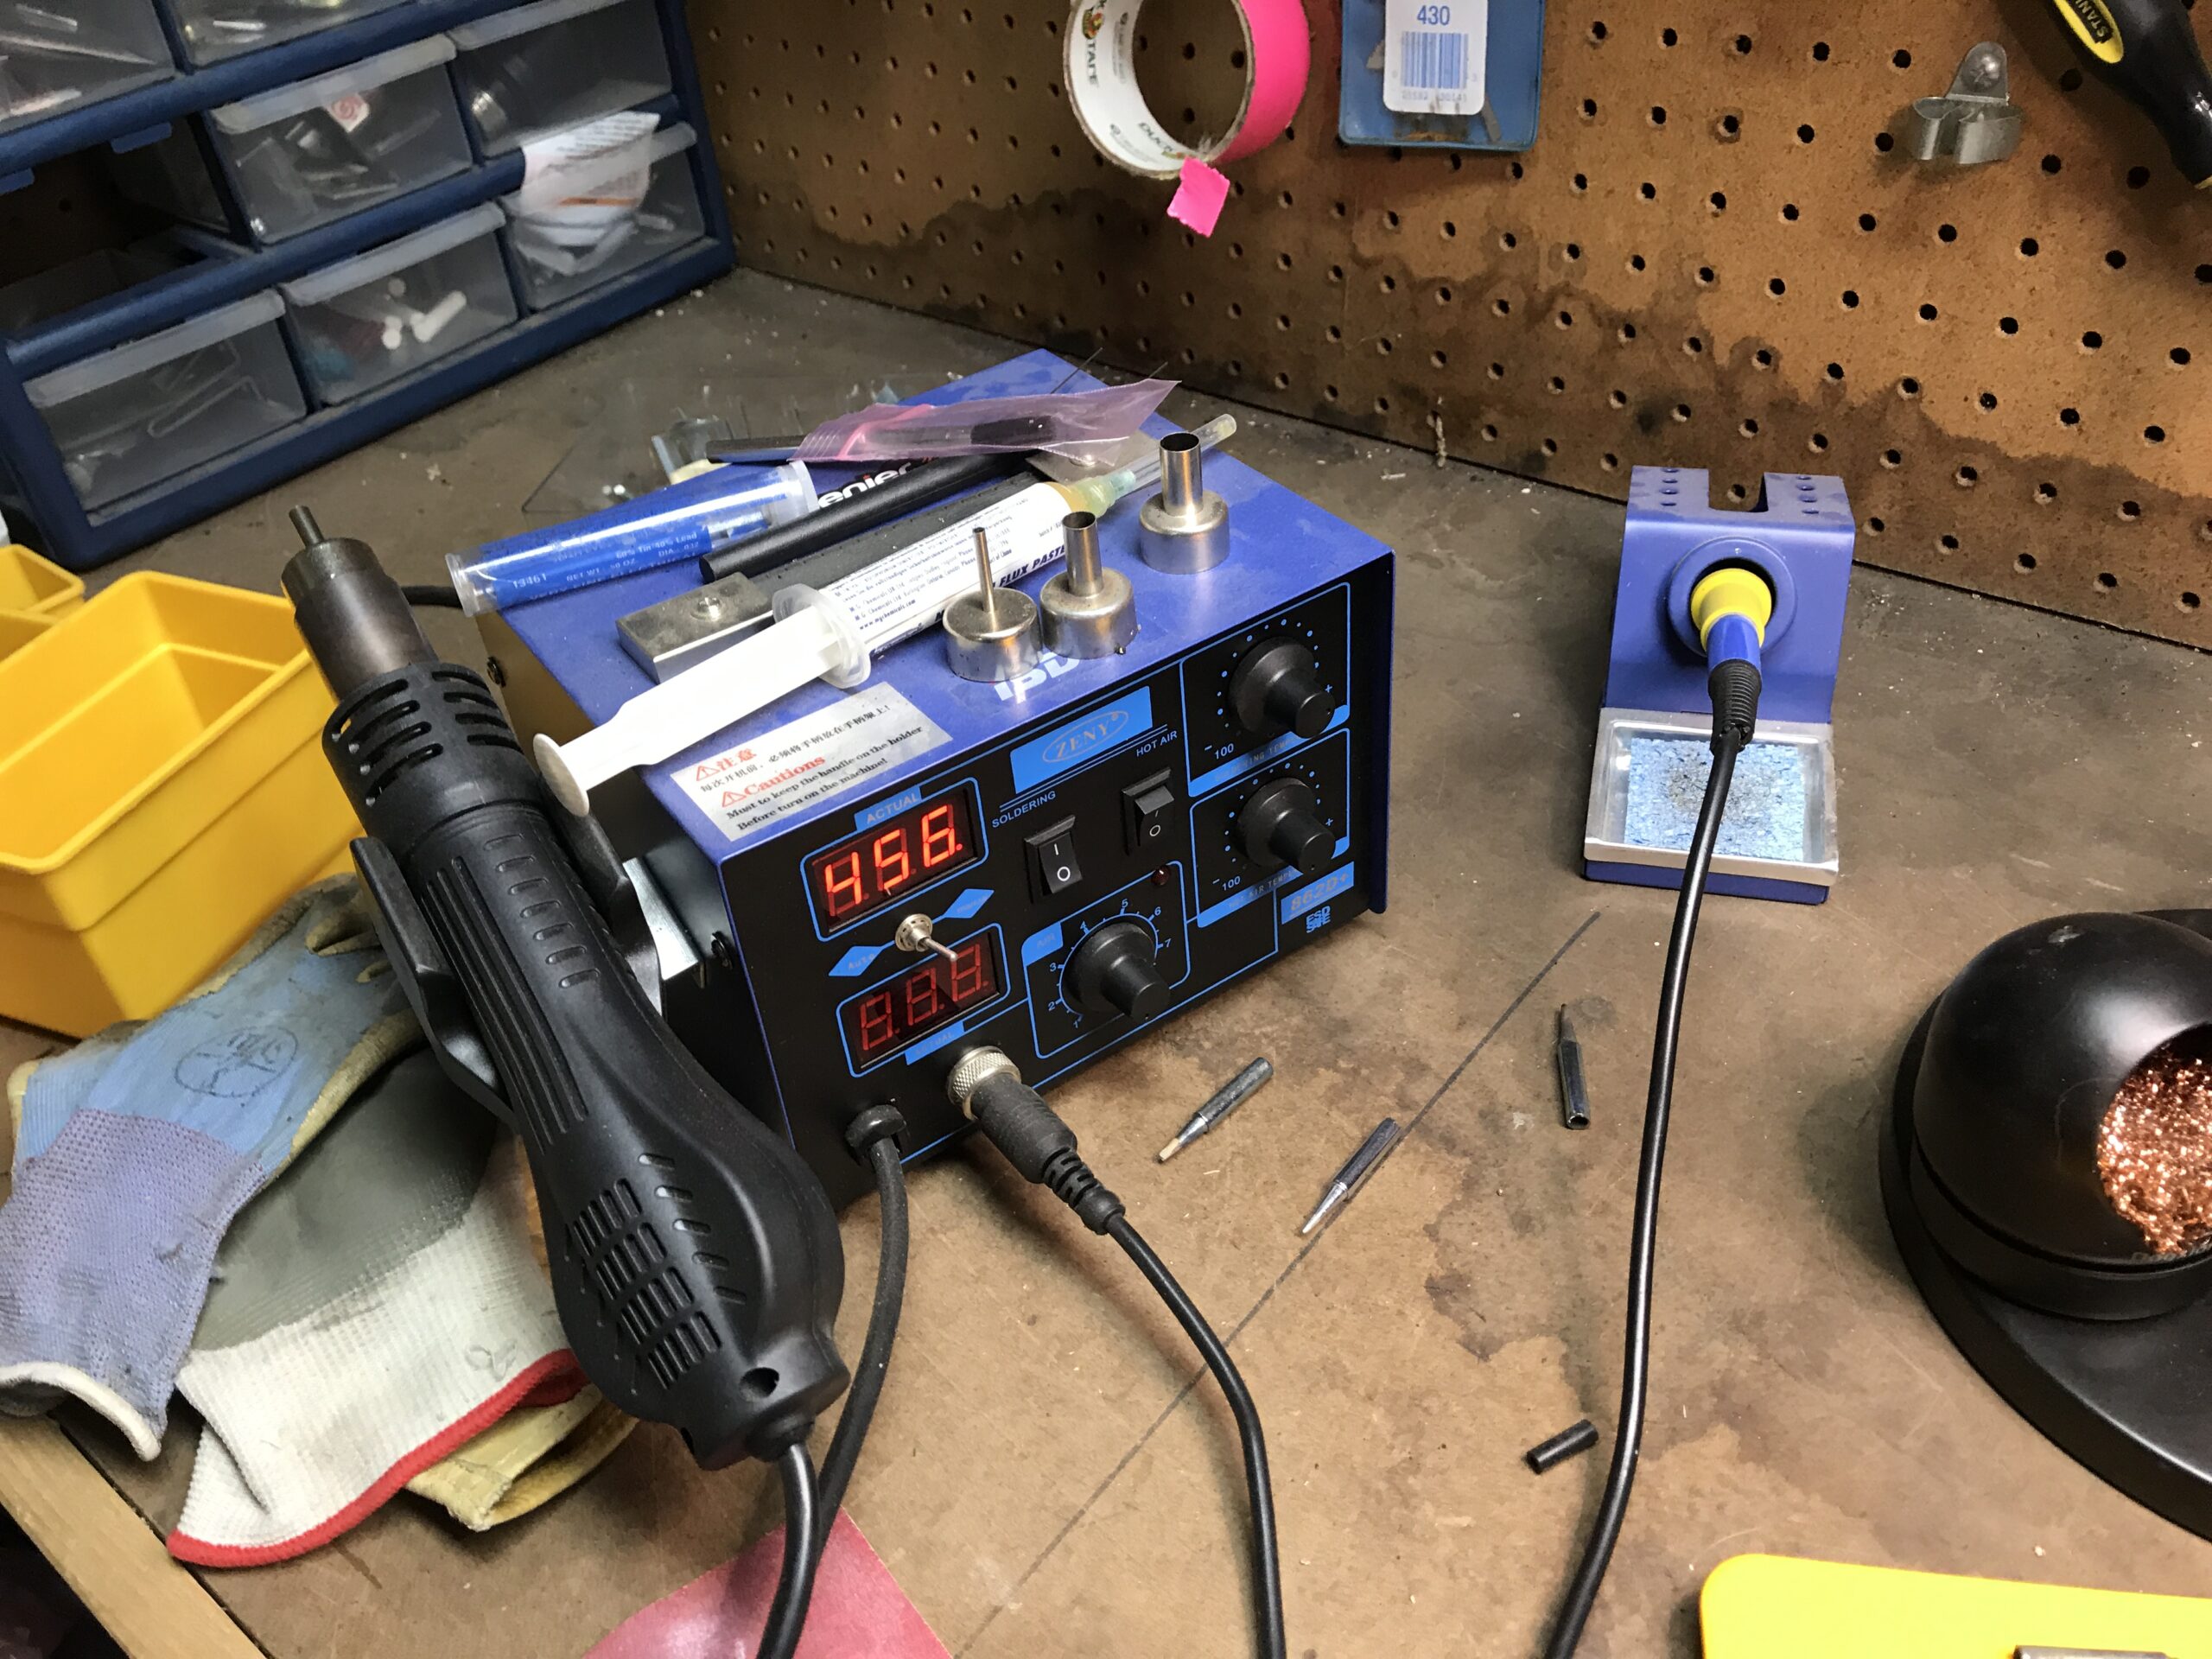
- Soldering station
- Extra hands for soldering work — I use Quad Hands.
- 14 ga wire for in box wiring — Your local regs may vary.
- Wire strippers — These are the fancy ones, any options will do.
- Bench mounted magnifying glass with light — For the little repair stuff these are super useful.
- Power supply — For powering and checking power draw and voltage on items for off grid builds.
- Horizontal bandsaw — I picked up a super cheap version of this on Craigslist years ago. Still working.
- Rivnut tool set — For clean pole installs.
- Vise — Invaluable for bending, holding, banging on, and otherwise manipulating metal & wood.
- Anvil — Unnecessary, but I LOVE my Nimba, and I’ve used it to flatten out mounting brackets.
- Drill press — Mine was given to me for free by a fellow who watched the band snatch and take off his grandfather’s finger.
- Tool Bags — Veto Pro Pacs are my go-to bags. They are not by a long shot the cheapest option.
- Hammer Drill — Want to attach your mast, enclosure, or solar panel to a rock face? This is what I roll with.
- Digital Calipers — I am forever drilling and measuring holes and bolts and assorted…things.
- USB digital tester - Faster and easier than the Power Supply above, though not as accurate.
- Heat gun — For heat shrink tubing. You can get very cheap versions of these (or use a lighter)
- Heat shrink tubing — Get the size you need, this kit is just an example.
- Prusa 3D printer — This thing helps make all the little holders for inside the enclosure. Not required, but very clean.
Coverage & RF Tools
Coverage & RF tools are ones that help you test, map out, and prove coverage beyond the frequency that a Hotspot will. In general, they break down into being used to test the function of antennas and then location testing. On the RF side, any serious RF engineer will laugh at what we use in Helium, but they work for us. Just for comparison, you can get a VNA for use in Helium for under $200. A “cheap” VNA in radio engineer land will push $5k.
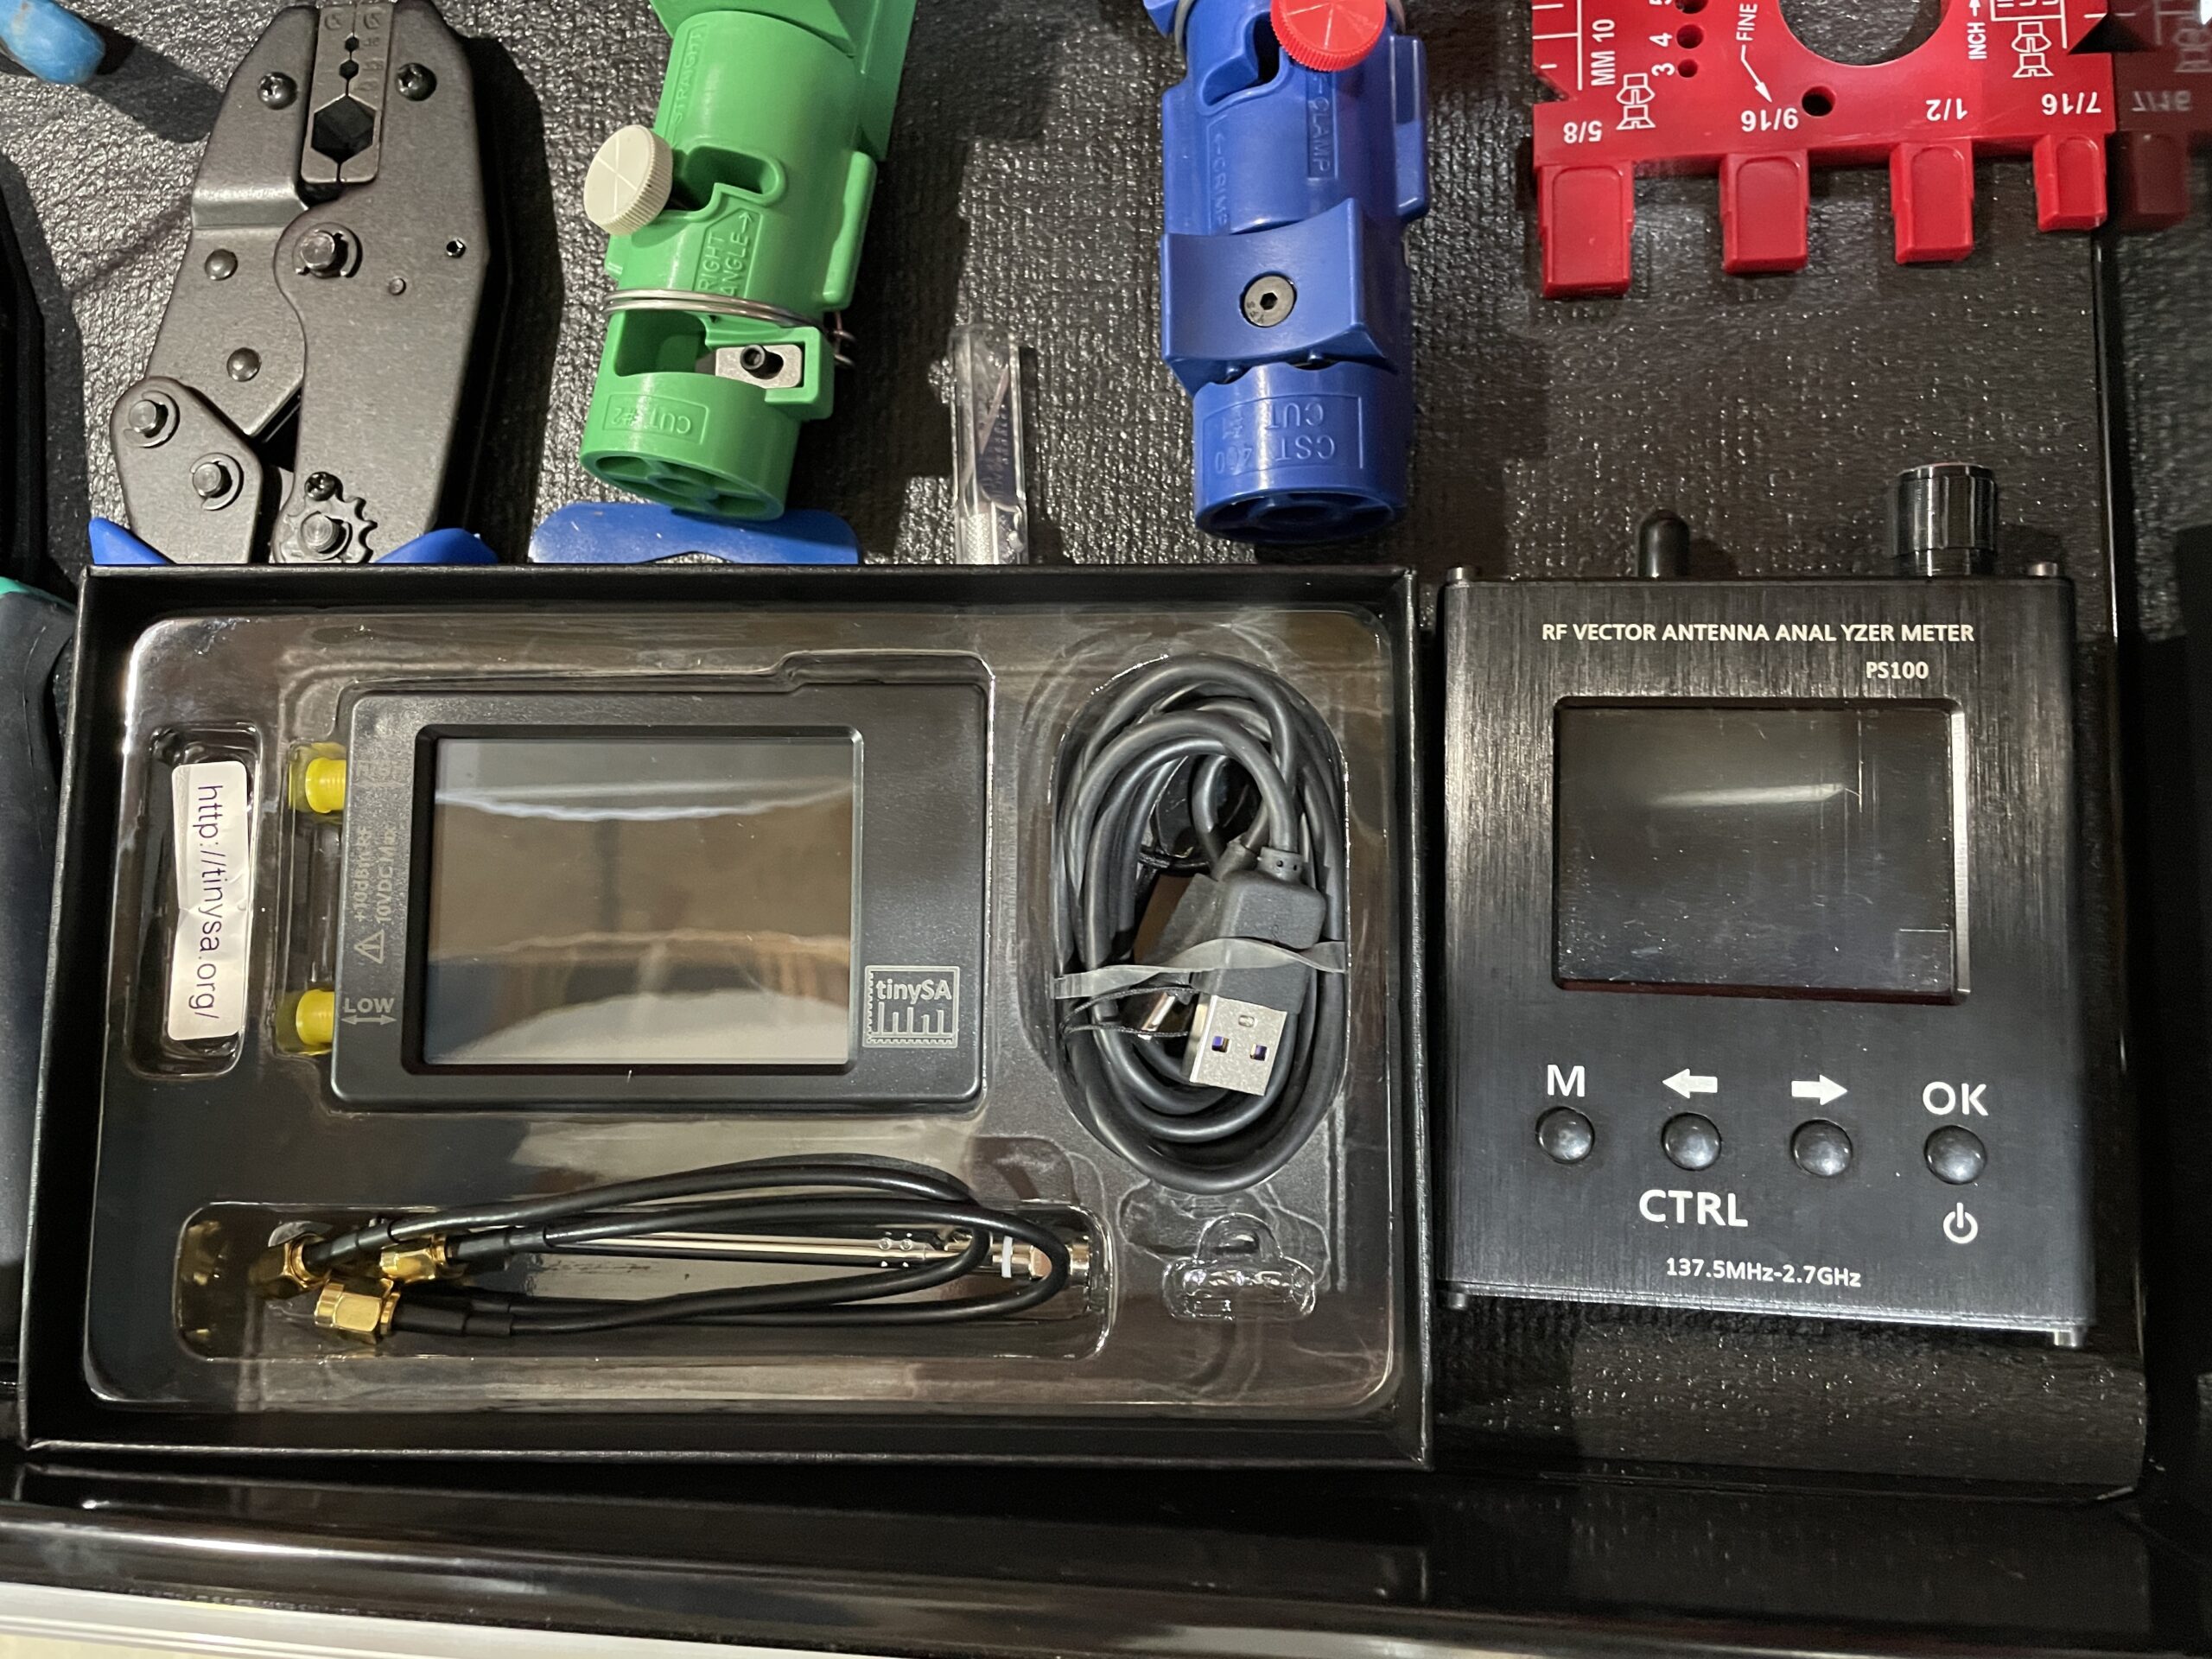
Here’s what’s in my kit:
- GLAMOS — Use the GLAMOS to compare antennas and locations. More on how to do that here.
- Adeunis FTD — I bought one of these early on and use it as a Mapper (which is what it is), but I don’t recommend it. Other options are far better.
- Mapper — Build or buy your own
- WioField Tester — Seeed sent me one of these, I used it just a bit then passed it on locally for others to try. Easy to use, this is a great piece of kit.
- NanoVNA — Vector Network Analyzer, use to test antennas and cables.
- TinySA — Small spectrum analyzer se to test radio environment (are you getting blasted by nearby RF energy from cell towers?)
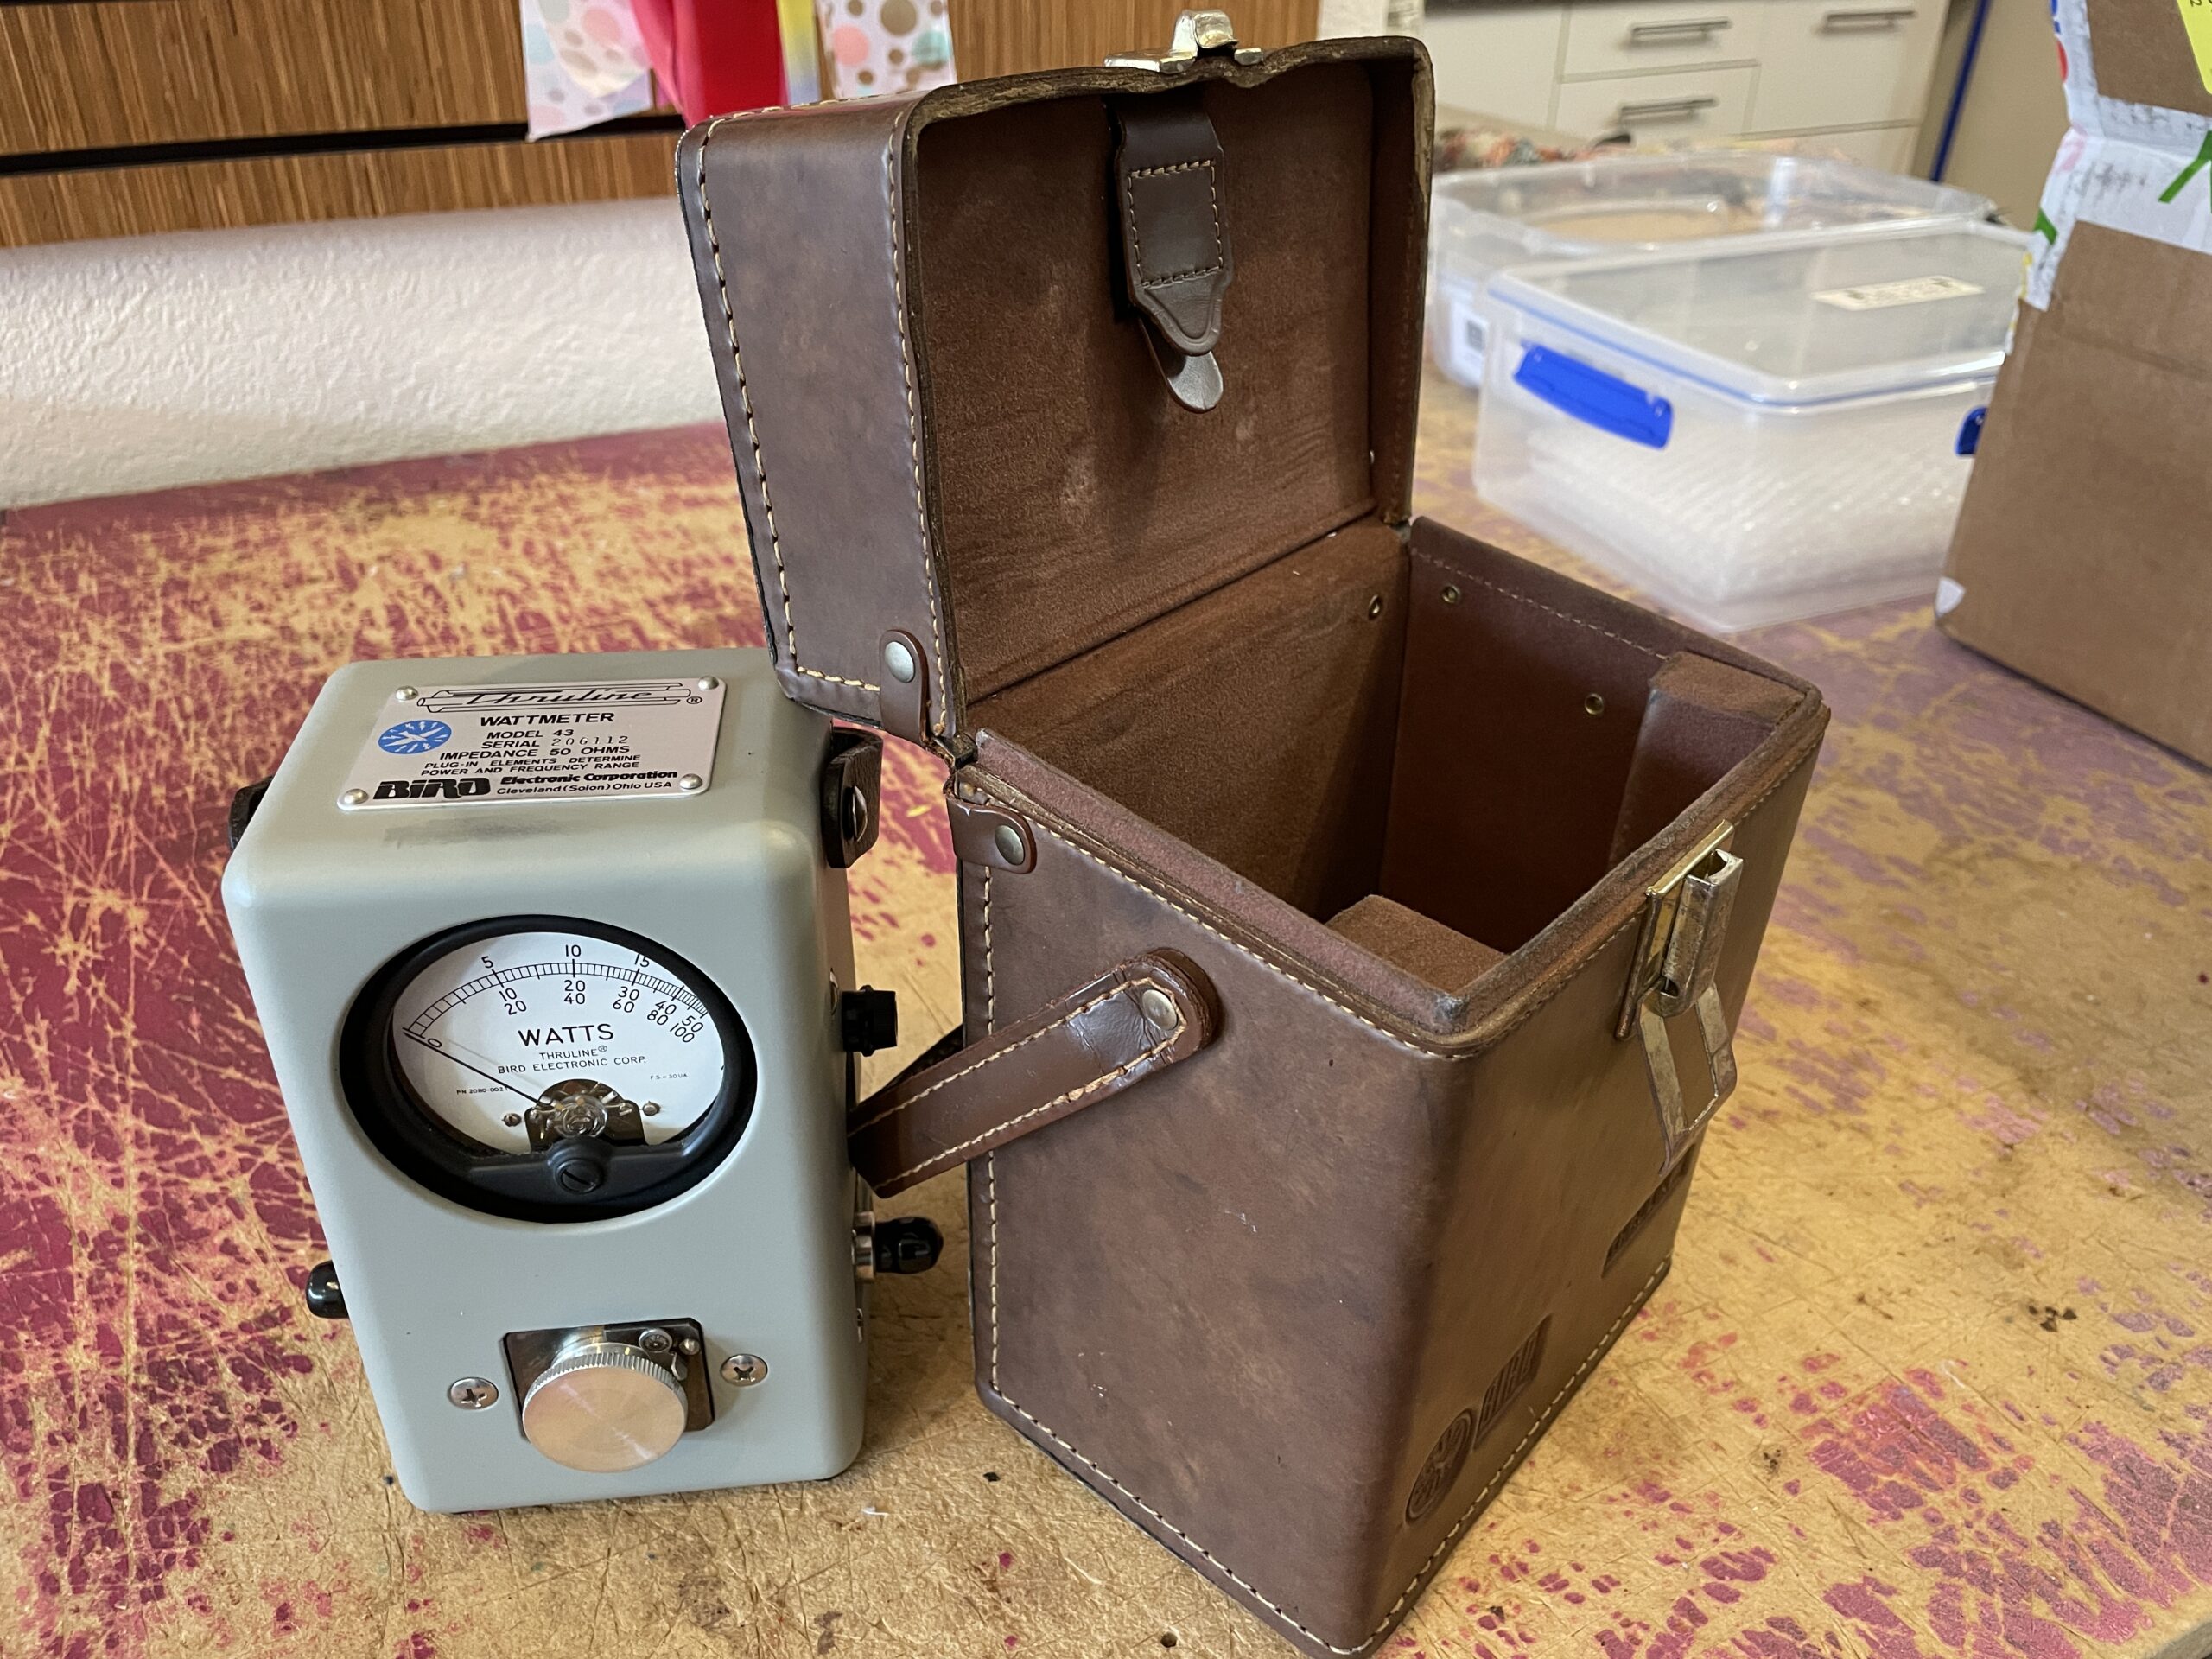
- Bird 43 Wattmeter - You do NOT need one of these, but when I saw a model in Ohio I fell in love and ordered it. You can use this to test an antenna’s energy output.
If you’ve found other useful tools, please drop ’em in the comments and I’ll add them to this list.
I should also note that almost every link here is an affiliate link. If you’d like to support the Gristle King mission to help people understand the world of Helium, please use ’em!


Leave a Reply