How do you attach a lightning arrestor to your Helium hotspot antenna? What does one look like? Is it dangerous?
Let’s start with a picture. This will answer 90% of your questions.
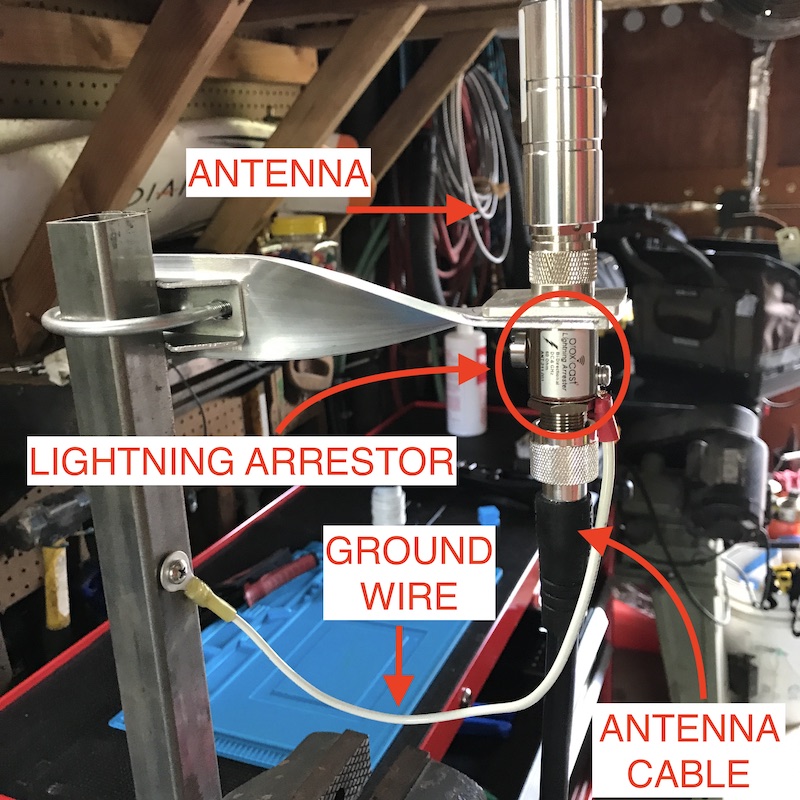
You can (and according to knowledgable ham radio operators) SHOULD connect the lightning arrestor at the other end of the cable, down by the miner. Another way of saying that is: Don’t attach the lightning arrestor directly to the antenna like you see in the picture, attach it to a short piece of cable that connects to the miner, and a long run of cable that goes to the antenna. That didn’t fit into my picture, so I did it this way.
Now, let’s talk about what you can expect a lightning arrestor to do. Hint: Despite the blog post title, a lightning arrestor won’t stop a bolt of lightning.
A lightning arrestor connects the antenna to the antenna cable. It passes the RF signal from one to the other through a medium that, when it gets too much power, it breaks, just like a fuse. RF engineers will probably lose their minds when they hear it explained that way; they’ll start spouting about ionized gasses and fixed gas discharge tubes and input/output surge magnitudes. They’re right, but you don’t have to know all that to use a lightning arrestor.
A lightning arrestor will NOT stop a direct lightning strike. That would annihilate your house. While it would be awesome advertising to see a pristine hotspot miraculously protected in the middle of a charred and blackened house hit by lightning, it wouldn’t be true.
All a lightning arrestor really does is protect your electronics against the static electricity that can build up during a storm. If the energy feeding into your antenna (don’t kill me lightning scientists!) gets too high it zaps the gas in the middle of the arrestor, breaking the connection to the antenna cable, and all the energy is diverted to that ground wire (which is hopefully attached to your house ground.)
So, uh, how does it work? Just screw the thing in between your antenna and antenna cable, connect the attached grounding wire to a metal “path” that goes all the way to the ground and you’re done.
Wait, you want more? What antenna is that? Where did I get that mount? What’s the insertion loss on this lightning arrestor (make sure you get the right connectors!) vs the stuff the military uses when they don’t want to fritz out a $40,000 piece of electronics? Psst, just get one from McGill that fits your cables.
I’ll start with the antenna. I don’t know what it is. A friend brought it over. He said he’d bought it on eBay and what did I think of it? I thought it would make a good demo for this lightning arrestor post, so I just gave him a Nearson 8 dBi I had laying around and kept his unknown antenna, which had the only thing that mattered: An N‑connector on the bottom.
What about the mount? Made that out of aluminum bar, twisted, drilled, and ground to fit. Should’ve drilled first, but I made it work. The other super cool part of this project is the use of rivnuts. Stop here if you want to learn anything more about lightning arrestors, and refer to the above picture.
Just because I love building stuff and sharing knowledge, here’s the journey. I started by clamping the aluminum bar in my vise, then twisting one end 90 degrees.
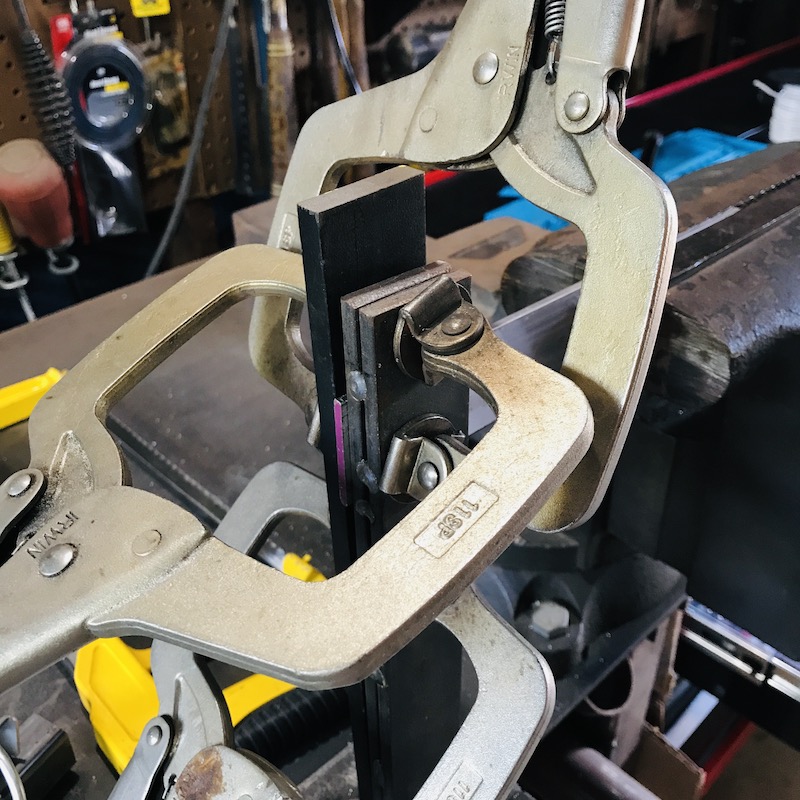
Twist complete. Nothing fancy, just simple and functional. I’ll leave that pink paint on the end of the bar. Pink means you like to party.
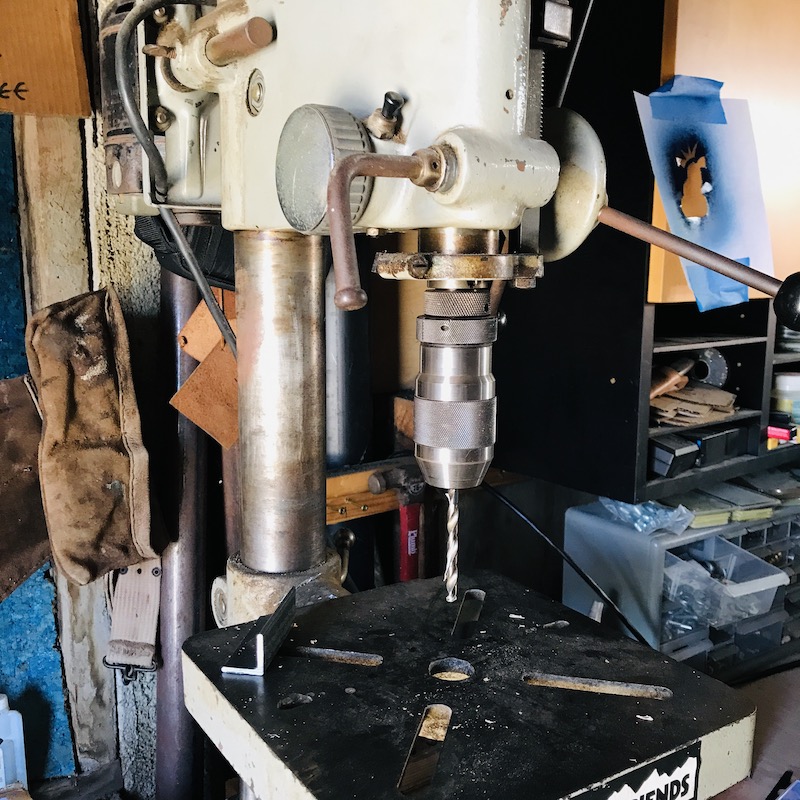
Then I drilled out the holes I’d need for the antenna mounts and the pole mount.

I love that drill press. A random guy gave it to me. I saw it in his garage and commented on how old and rad and heavy duty it was. He said, “That thing’s dangerous, I watched my grandfather lose the end of his finger in it. Do you want it?” Yep.
It weighs about as much as I do. I love heavy metal.
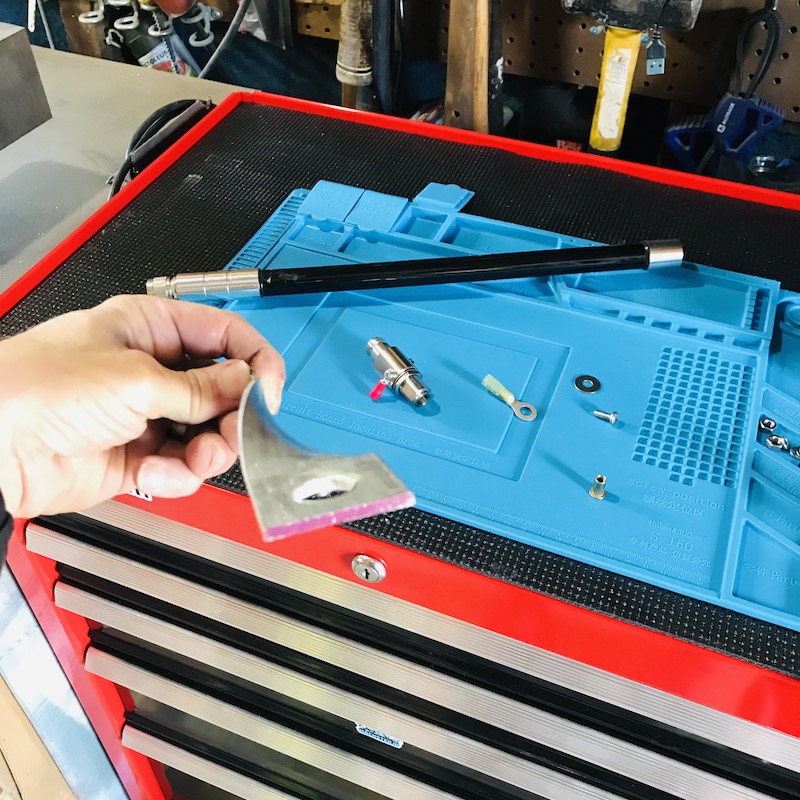
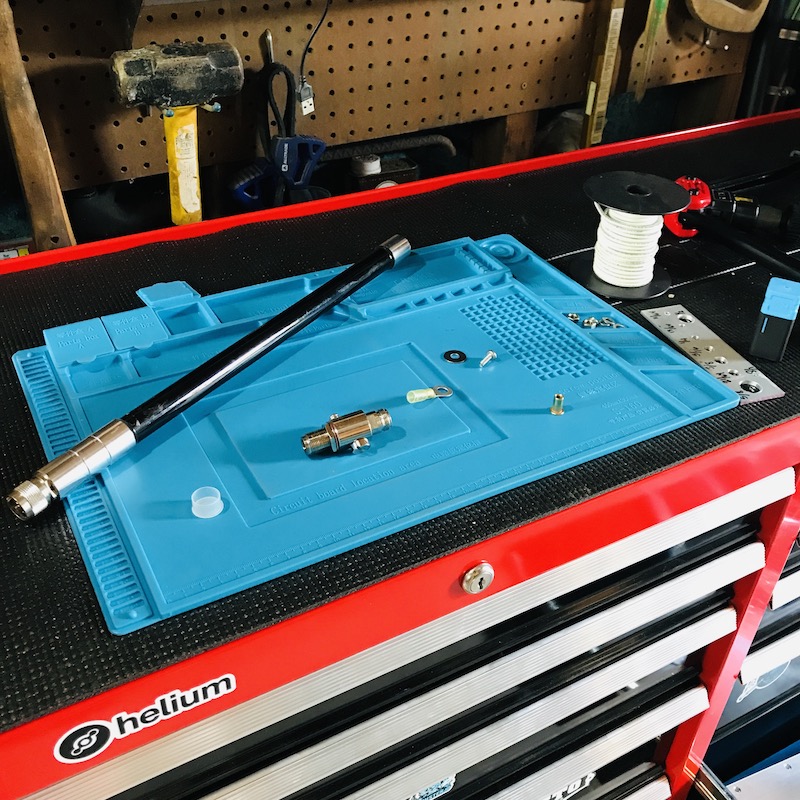
Next, I laid out what I’d need. Antenna, lightning arrestor, grounding wire, easy disconnect terminals, and a rivnut. Aw yeah, rivnuts!
Ok, what’s a rivnut?

It’s a cool little way to add a nut into a thin walled piece of metal. You drill out the hole, screw the nut onto a rivnut tool, insert the sleeve into the hole, then compress the sleeve of the nut, securing it to the wall of the pole.
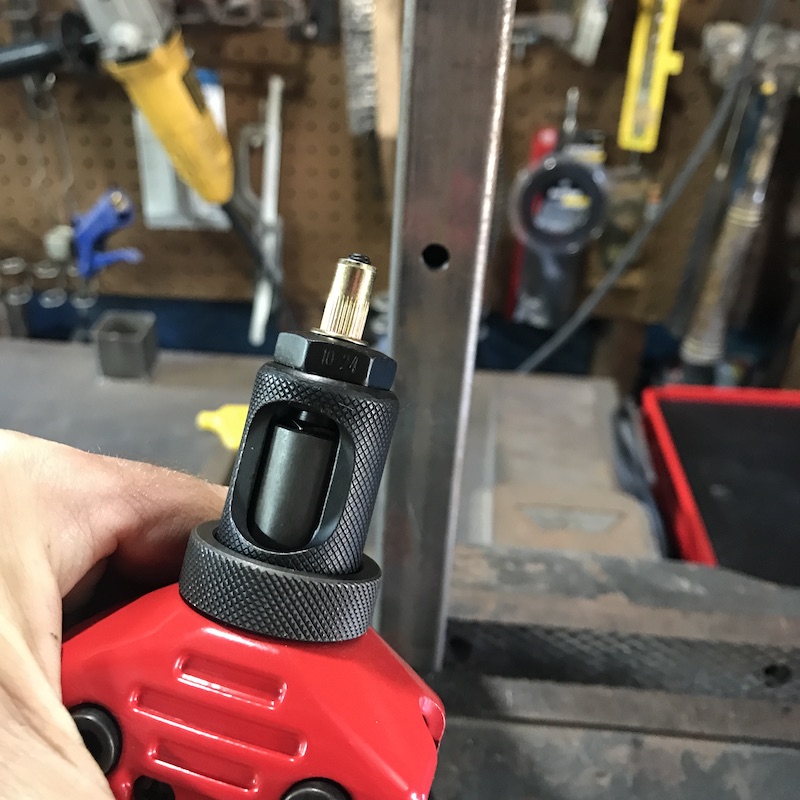
Here’s what it looks like. That’s ready for a 10–24 bolt, which I happen to have a bunch of.
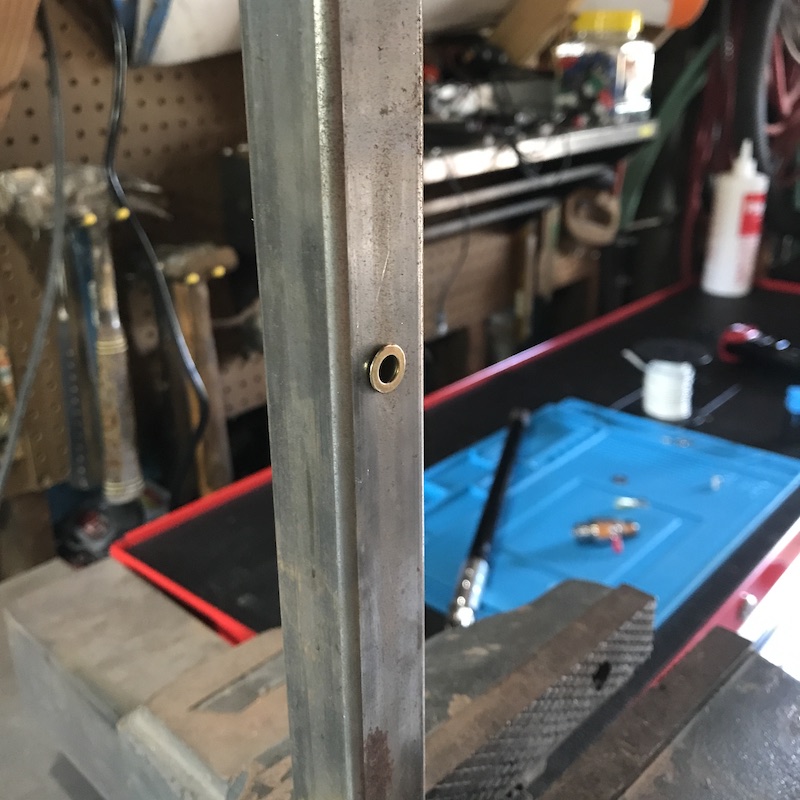
I used a u‑bolt to clamp on my demonstration antenna mount.
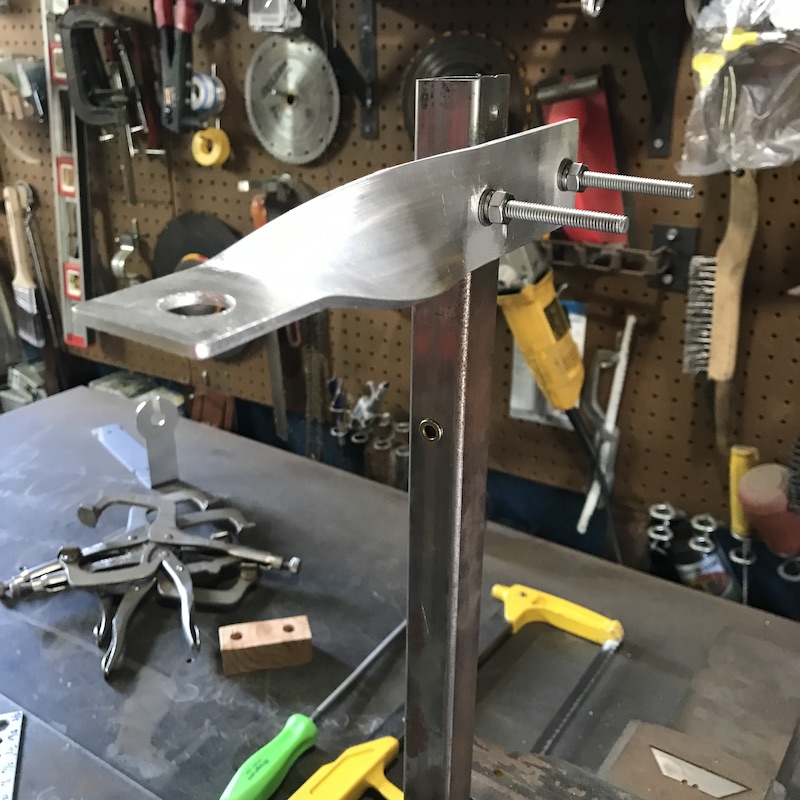
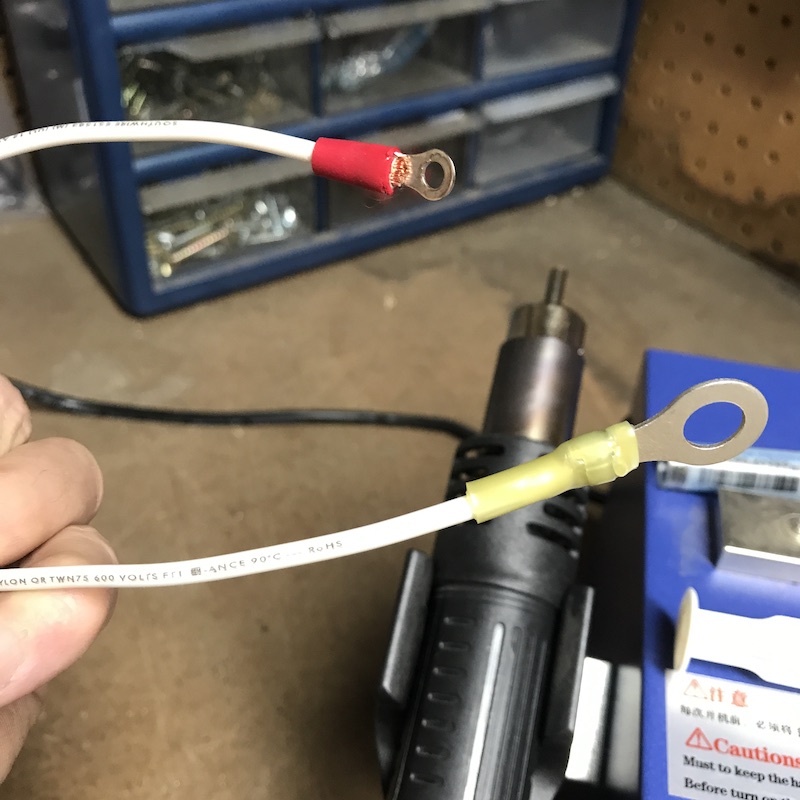
Then I had to make the grounding wire. I used 12 gauge cable for this demo, most specs require 10 or 12 ga. You need to crimp on quick connect terminals to both sides, then seal the heat shrink around ’em. Here’s what it looks like with the wire stripped, before I made the connection.

Here’s what it looks like once you crimp it.
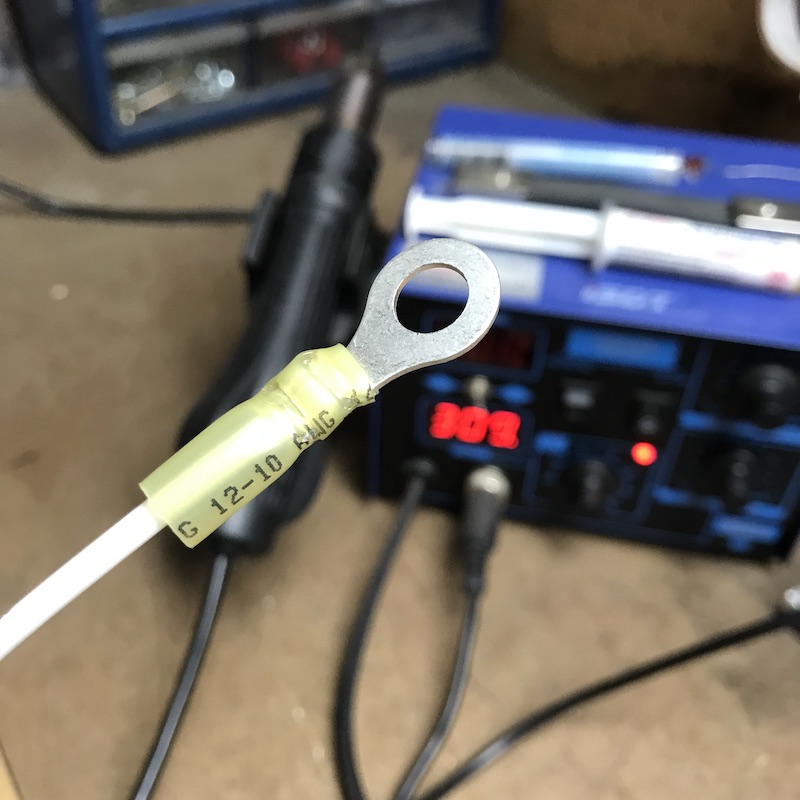
I crimped both sides, used a heat gun (Steinel HL2020E if you must know) to shrink it down all tight and pretty, and I had my grounding wire. You want these to be as short as possible.
All that was left was to connect everything up. Here’s what it looks like without a bunch of words pasted in. Yes, I could’ve made the grounding cable shorter. I just didn’t.
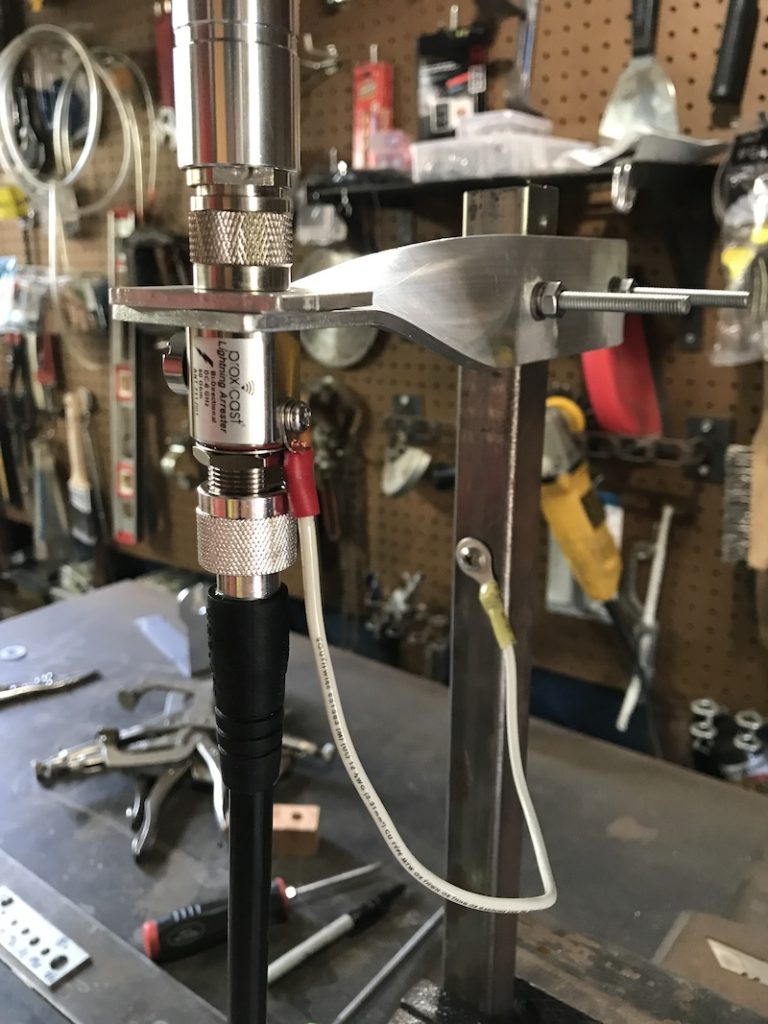
Pretty simple, right?
Oh, and the insertion loss? Let’s be mean and call it .5 dB. If you’re deploying for a critical application and want to drop $150 on a badass NexTek Surge Guard lightning arrestor with < .1 dB loss, you can do that because every tenth of a dB counts. But.…you don’t have to.
Ok, that wraps up lightning protectors. You don’t need to do any of the building/light fab work I did, you can just screw it into your antenna and use the mount that comes with any decent antenna. It’s simple. You got this!

Leave a Reply