Seeing other deployments is one of the fastest ways to get great ideas (and avoid costly mistakes!)
I thought it’d be useful to the community to share a little more detail about our Helium Hotspot deployments. Here’s your chance to shine!
What hotspot are you using? What antenna? Are you happy with this deployment? What will you change next time? Any recommendations for others? The more info you can share, the more we’ll all learn and the better the network will get.
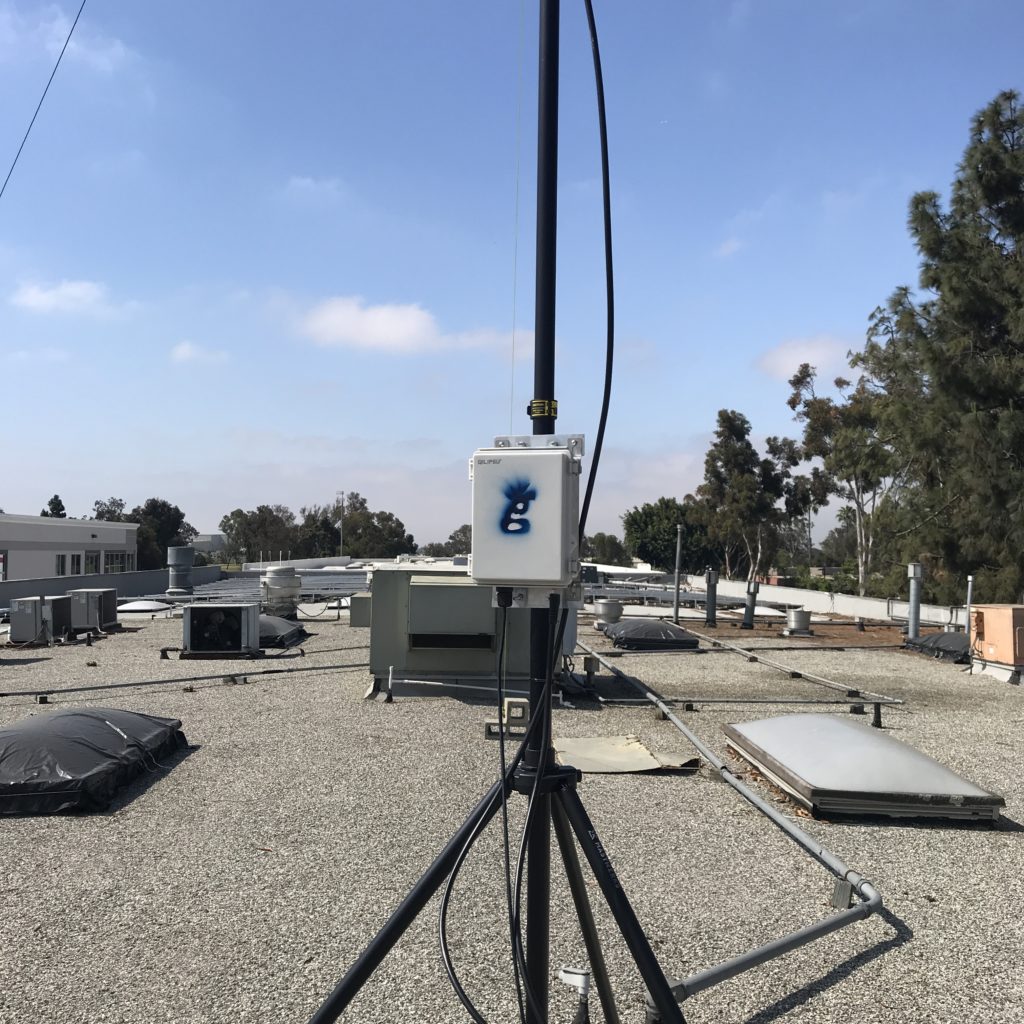
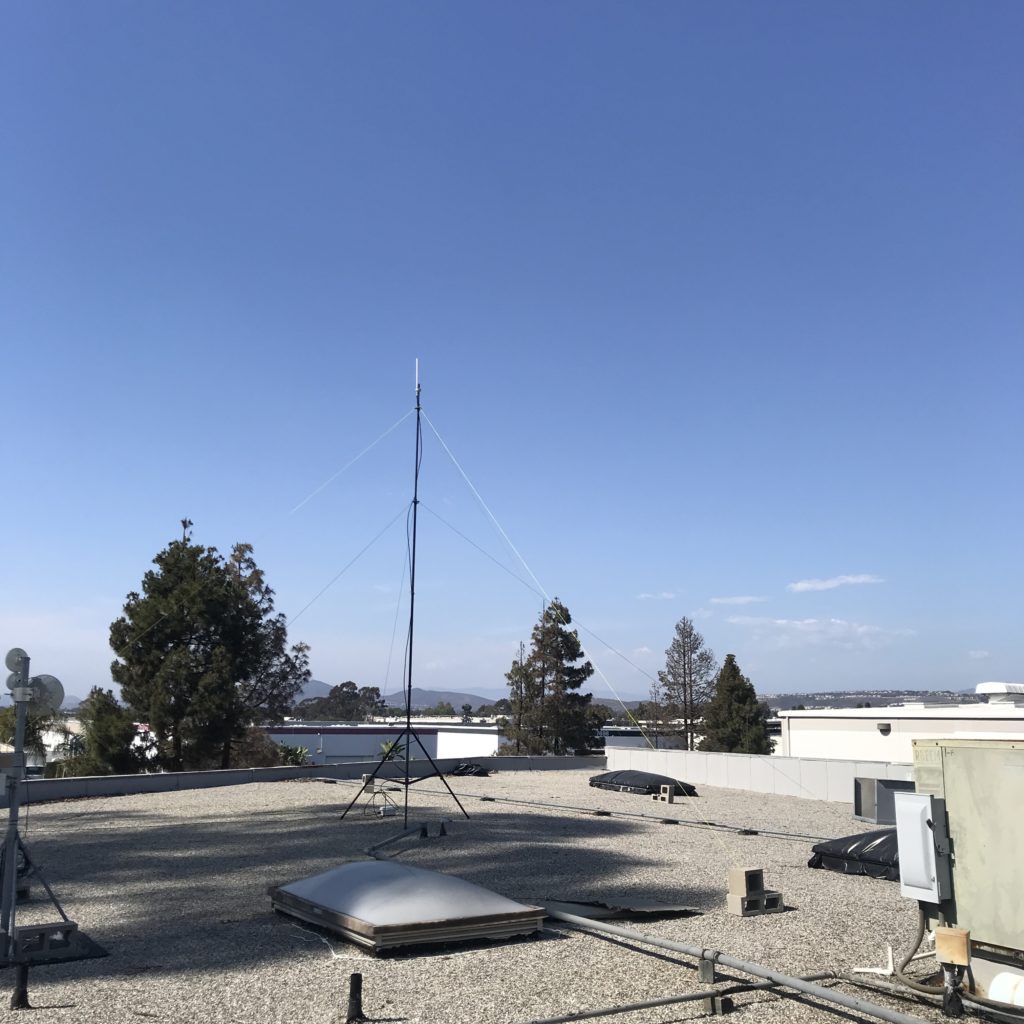
Hotspot Mfr: RAK
Antenna Mfr: eBay supplier
Antenna Gain: 8 dBi
Elevation (meters above ground): 11
Cable type used: LMR400, 20’
Mounting Deployment Notes: On top of commercial building, routinely goes offline & back on. Hotspot relayed but witnessing well. Locally overcrowded, need to move this one!
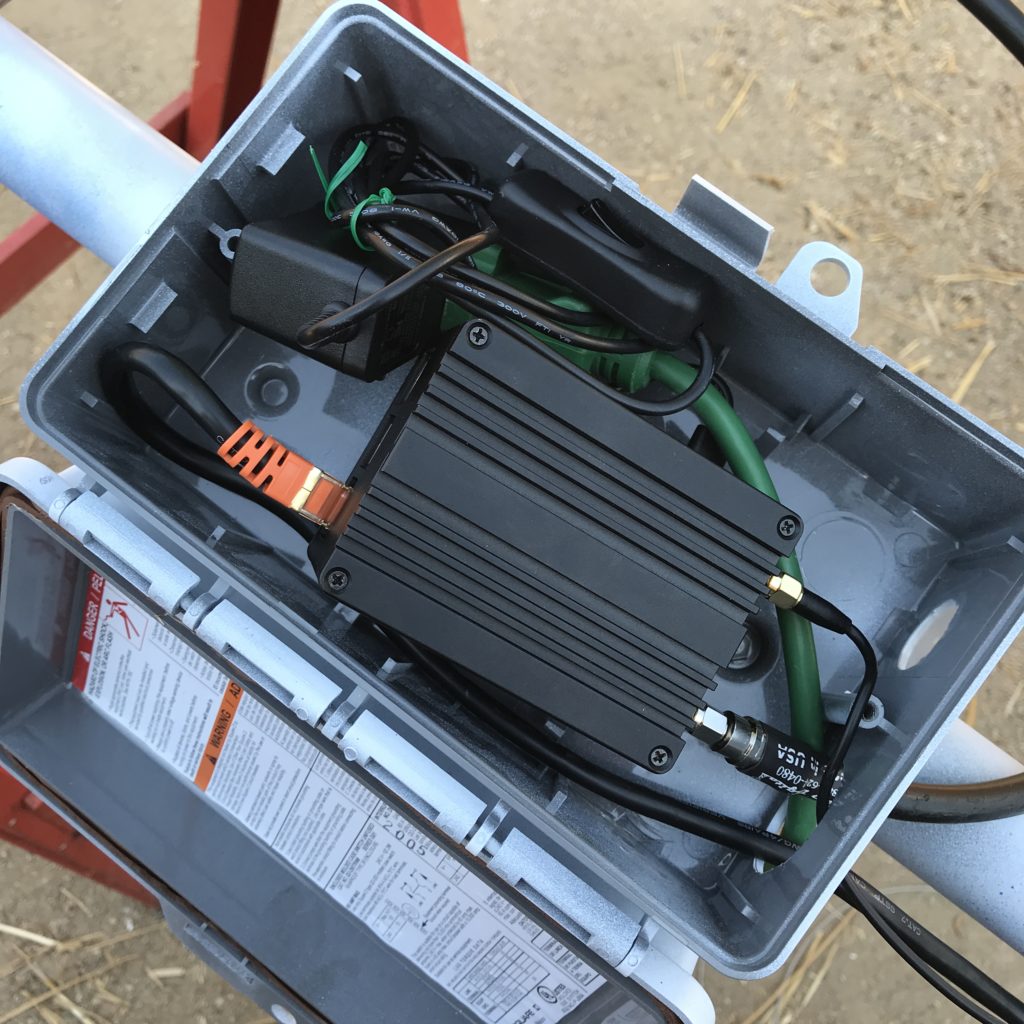
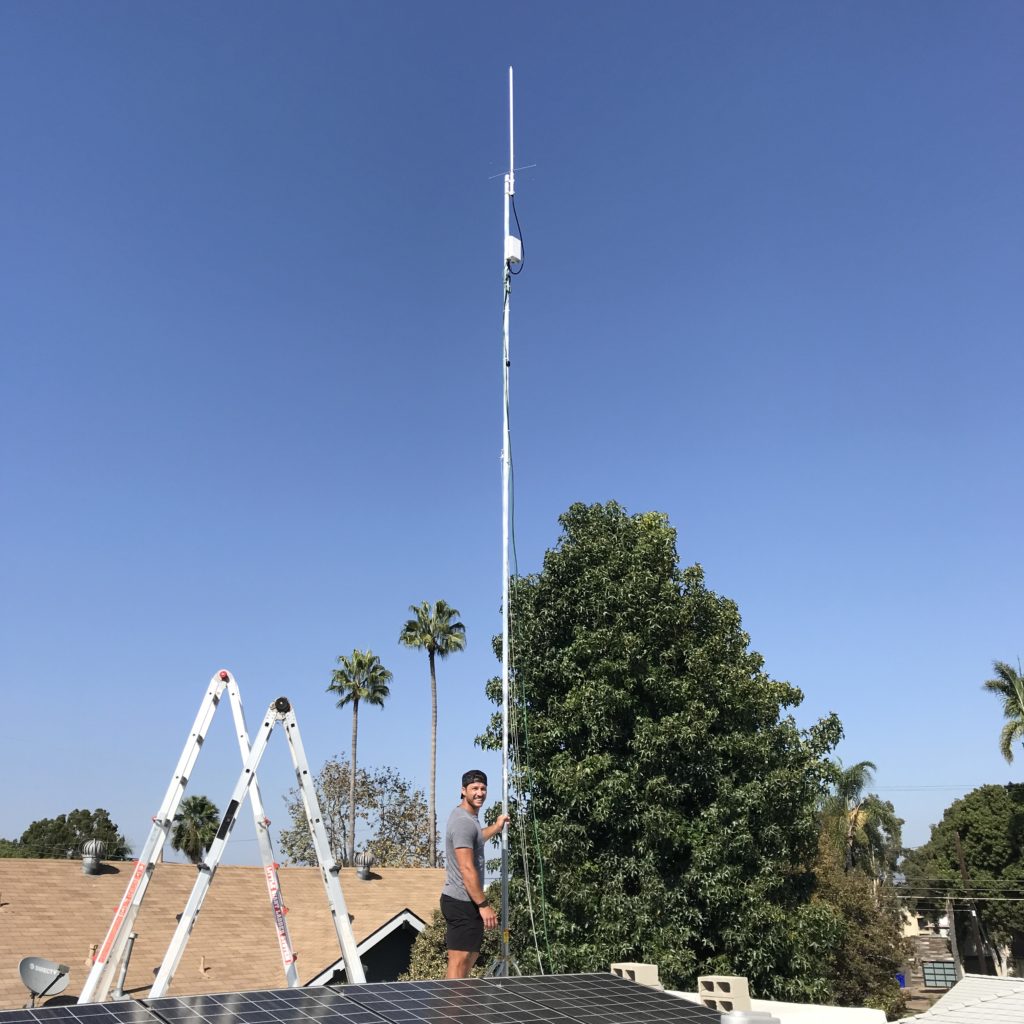
Hotspot: RAK
Antenna Mfr: Nearson
Antenna Gain: 9 dBi with an attenuator to remain within acceptable RSSI/SNR limits
Elevation (meters above ground): 10
Cable type used: LMR400
Mounting Deployment Notes: mounted on residential roof, in a now overcrowded area. First deployment, so used both a power cable (green) & and ethernet cable.
Hotspot Mfr: Helium Hotspot (The OG!)
Antenna Mfr: Nebra
Antenna Gain: 5.8 dBi
Elevation (meters above ground): 7
Cable type used: LMR400 UF
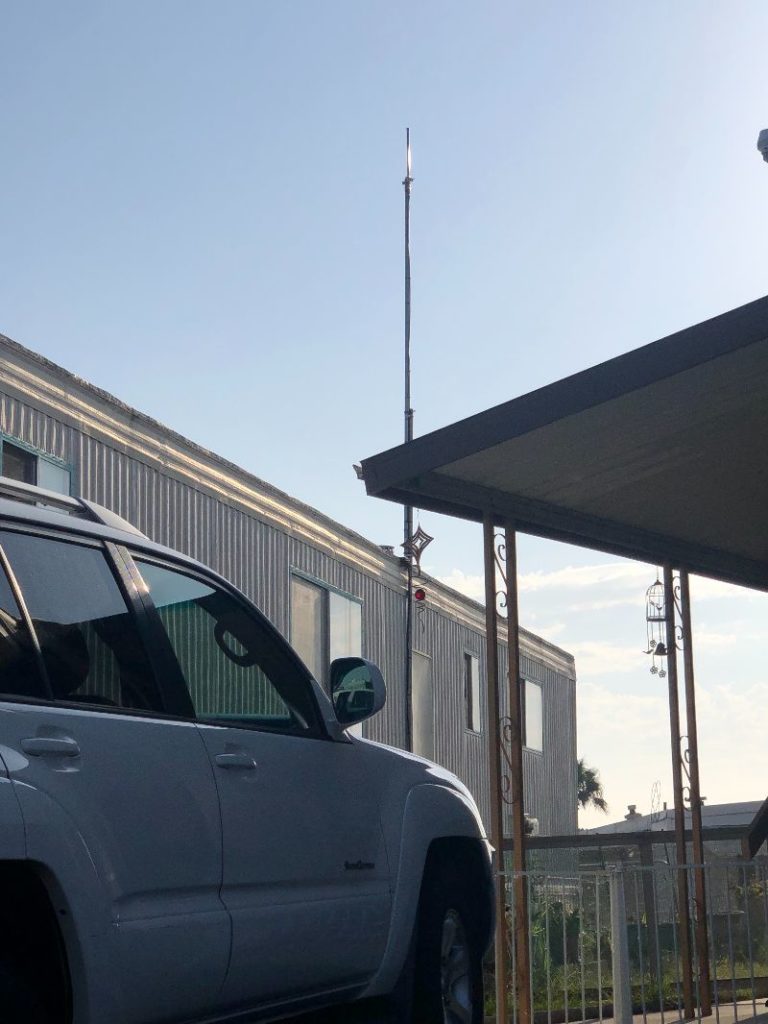
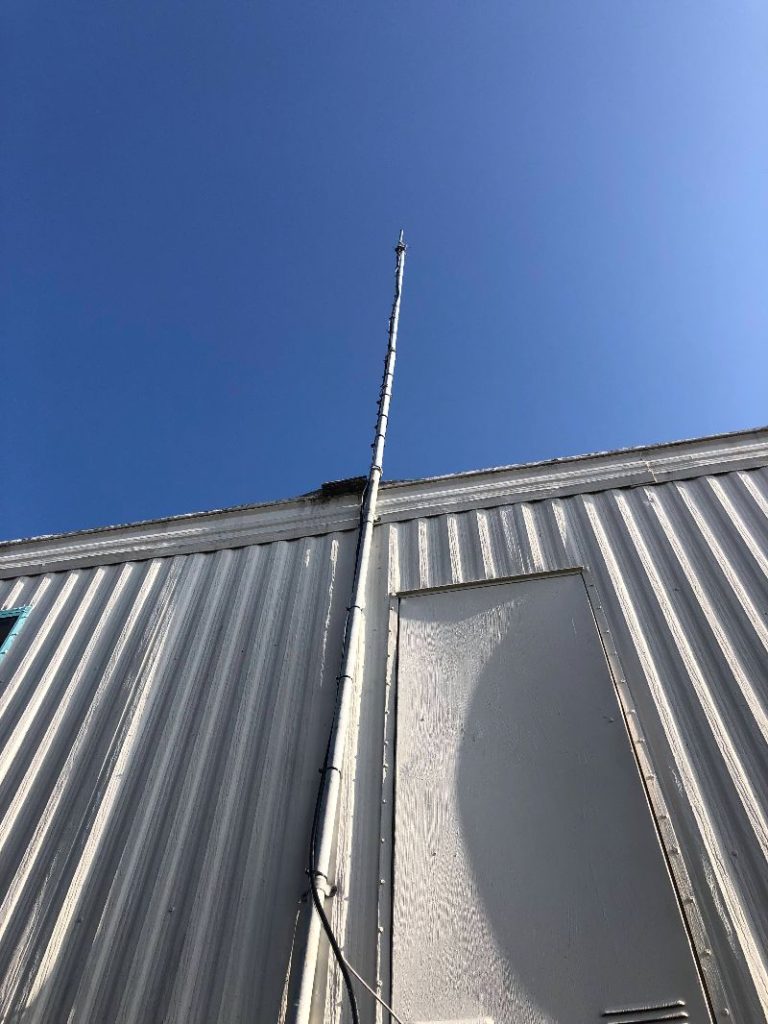
Mounting Deployment Notes: Lighting arrestor on antenna end, grounded to a water pipe. Home Depot 10.5 foot steel top rail attached to an old tv antenna pole with hose clamps and industrial zip ties(found on Amazon). If utilizing an old install, make sure to reinforce the old brackets or put new ones. The LMR400 I ran through the wall where the old coax cord went through into the living room. The white plastic coax cable cover I just made the hole a little bigger, put that putty drywall stuff in the wall and sealed the outside with a white all purpose sealant for roofs. Easiest install I’ve done.
Hotspot Mfr: RAK
Antenna Mfr: RAK Wireless
Antenna Gain: 8 dBi
Elevation (meters above ground): 21
Cable type used: direct connection
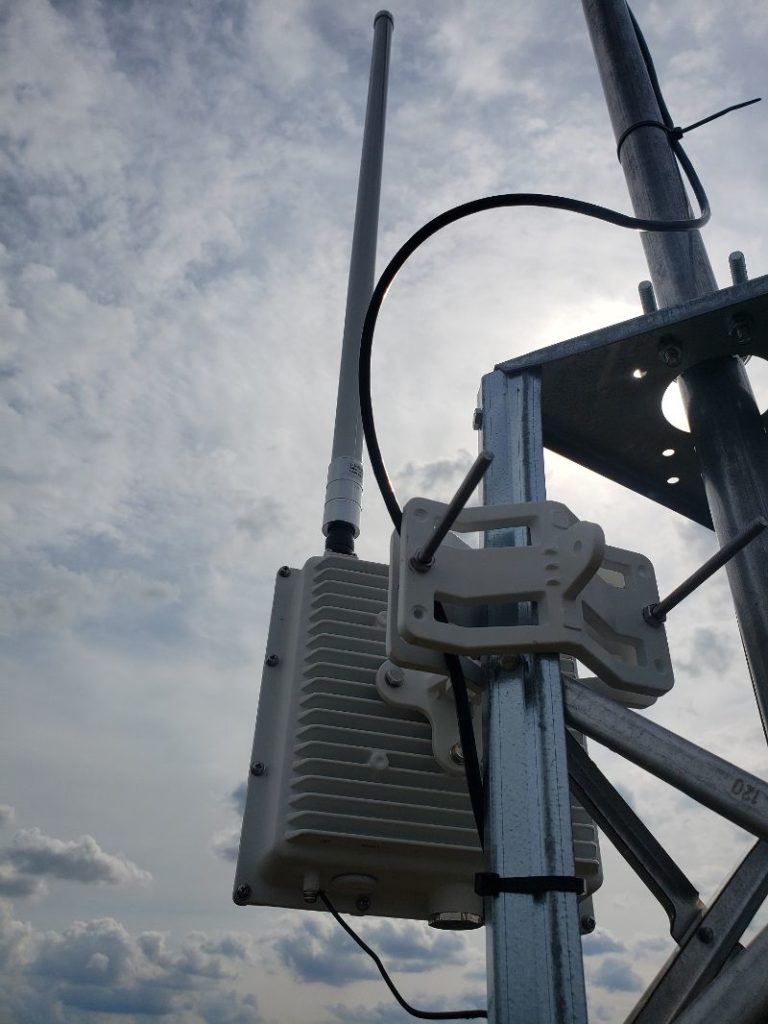
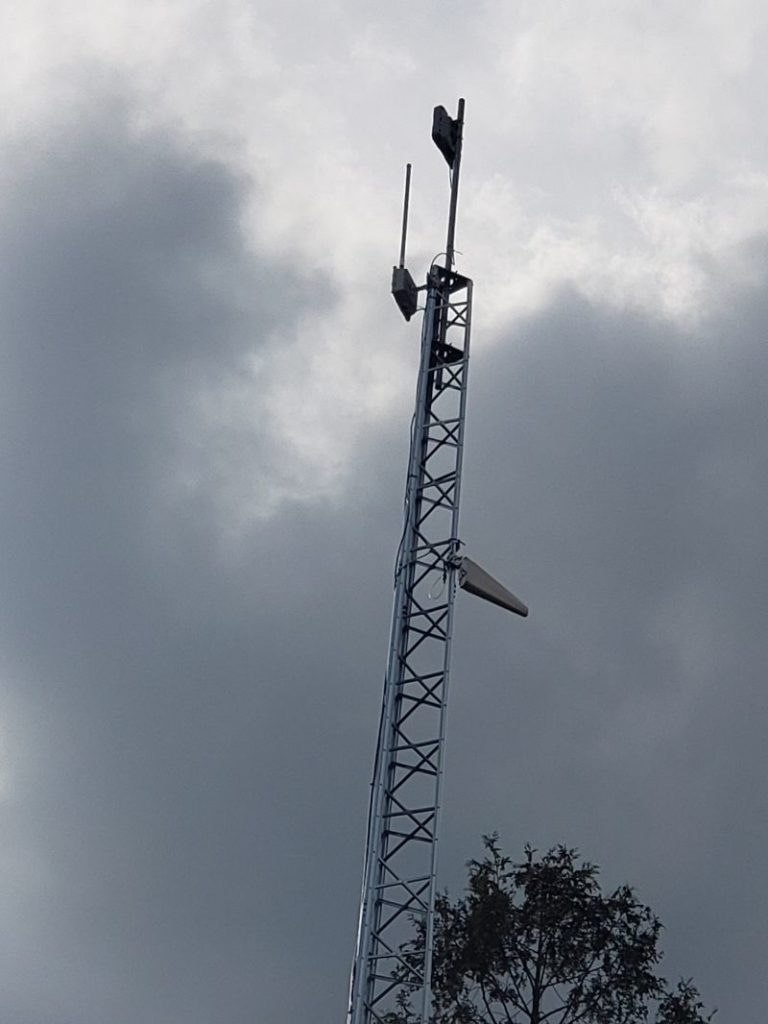
Mounting Deployment Notes: RAK miner installed in outdoor enclosure on 68ft self-supporting tower. I built this tower for my client last December in order to improve his wireless internet connection speed. I arranged to use his tower to test the location. Used 75ft premade CAT5 cable drop from miner to surge suppressor with messenger cable for grounding. Surge suppressor installed at the base of the tower and grounded to a copper grounding rod. 50ft CAT5 cable drop from surge suppressor to POE adapter. Installed on Sept 4th. Still under testing.
Hotspot Name: Quaint Ceramic Porcupine
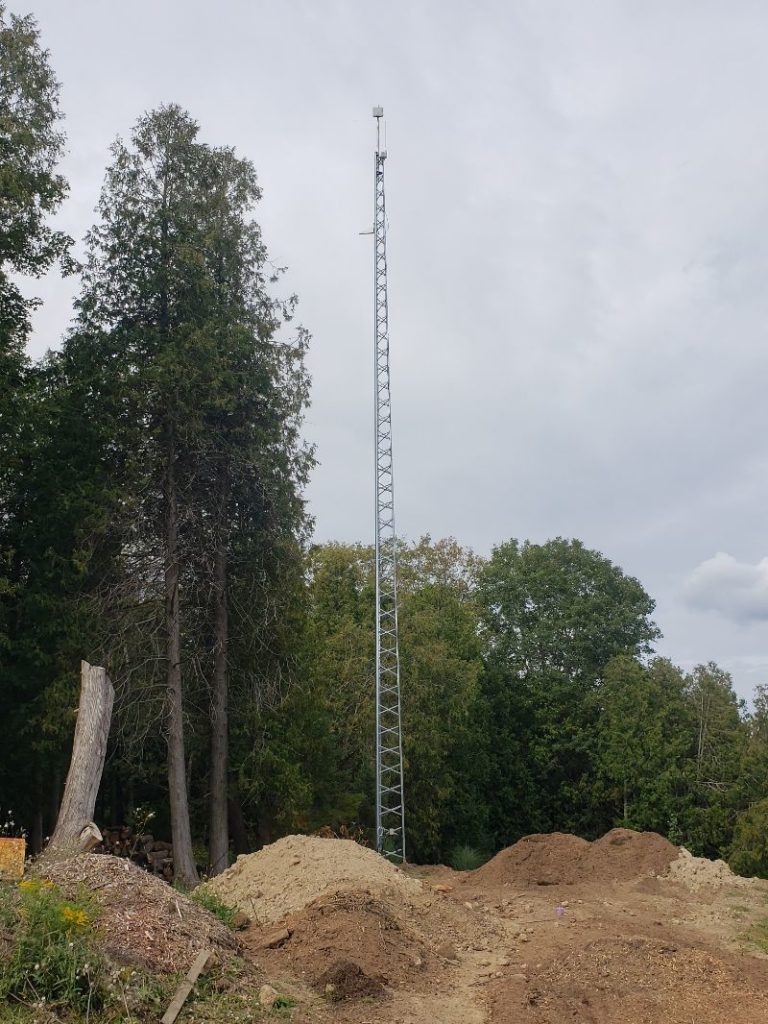
Hotspot Mfr: Bobcat
Antenna Mfr: RAK Wireless
Antenna Gain: 5.8
Elevation (meters above ground): 21
Cable type used: 30′ RG-214 silver plated wire
Mounting Deployment Notes: I used 30ft of RG-214 silver plated wire and I went ahead and got all the stripping and crimping tools along with connectors. I’m still being relayed. [The host] is worried about opening up port forwarding, so we are going to get our miner its own router to set up port forwarding.
Hotspot Name: Old Zinc Elk
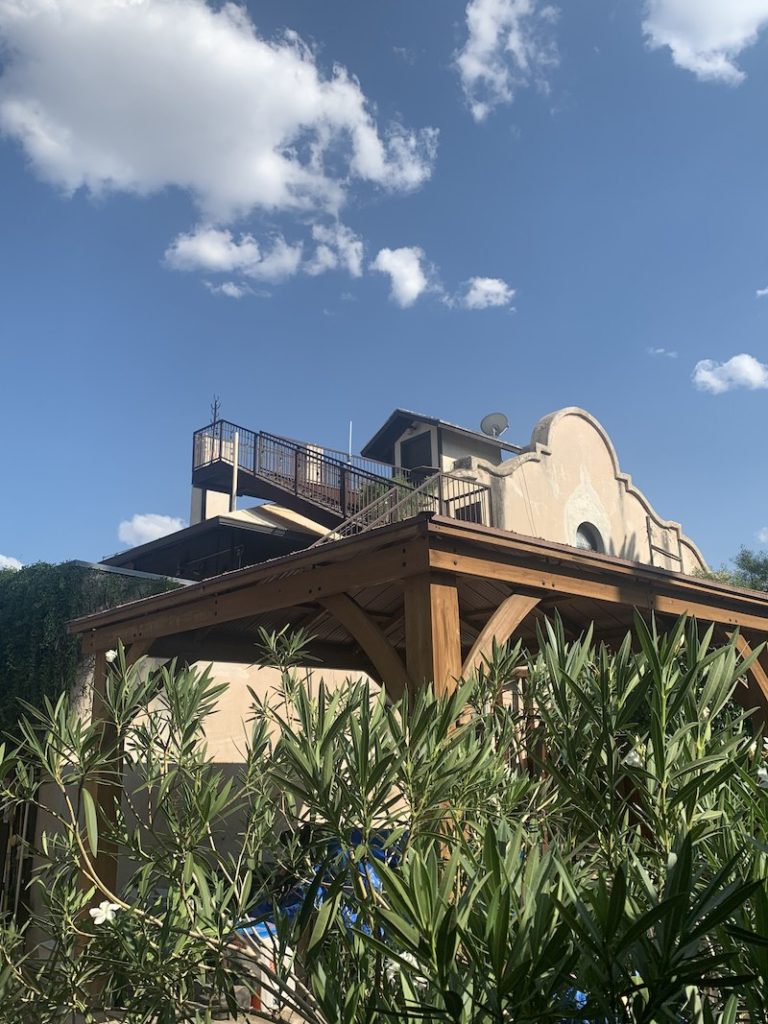
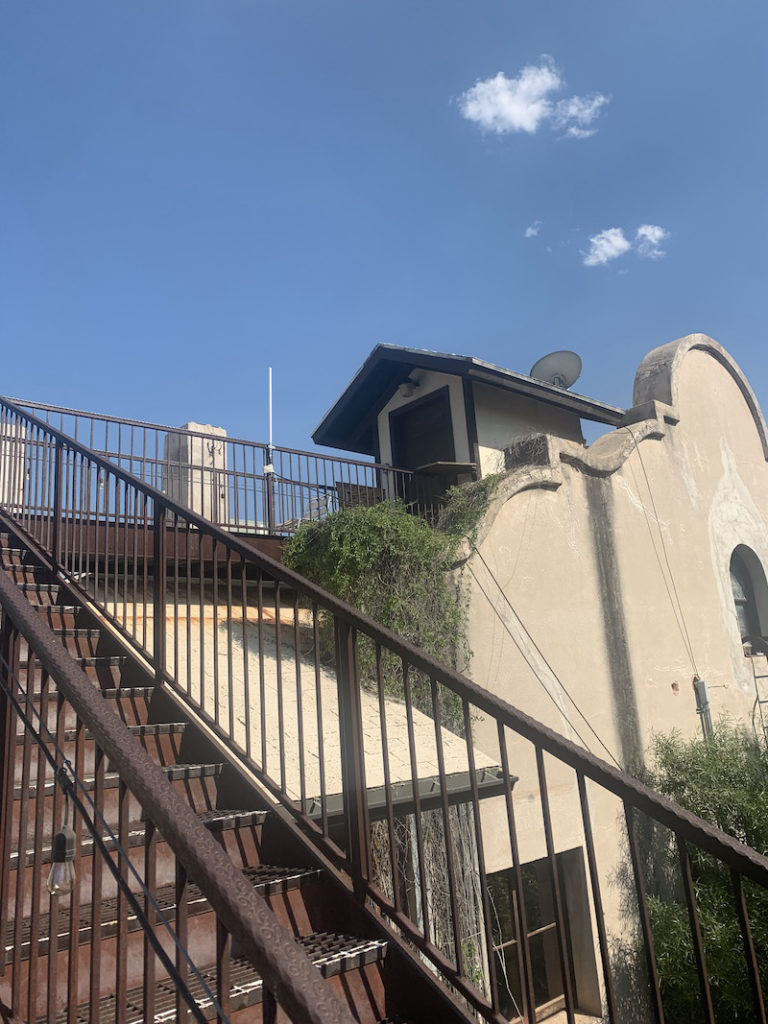
Hotspot Mfr: Bobcat Miner 300
Antenna Mfr: RAK Wireless
Antenna Gain: 5.8
Elevation (meters above ground): 7
Cable type used: 20′ LMR400
Mounting Deployment Notes: I used the Rakwireless bobcat outdoor enclosure kit. I spoke with my neighbor upstairs and asked for his permission to use the railing of his balcony for mounting. I drilled a hole through the exterior wall into my apartment for the CAT6 cable and mounted it neatly to the underside of the balcony, down the beam, and into the exterior enclosure.
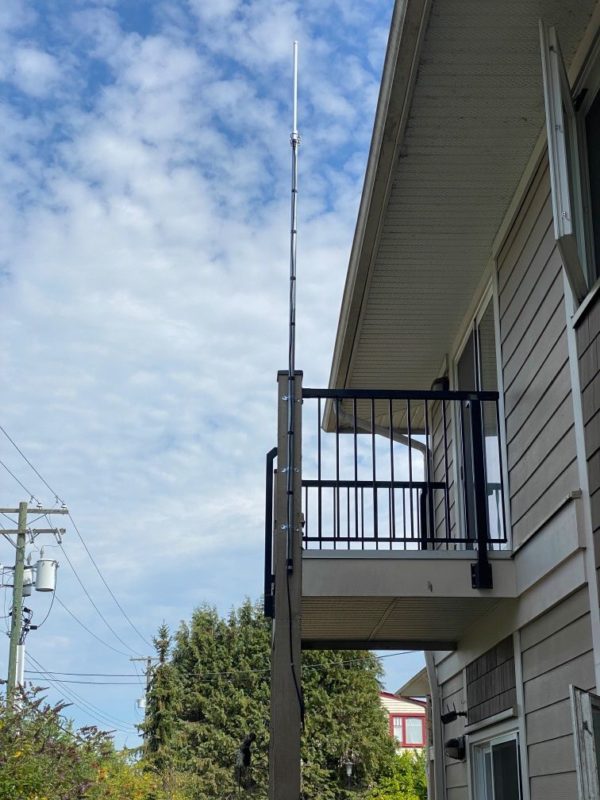
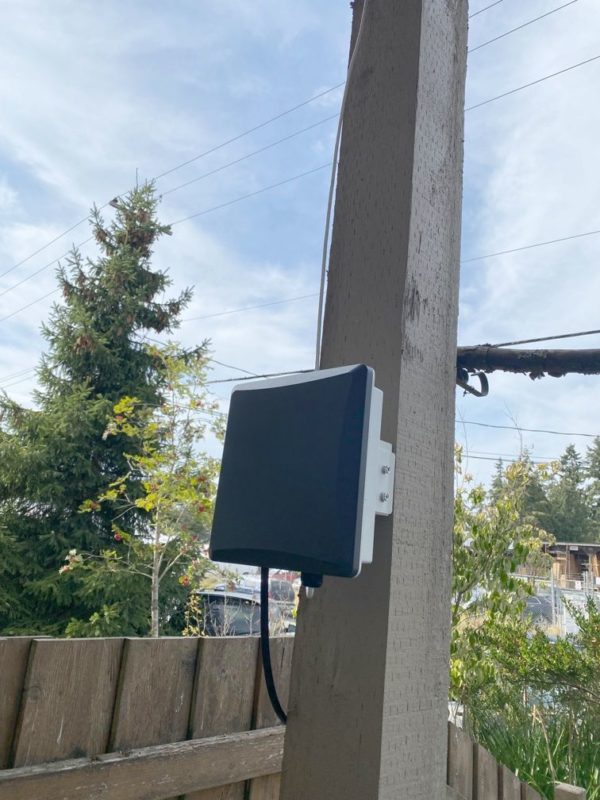
Hotspot Mfr: Bobcat Miner 300
Antenna Mfr: Rokland
Antenna Gain: 10
Elevation (meters above ground): 11
Cable type used: 30′ LMR400
Mounting Deployment Notes: Bobcat is inside, the antenna is mounted to my chimney. It is 35 feet above my driveway surface. I used hotspotrf to determine the height and antenna gain so my setup should be getting about 19 witnesses, but I’m having ZERO luck and only earn .01 HNT most days (from initiating challenges only, I have 0 witnesses). I do have a 5.8 dBi and a 8 dBi antenna on the way from RAK right now. I’m hoping that I am just missing the witnesses with too much antenna gain and a different antenna will fix the issue.
Hotspot Name: Rich Cerulean Sparrow
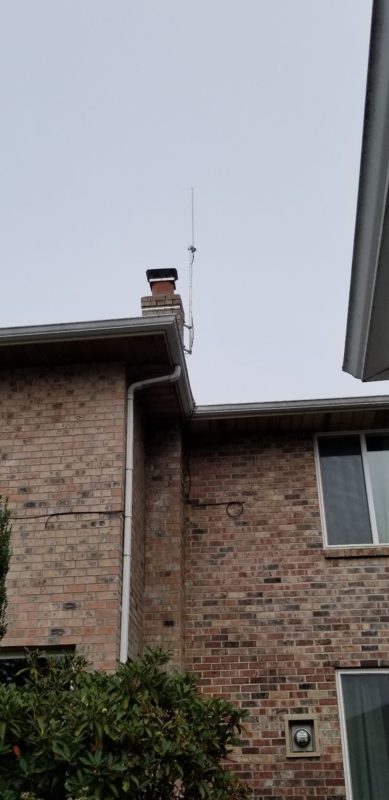
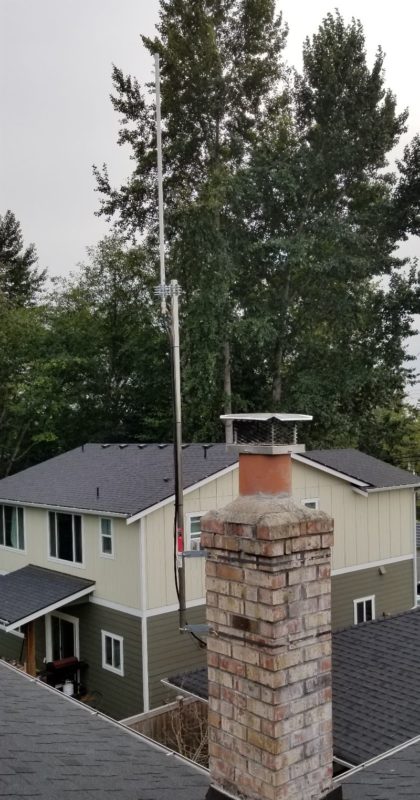
Hotspot Mfr: SenseCAP M1
Antenna Mfr: HNTenna
Antenna Gain: 3
Elevation (meters above ground): 24
Cable type used: LMR600
Mounting Deployment Notes: The biggest challenge was getting the antenna up in the 65ft tree. First, I used 50ft of 1 in conduit PVC, strung together, and shoved it up the tree. It probably took 300 times to get it in the position it is in now. It could be more to the left, but after 300 tries and one week later, it’s good enough. Next, we need to get the antenna on top. Using the 50ft of LMR600, I strapped about 100ft of 550 (parachute) cord to an old N type connector, and using 1/2 underground watering plastic hose, pushed the LMR600 over the top, until it came down the side of the tree, to where I could reach it. I connected the antenna, and using the 550 cord, pulled the LMR600 back down through the conduit, until the antenna calmly rested at the top. This took about eight tries to accomplish. The conduit decided to come barreling down the side of the tree most times, or the 550 cord snapped because of the sharp edges on the connector. Once the cable was back through the tube and the antenna was secure to the top, I cut the conduit and cable to length, installed the box in the tree, and hooked everything up. I have a 12v fan mounted on the cover, running off a 5v iPhone charger. Using discovery, I am hitting about 550 hotspots. So far, I am up to 170 on the explorer.
Hotspot Name: Hot Orchid Okapi
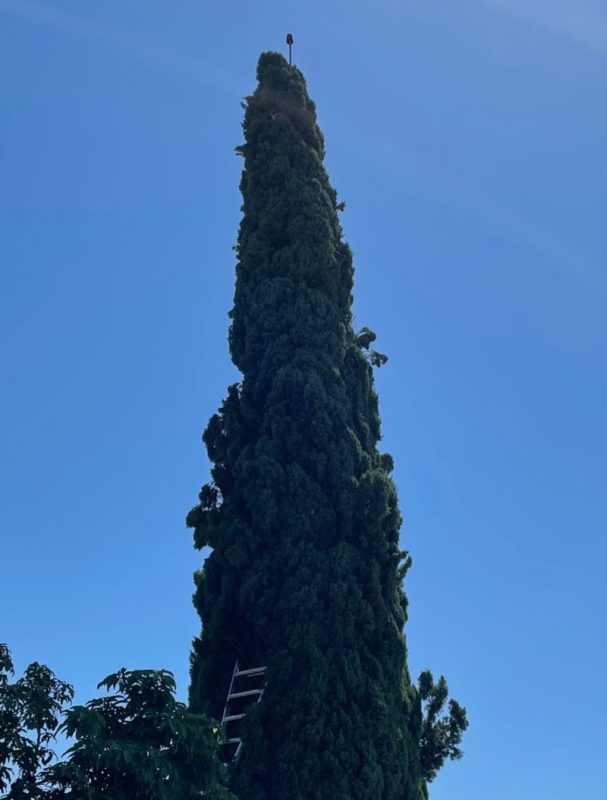
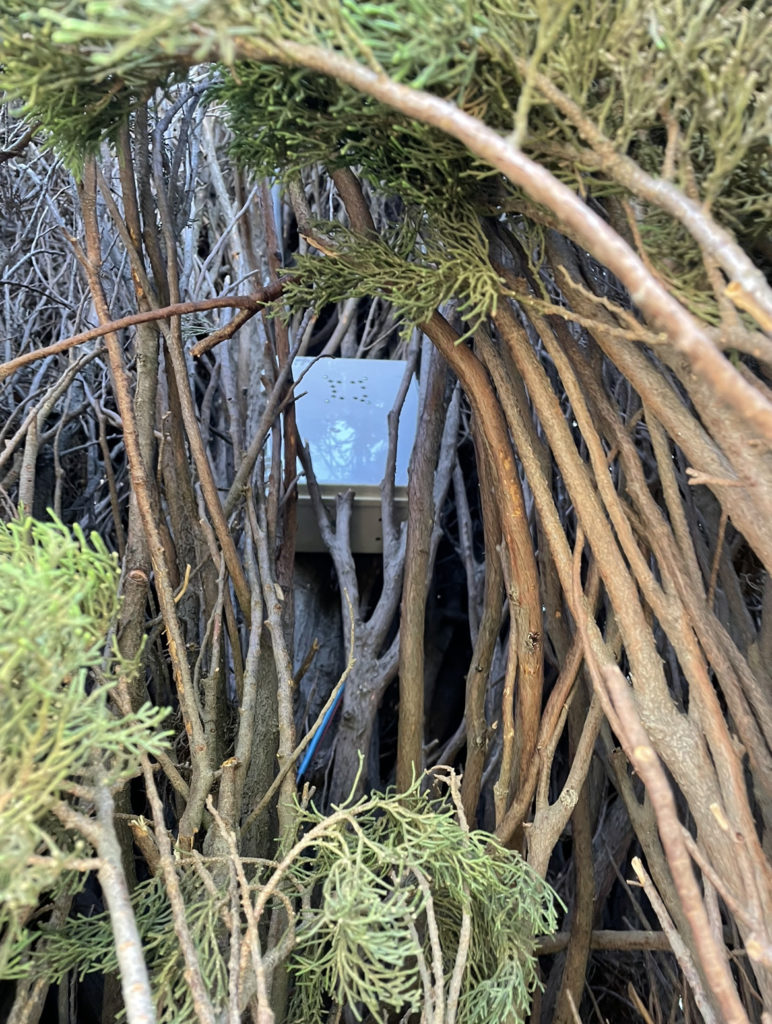
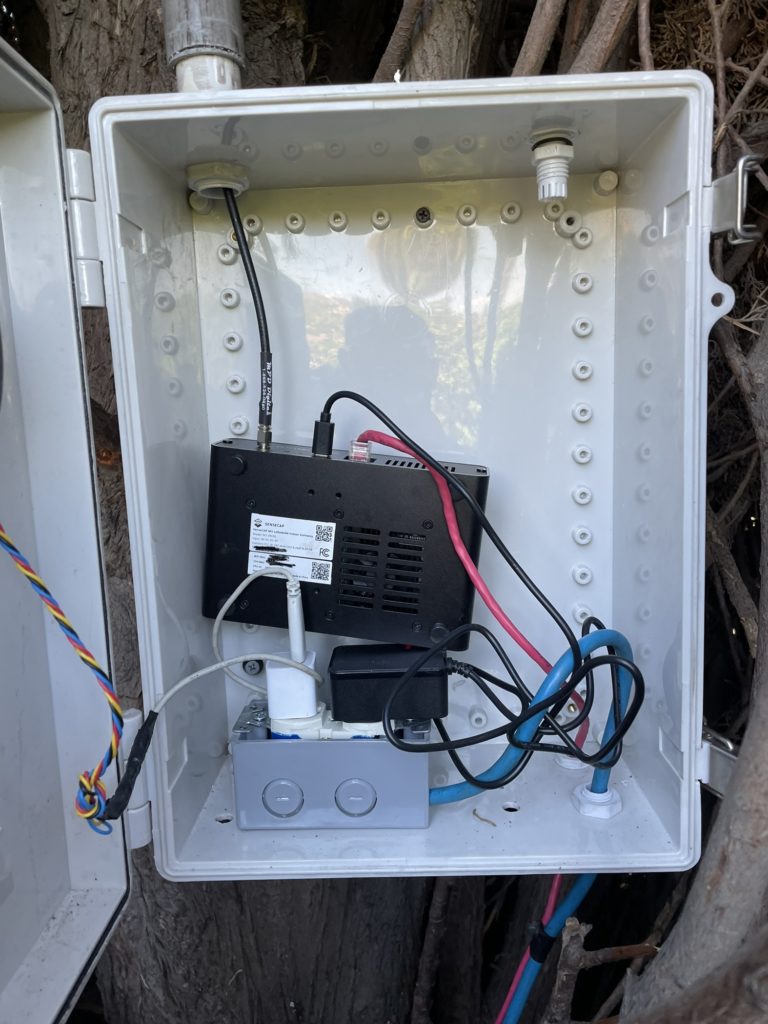
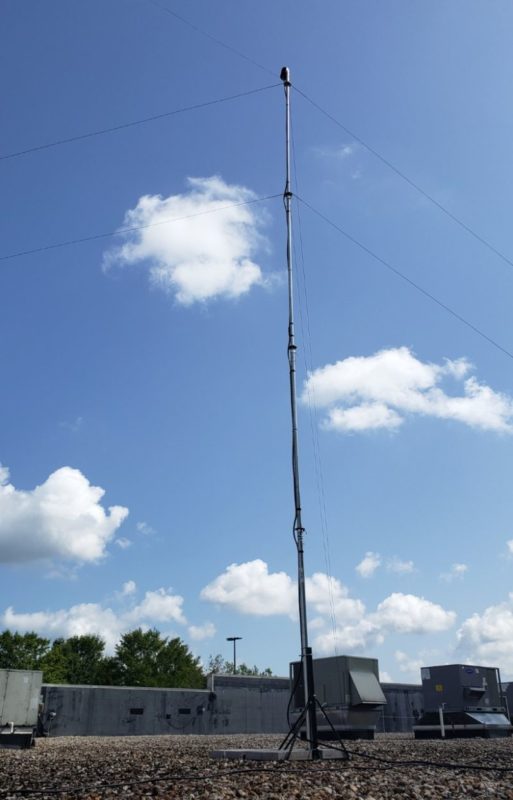
Hotspot Mfr: SenseCAP M1
Antenna Mfr: HNTenna
Antenna Gain: 3
Elevation (meters above ground): 13
Cable type used: 70′ LMR600
Mounting Deployment Notes: I just received a RAK outdoor enclosure and I will be mounting the hotspot on the mast. It was originally a Bobcat at this location and I didn’t trust it outdoors. It’s located on a commercial building using a non penetrating roof mount and a telescoping 28 ft. mast. It’s located on the edge of 13 well spaced hotspots and doubles the rewards of the next best one in the group, well worth the effort of guying a tall mast!
Hotspot Name: not provided
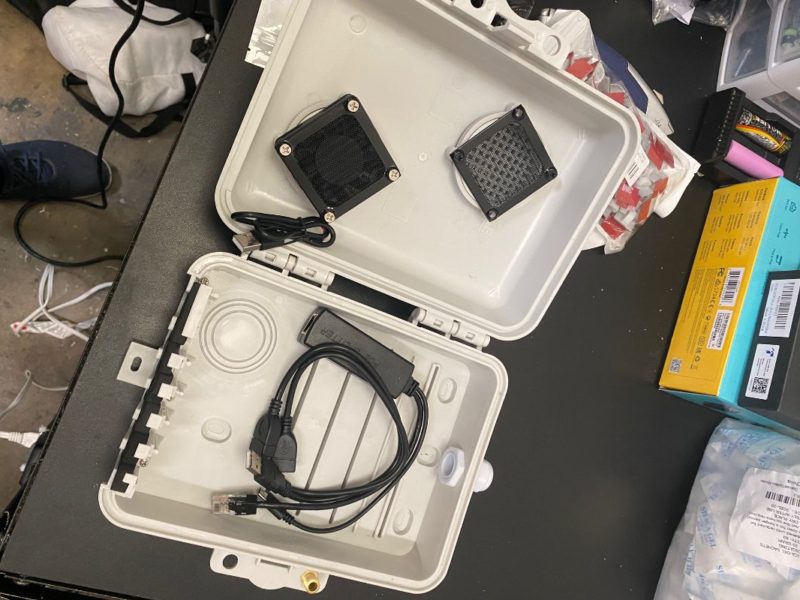
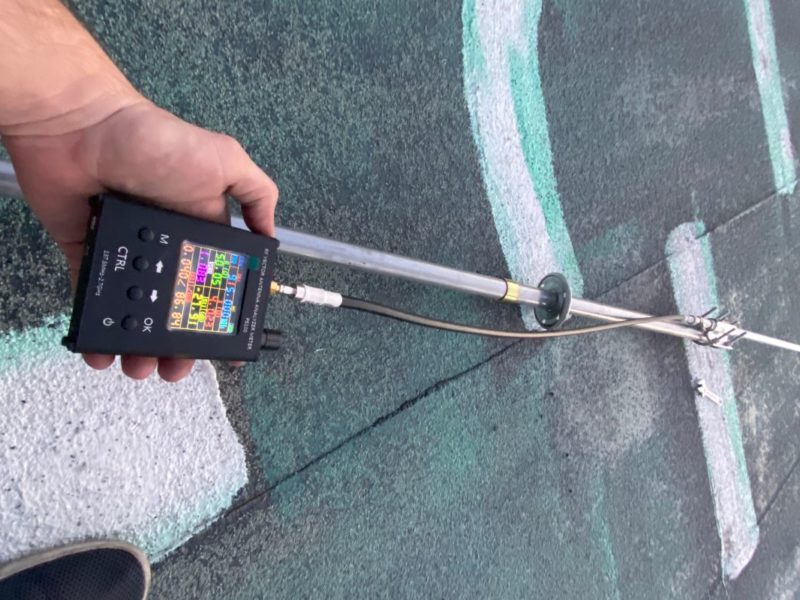
Hotspot Mfr: RAK Hotspot
Antenna Mfr: L‑Com
Antenna Gain: 8
Elevation (meters above ground): 15
Cable type used: LMR400
Mounting Deployment Notes: 31′ Telescoping Mast on top of an industrial warehouse. Powered w/ PoE.
Hotspot Name: Fancy Orchid Pigeon
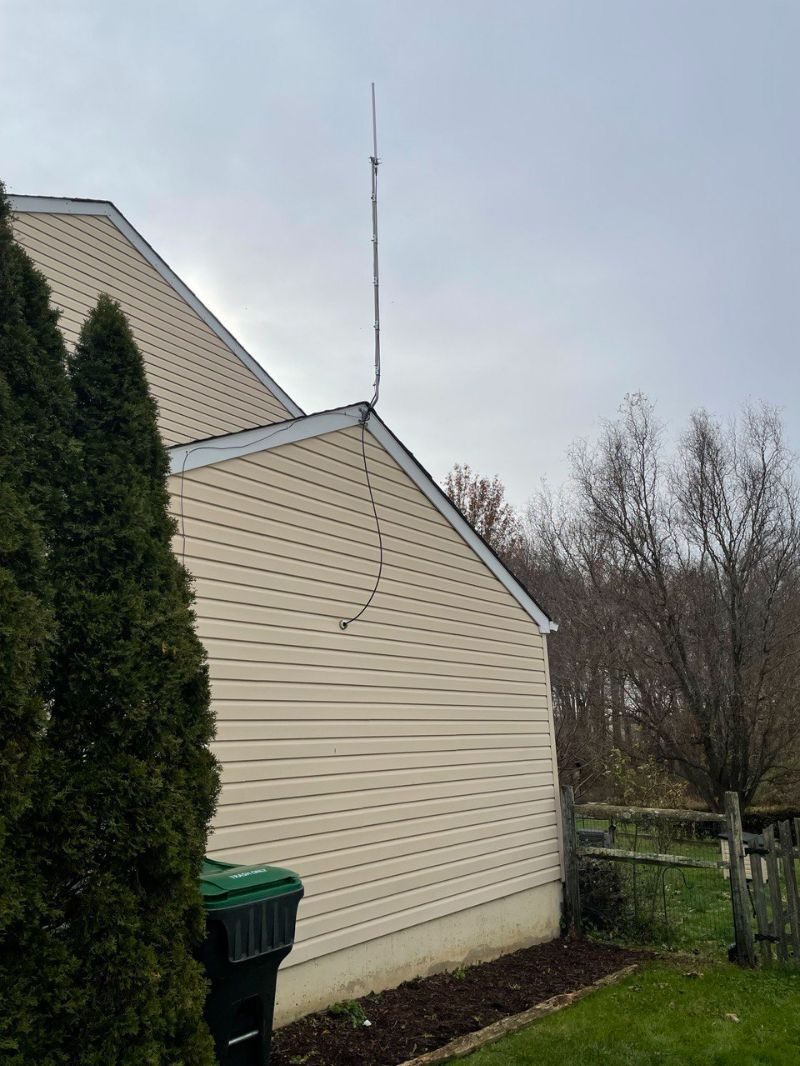
Hotspot Mfr: RAK Hotspot
Antenna Mfr: RAK Wireless
Antenna Gain: 8
Elevation (meters above ground): 7
Cable type used: LMR400 trim to 5.332m (36 1/2 wavelength @ 915MHz
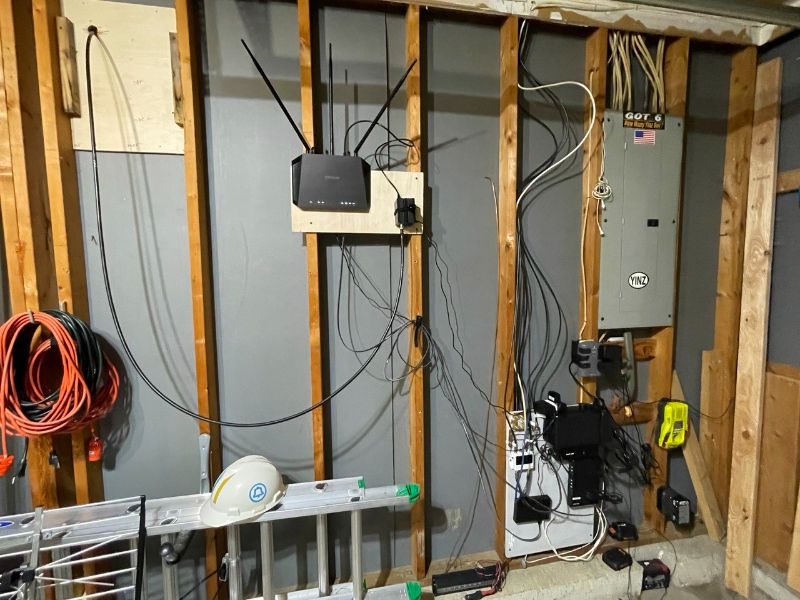
Mounting Deployment Notes: Mounting used a cantilever beam eve mount about the garage. Added solid copper 6 AWG for suppressor drain to earth ground spike at electrical service entry. Used a pass through to garage for feeder cable typically with marine cabin antennas. Has an option to add an inline step attenuator 1–30 dBi to tune antenna gain. Sealed external N‑Types connectors with teflon/silicone/PVC electrical tapes.
If you’d like to share your work, I’ll give it a quick review to make sure it looks good & get yours posted up ASAP. Thank you for contributing!

Leave a Reply