
One of many extraordinary aspects of being alive in 2023 is access to resources. In this case, it was access both to a 3D printer (a Prusa Mk3S+ I assembled from the kit) and finding design talent to get maximum value of the printer. Before we get there though, let’s start at the beginning.
Sometime in December of 2022 I’d ordered a soil moisture sensor from MakerFabs, an outfit out of Shenzen China set up to produce open source hardware.
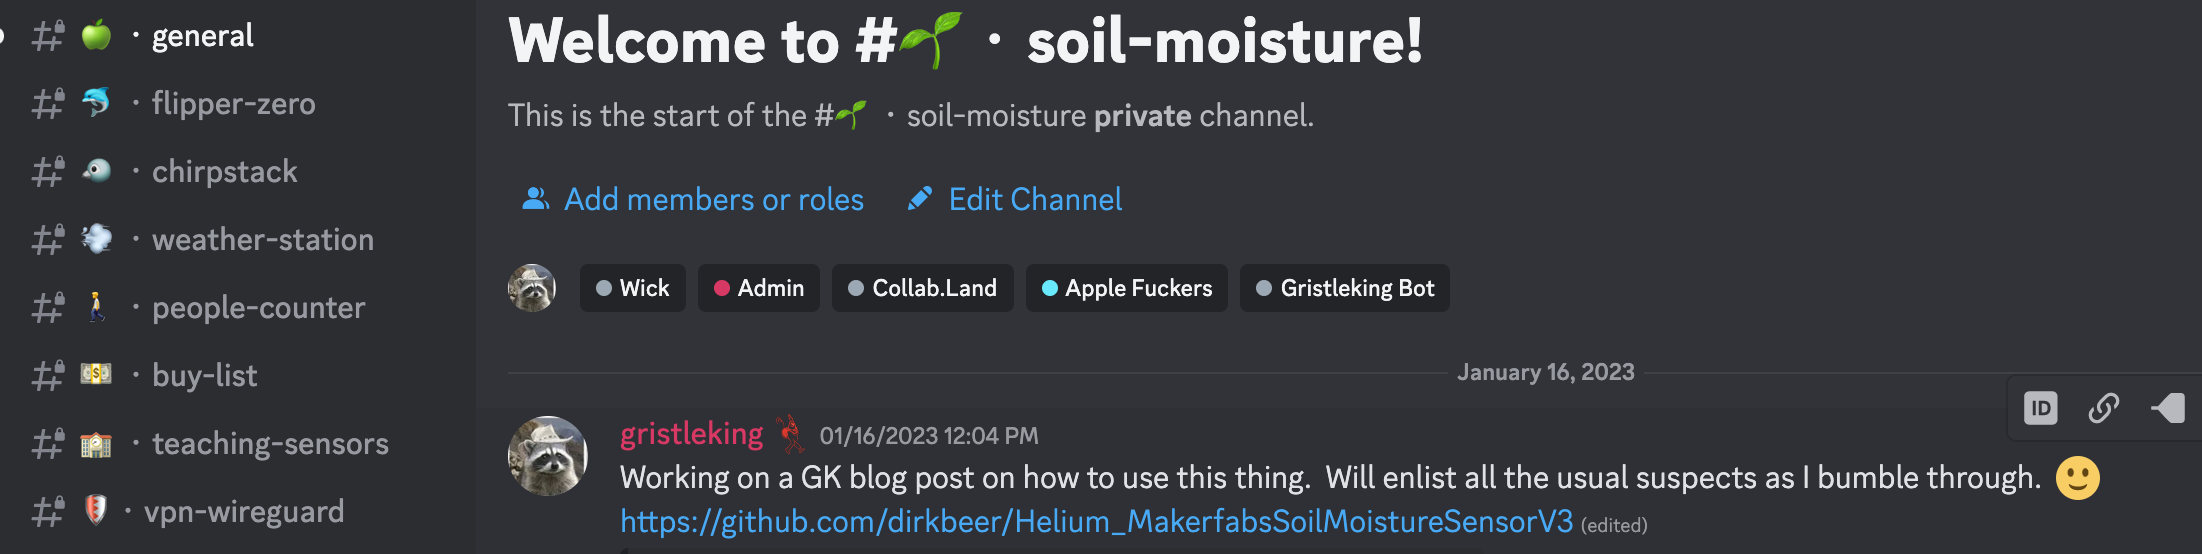
I thought it’d be a fun project, I knew that many others had already done it, and that while there might be fiddly bits, it was a well trodden path. I was mostly right, and helped by a bunch of tech savvy people in a channel on the GK Discord server, I ended up writing a post on how to get this LoRa sensor onto Helium’s LoRaWAN network.
The one thing that bugged me was the enclosure it came with. It had 2 areas for improvement.
First, it didn’t really protect from moisture getting in. The case is a 2‑piece design with a few vents in the side for airflow.
Dirk (our GK engineer) had put a couple of ’em in the ground a few weeks before me and was seeing moisture inside of the case. The seams aren’t watertight, and the vents don’t protect at all from water coming in from the side. Now, the board and the parts on it are covered (as I understand it) with a protective film, but the twin AA batteries are open to the world.
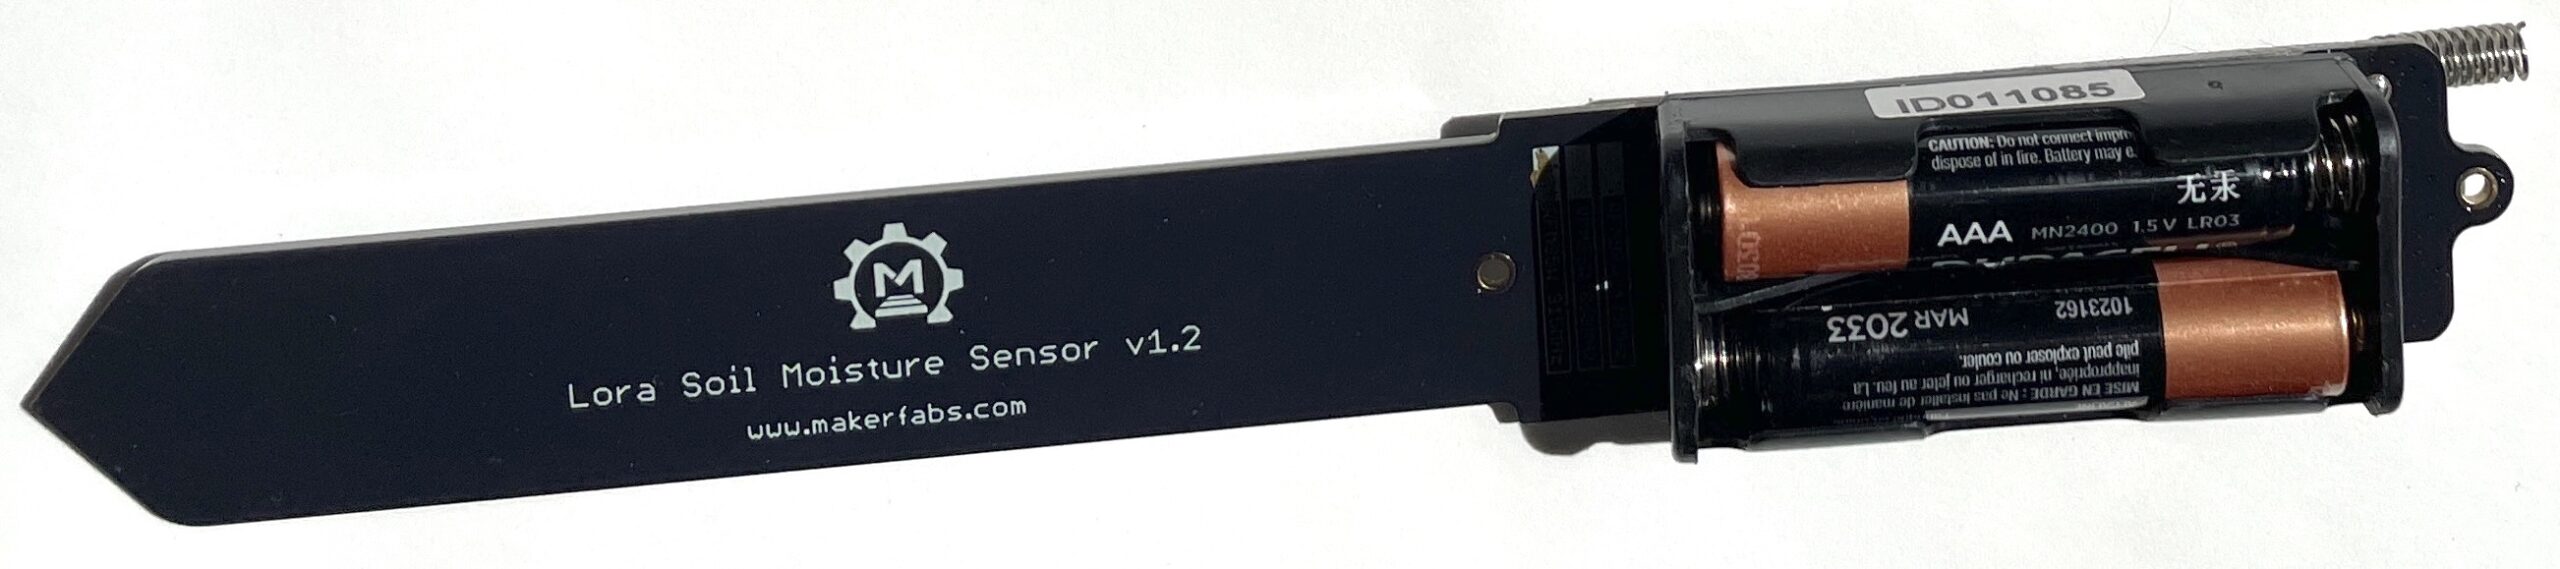
Second, it is a royal pain in the ass to open and close. It ships with 2 x M2x8 bolts and nuts. The bolts are just barely long enough to get through both sides of the case, and the way the case is set up makes it really fiddly to actually thread the nut on. It’s not impossible, just an unnecessary obstacle. I tried replacing the 8mm versions with 12mm long bolts, and that was slightly easier, but still, not what I wanted.
Obviously once you’ve got the sensor up and running you don’t really care about opening up the case, but there was just something about not having a well designed case that triggered the thought, “I can improve this.” So I did.
I started by thinking about what I wanted: A case that I could open up easily with minimal tools, one that protected the batteries from moisture while giving the actual sensor (an AHT10) plenty of airflow, and something I could print at home on the Prusa. The material had to be something that could withstand being outside and exposed to the elements, so I settled on ASA filament. ASA is a UV-resistant form of ABS, a durable plastic.
I thought a mushroom shape would work well, so I sat down and sketched out a first draft.
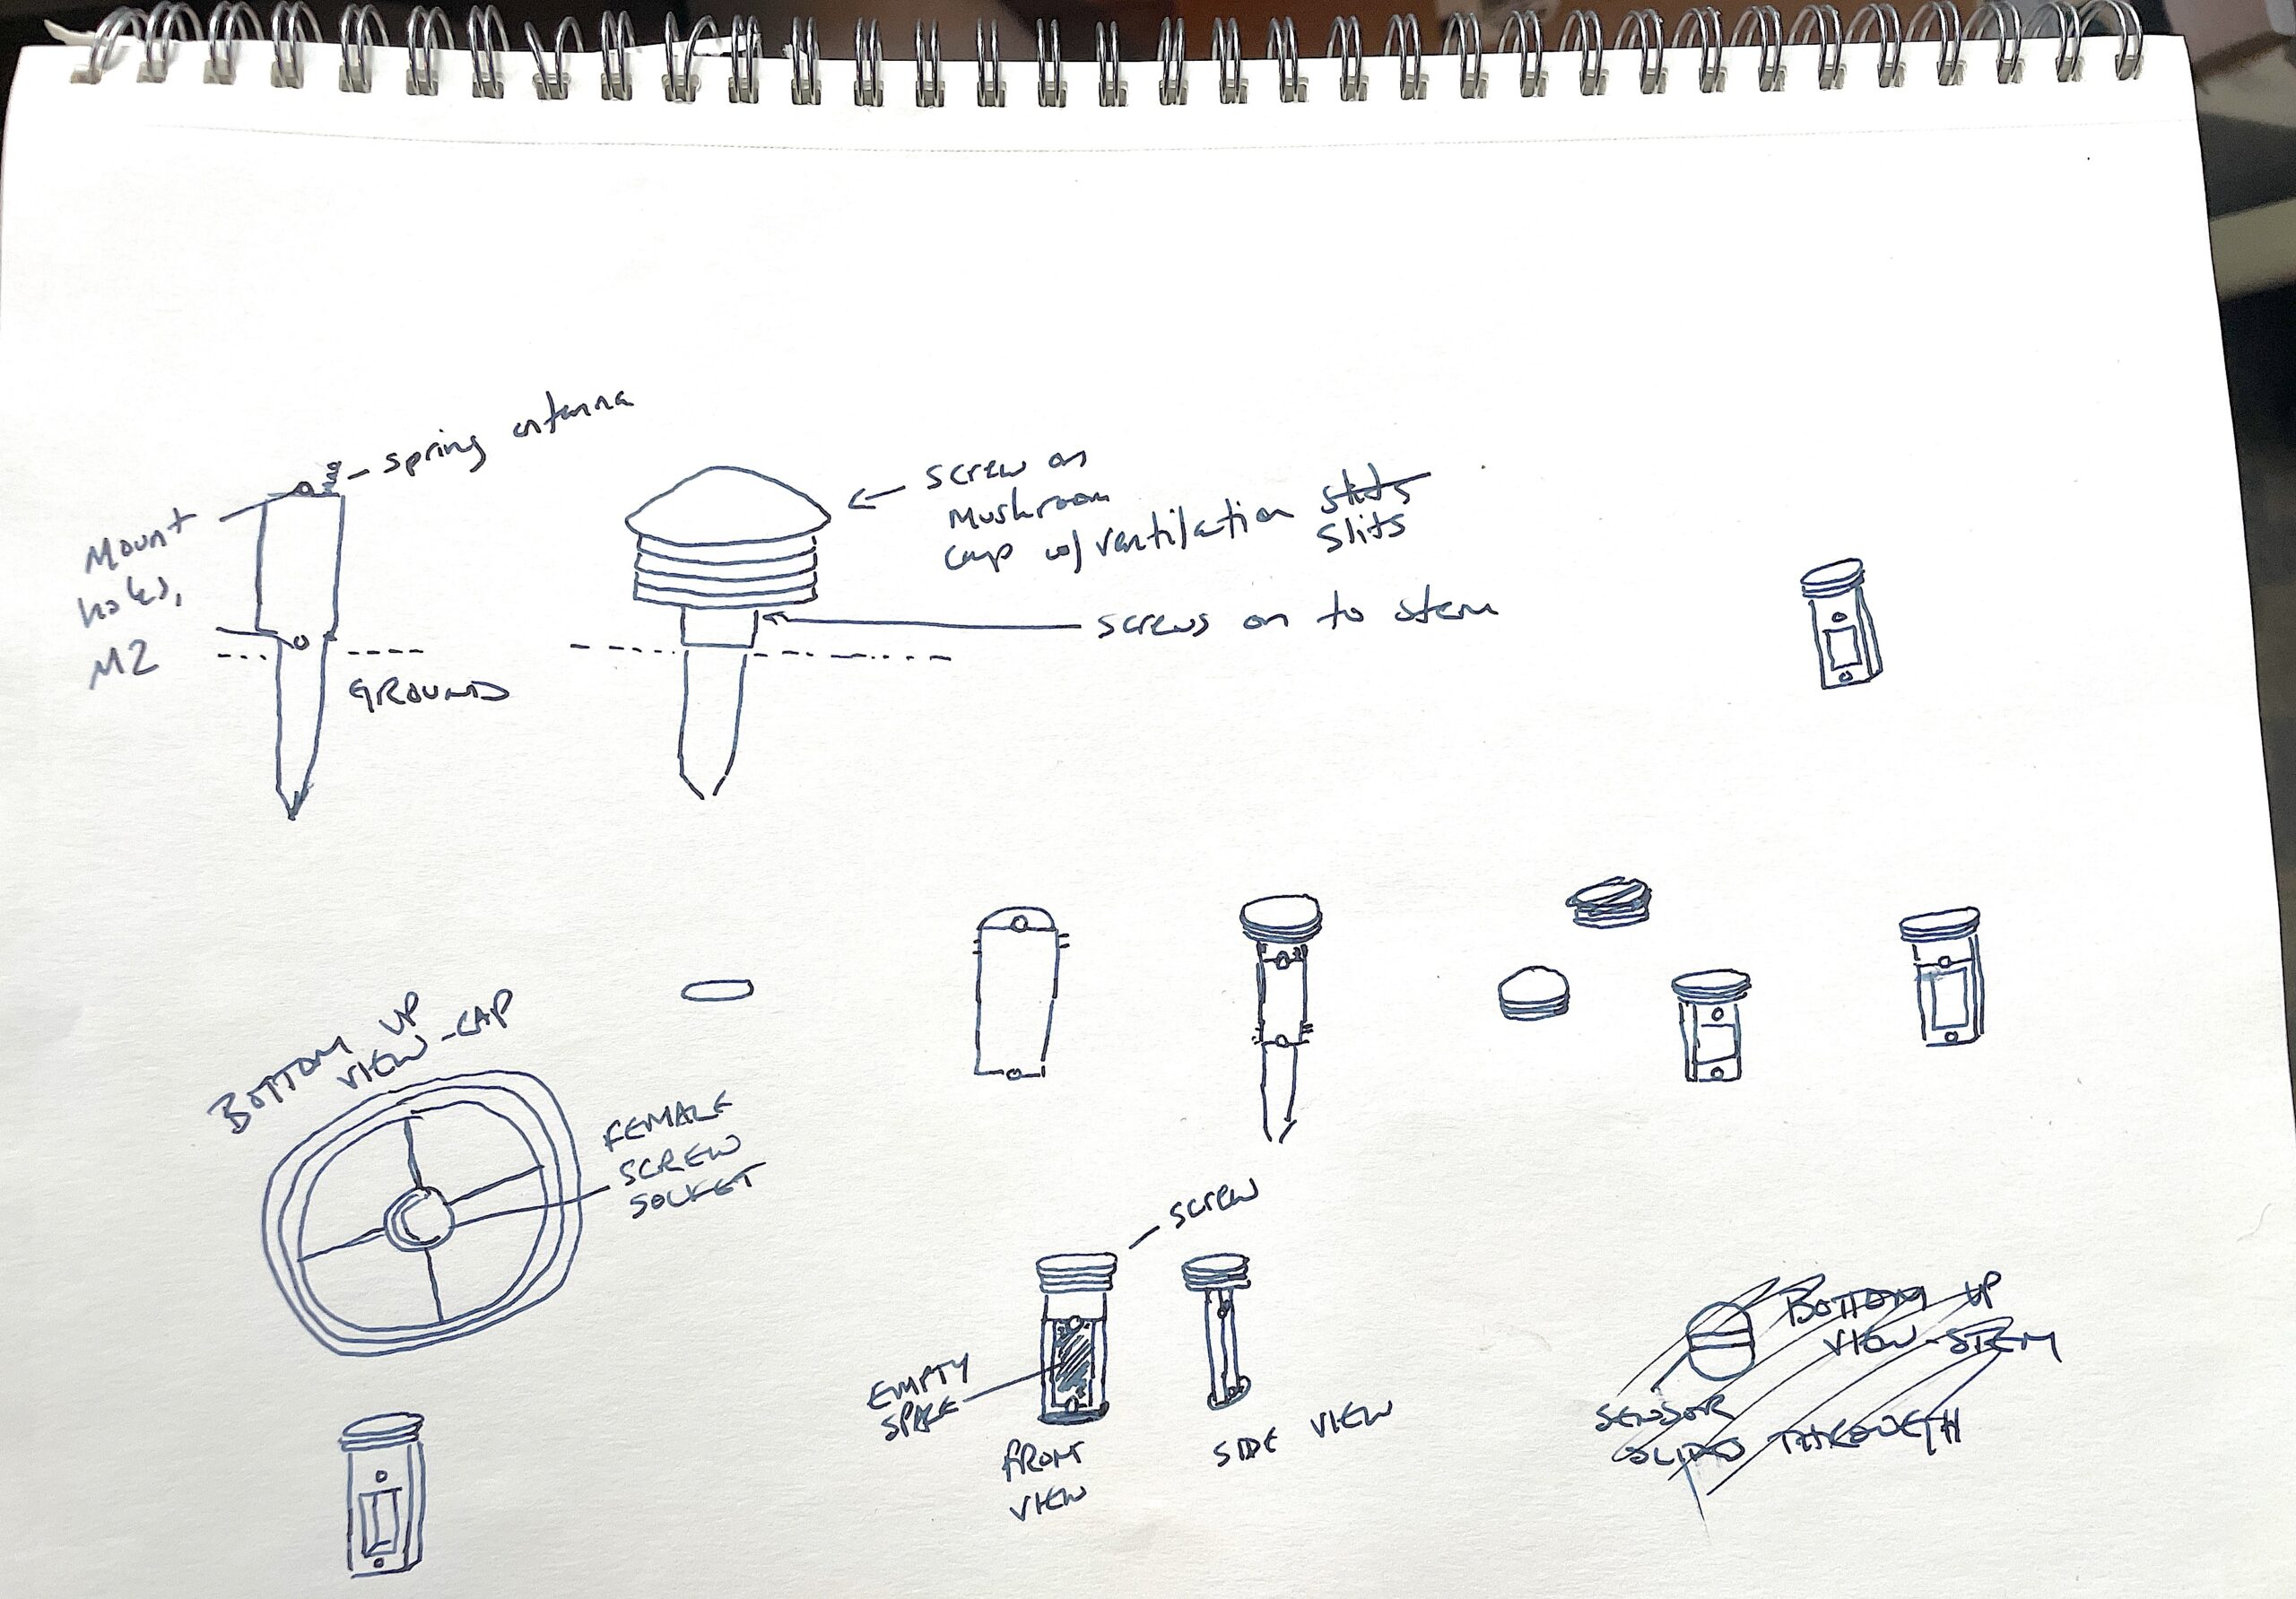
As you’ll see, this isn’t what we ended up with, but it’s close. The lesson here is to start. Your idea doesn’t have to be perfect, you’ve just got to get it out of your head and into some medium you can share.
Now, while I have a 3D printer, I am not by a long shot a 3D designer. Here’s where the rad part of being alive in 2023 comes in: Designers (and experts of all types) are getting easier and easier to find. I turned to Upwork to find mine. I wrote up a creative brief of what I wanted, added in a few parameters, and posted it.
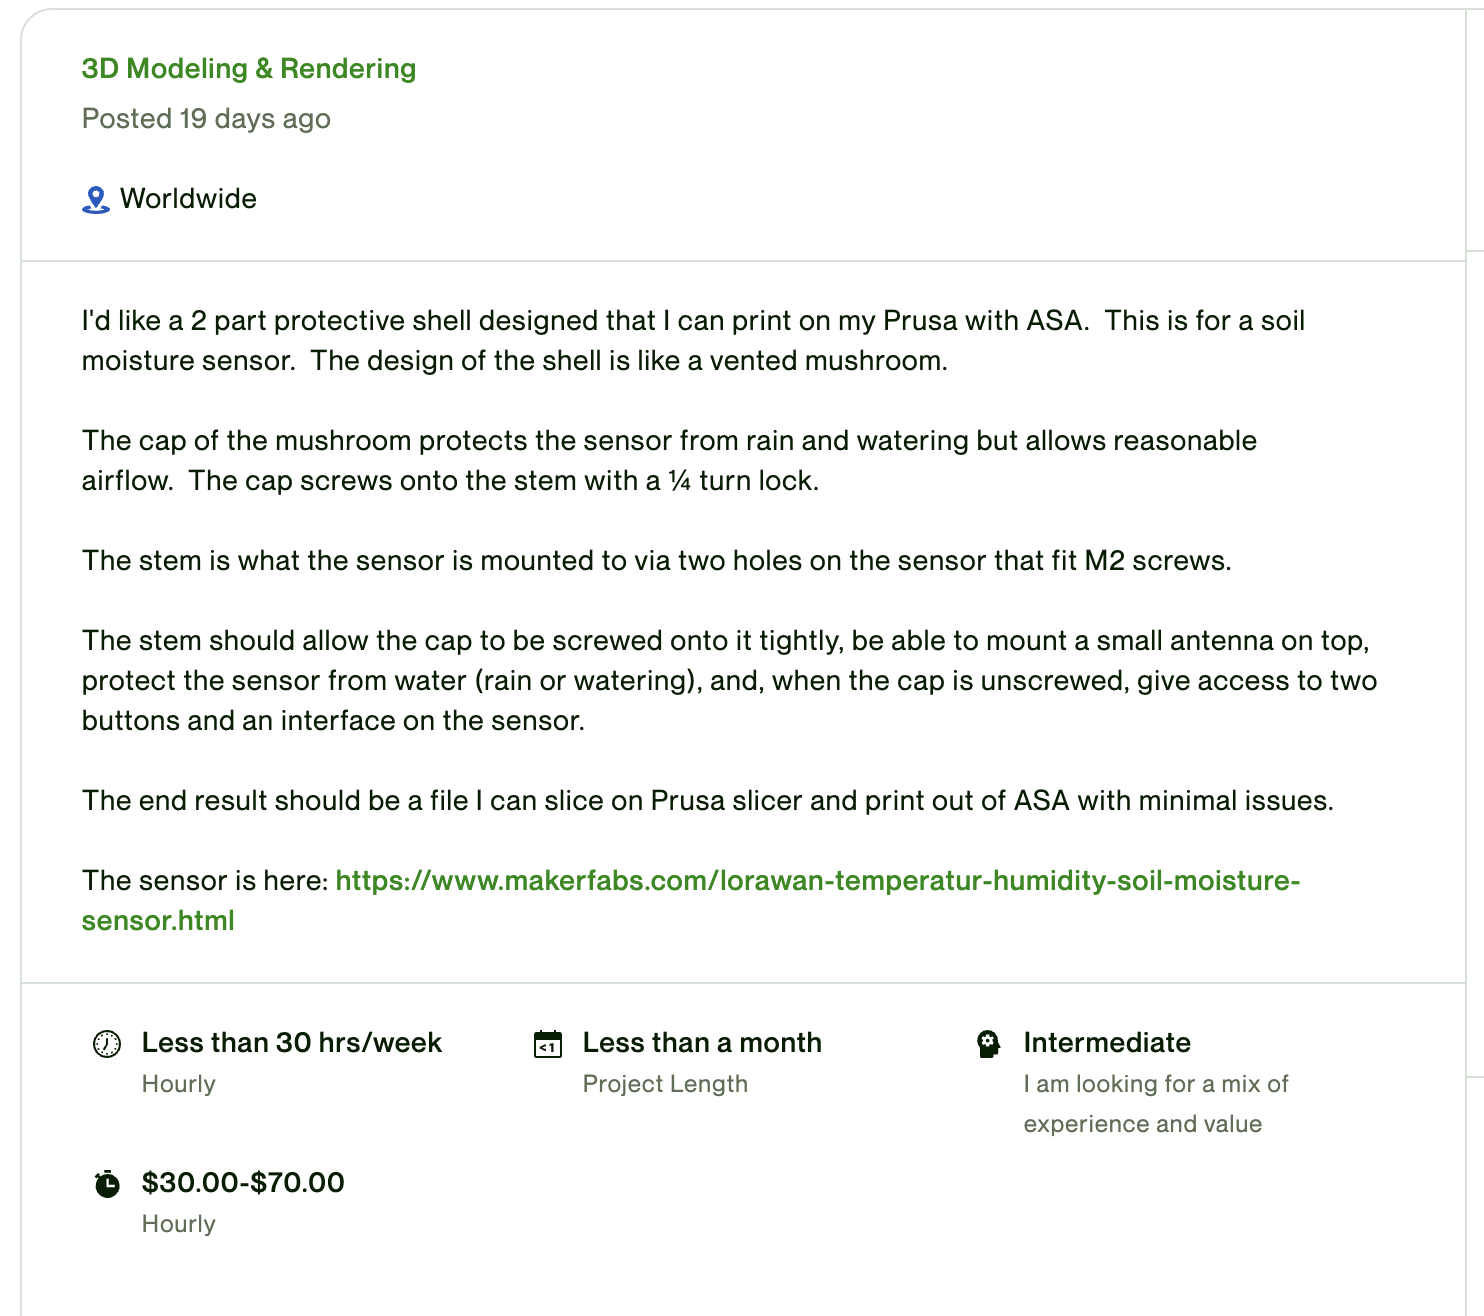
I added in a few “sifting” questions to help me sort through all the applications faster. I’ve found writing your own questions on Upwork is really helpful to quickly eliminate candidates who are unlikely to be a fit.
Then I sat back and watched a bunch of submissions come in. Some of ’em read the brief and responded cogently, many were just copy/paste bullshit, and one in particular was from a fellow named George Z. We messaged back and forth a few times, he suggested we jump on a Zoom call (done through Upwork, which was pretty slick), and we talked about it for 15 minutes. I decided he was a reasonable bet, we agreed on a price per hour and he started work.
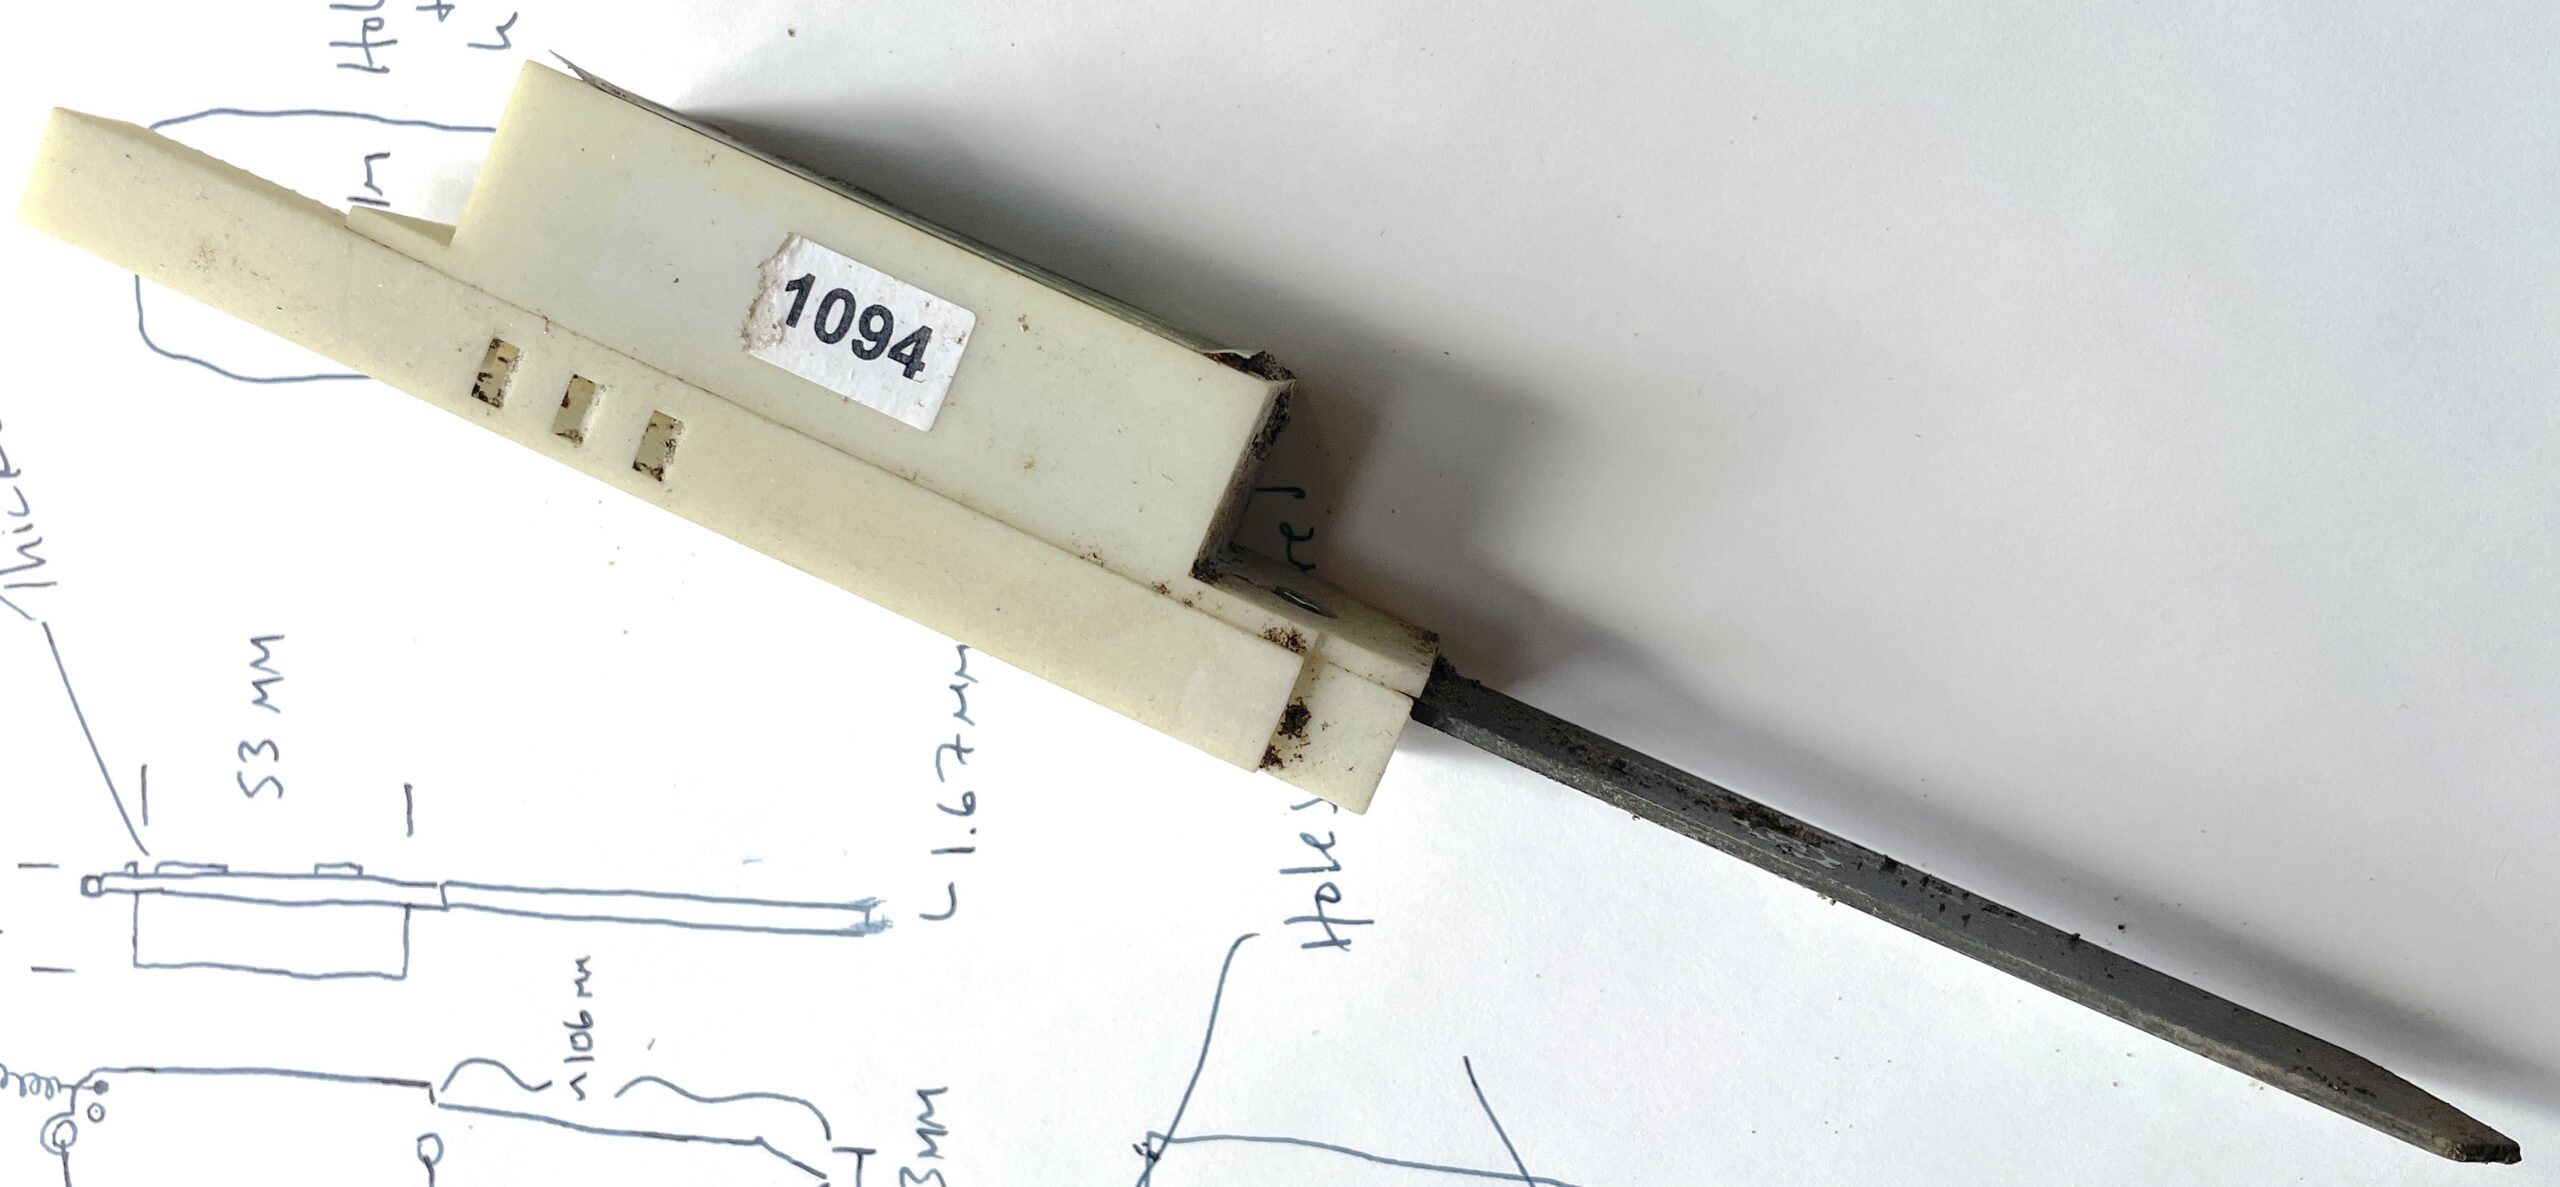
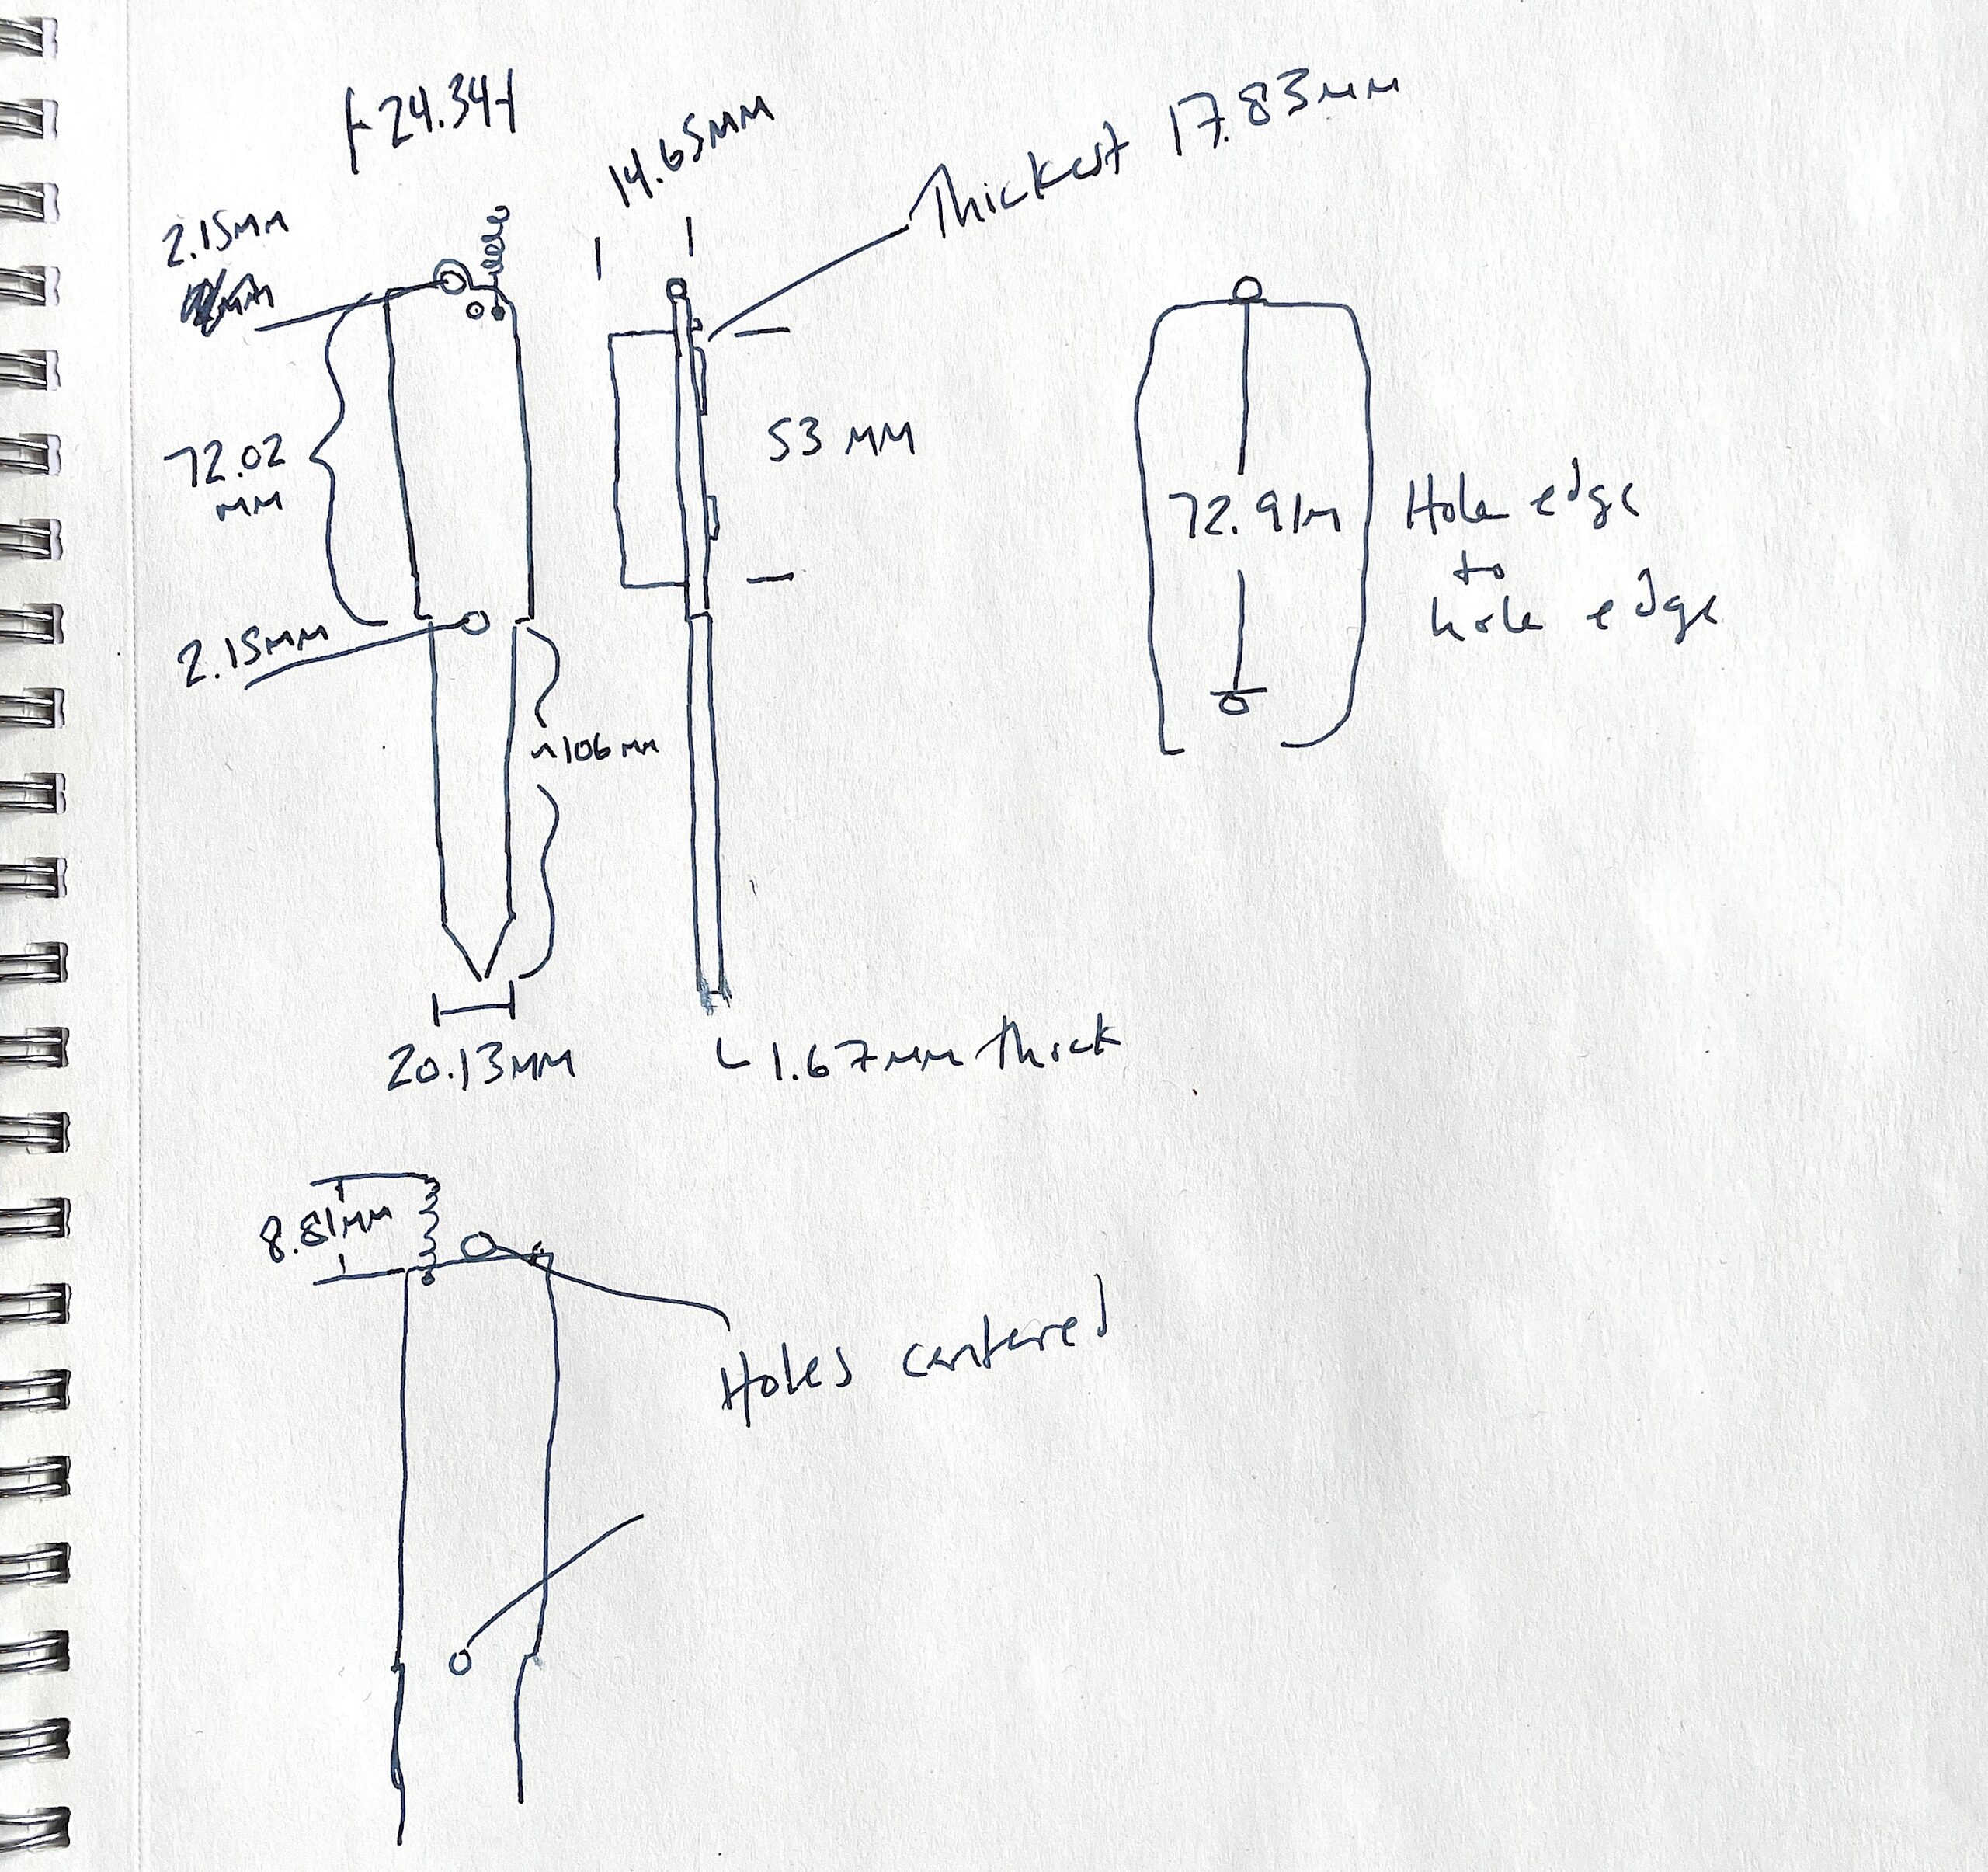
I took some time to silhouette out the sensor and take a bunch of measurements with my digital calipers. I’d really wanted to buy a 3D scanner, but George let me know all we really needed were precise measurements; that tempered my profligate tool buying habits.

With that sent over, it was time to let George do his thing. When I saw his first proposed design I was reassured I’d made the right choice and this would be a super fun contractor to work with. He did what an excellent designer does, which is to take the clients idea and improve it in ways the client hadn’t thought to ask.
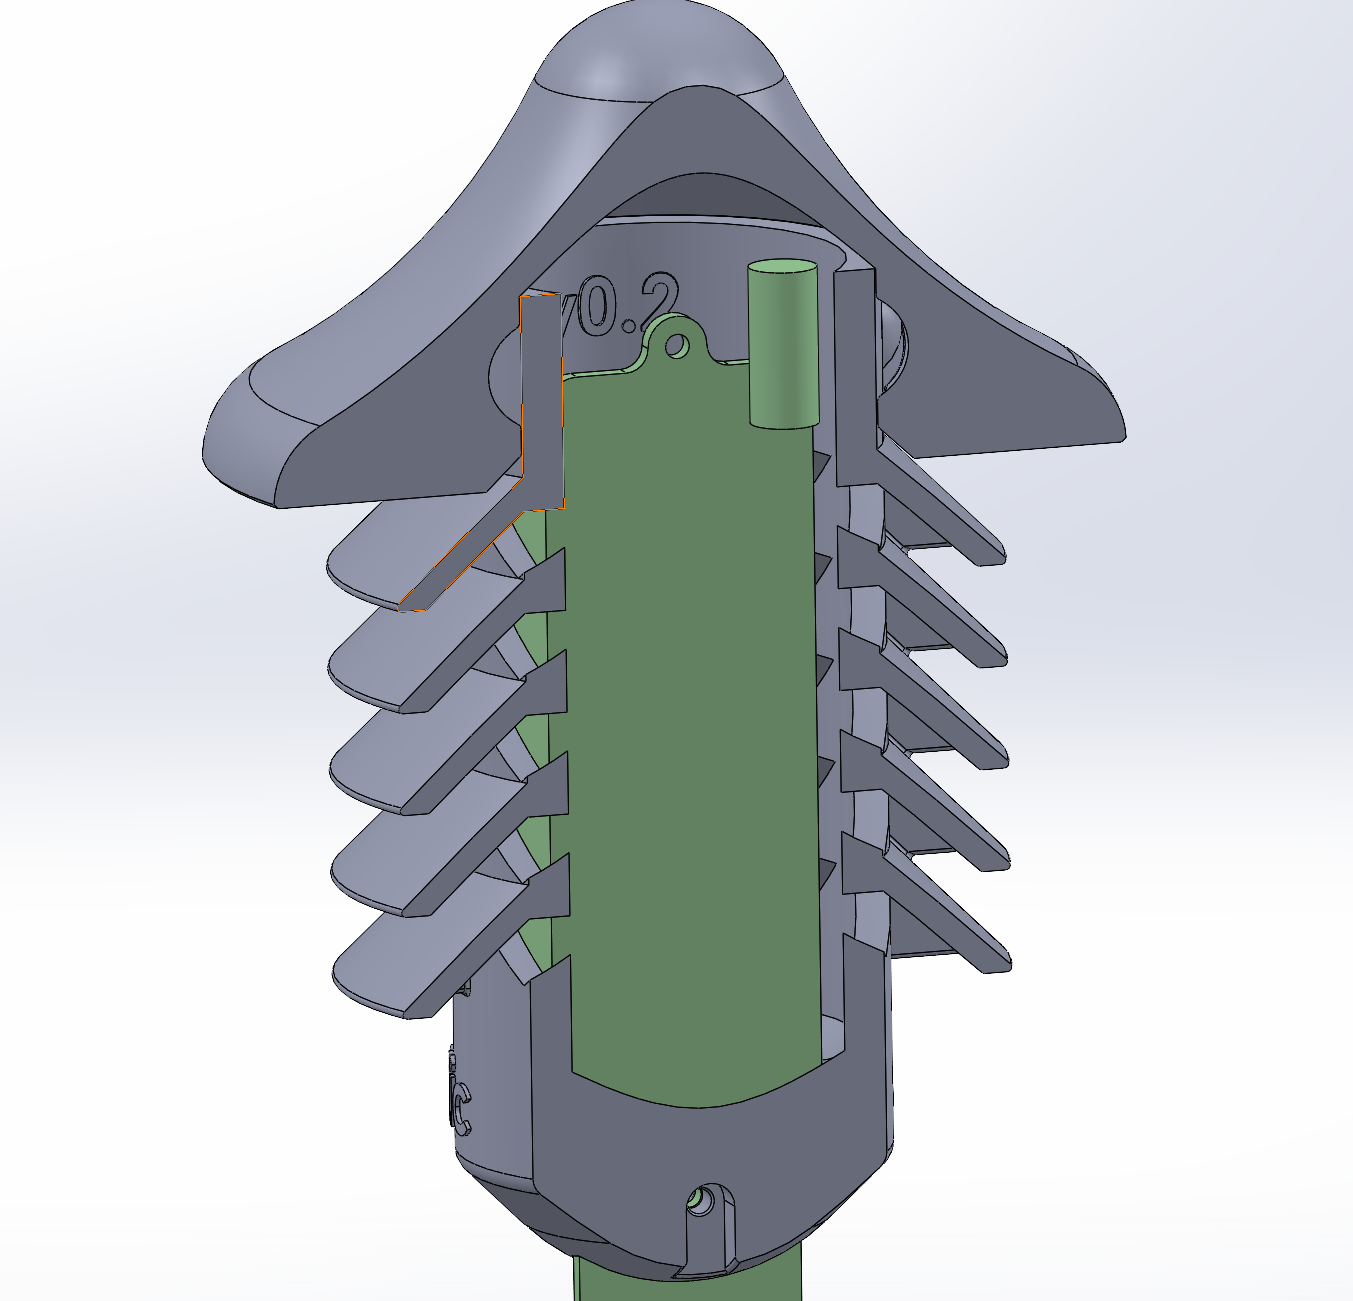
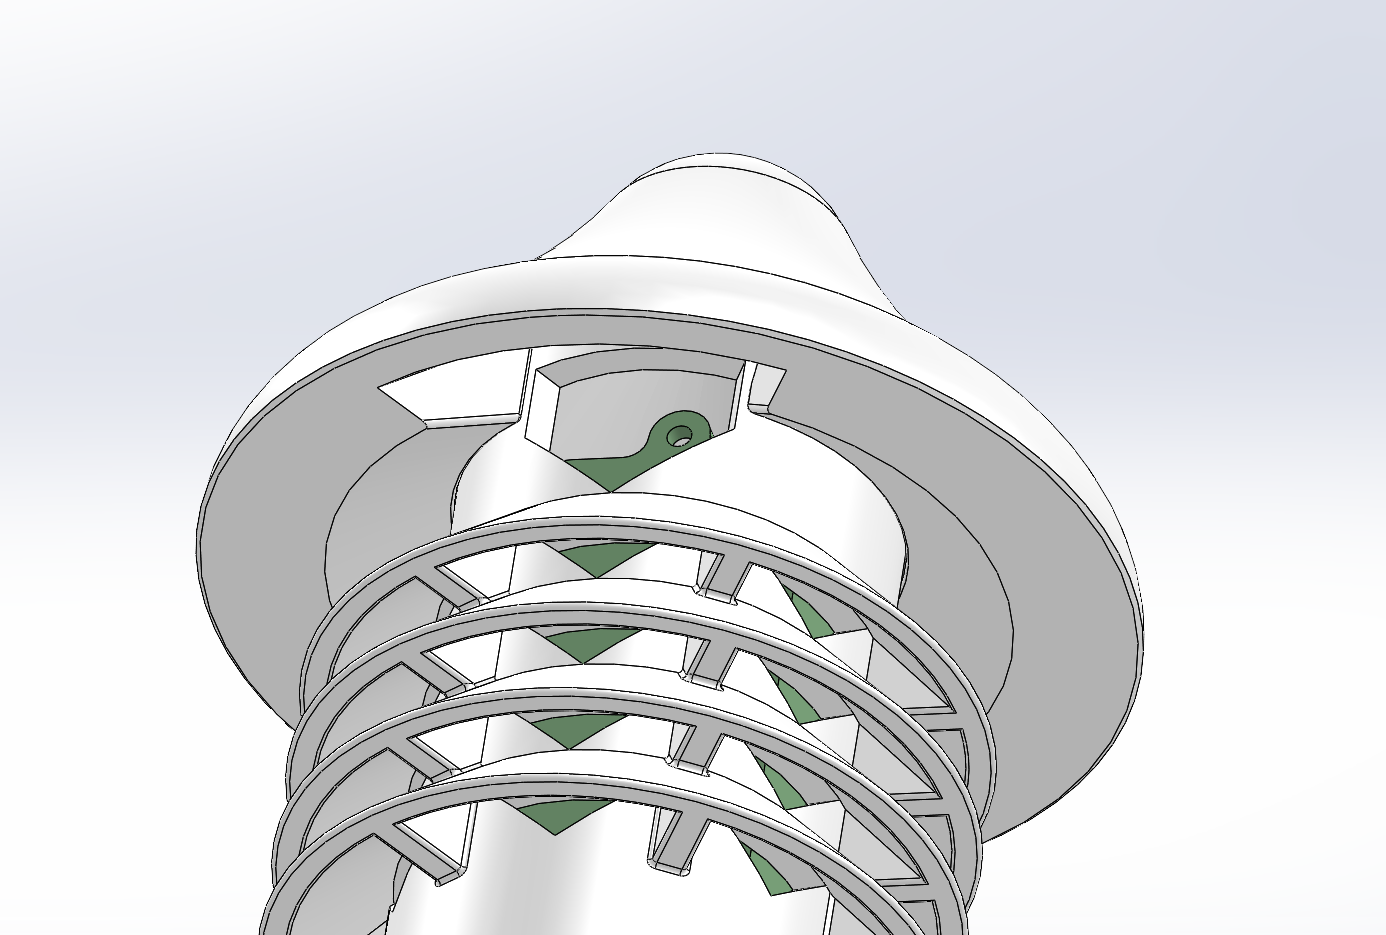

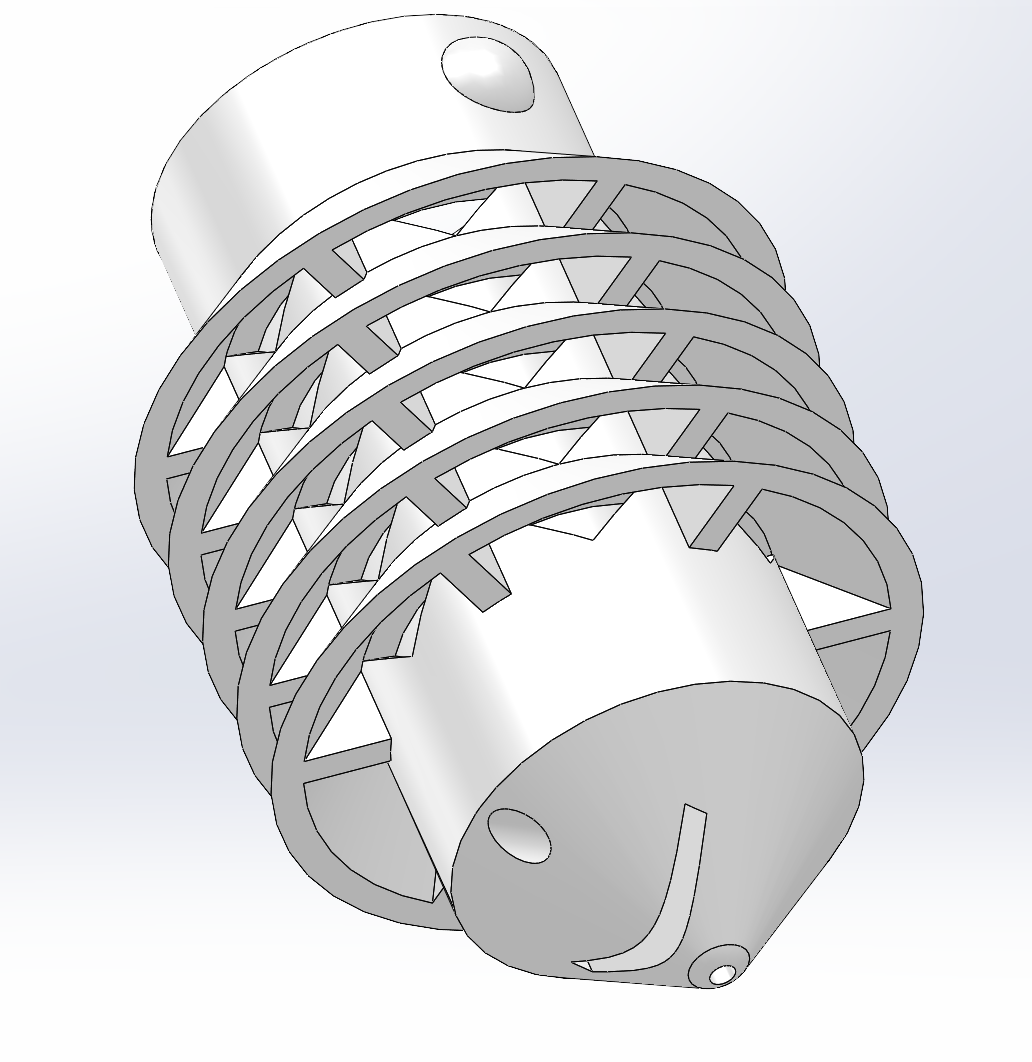
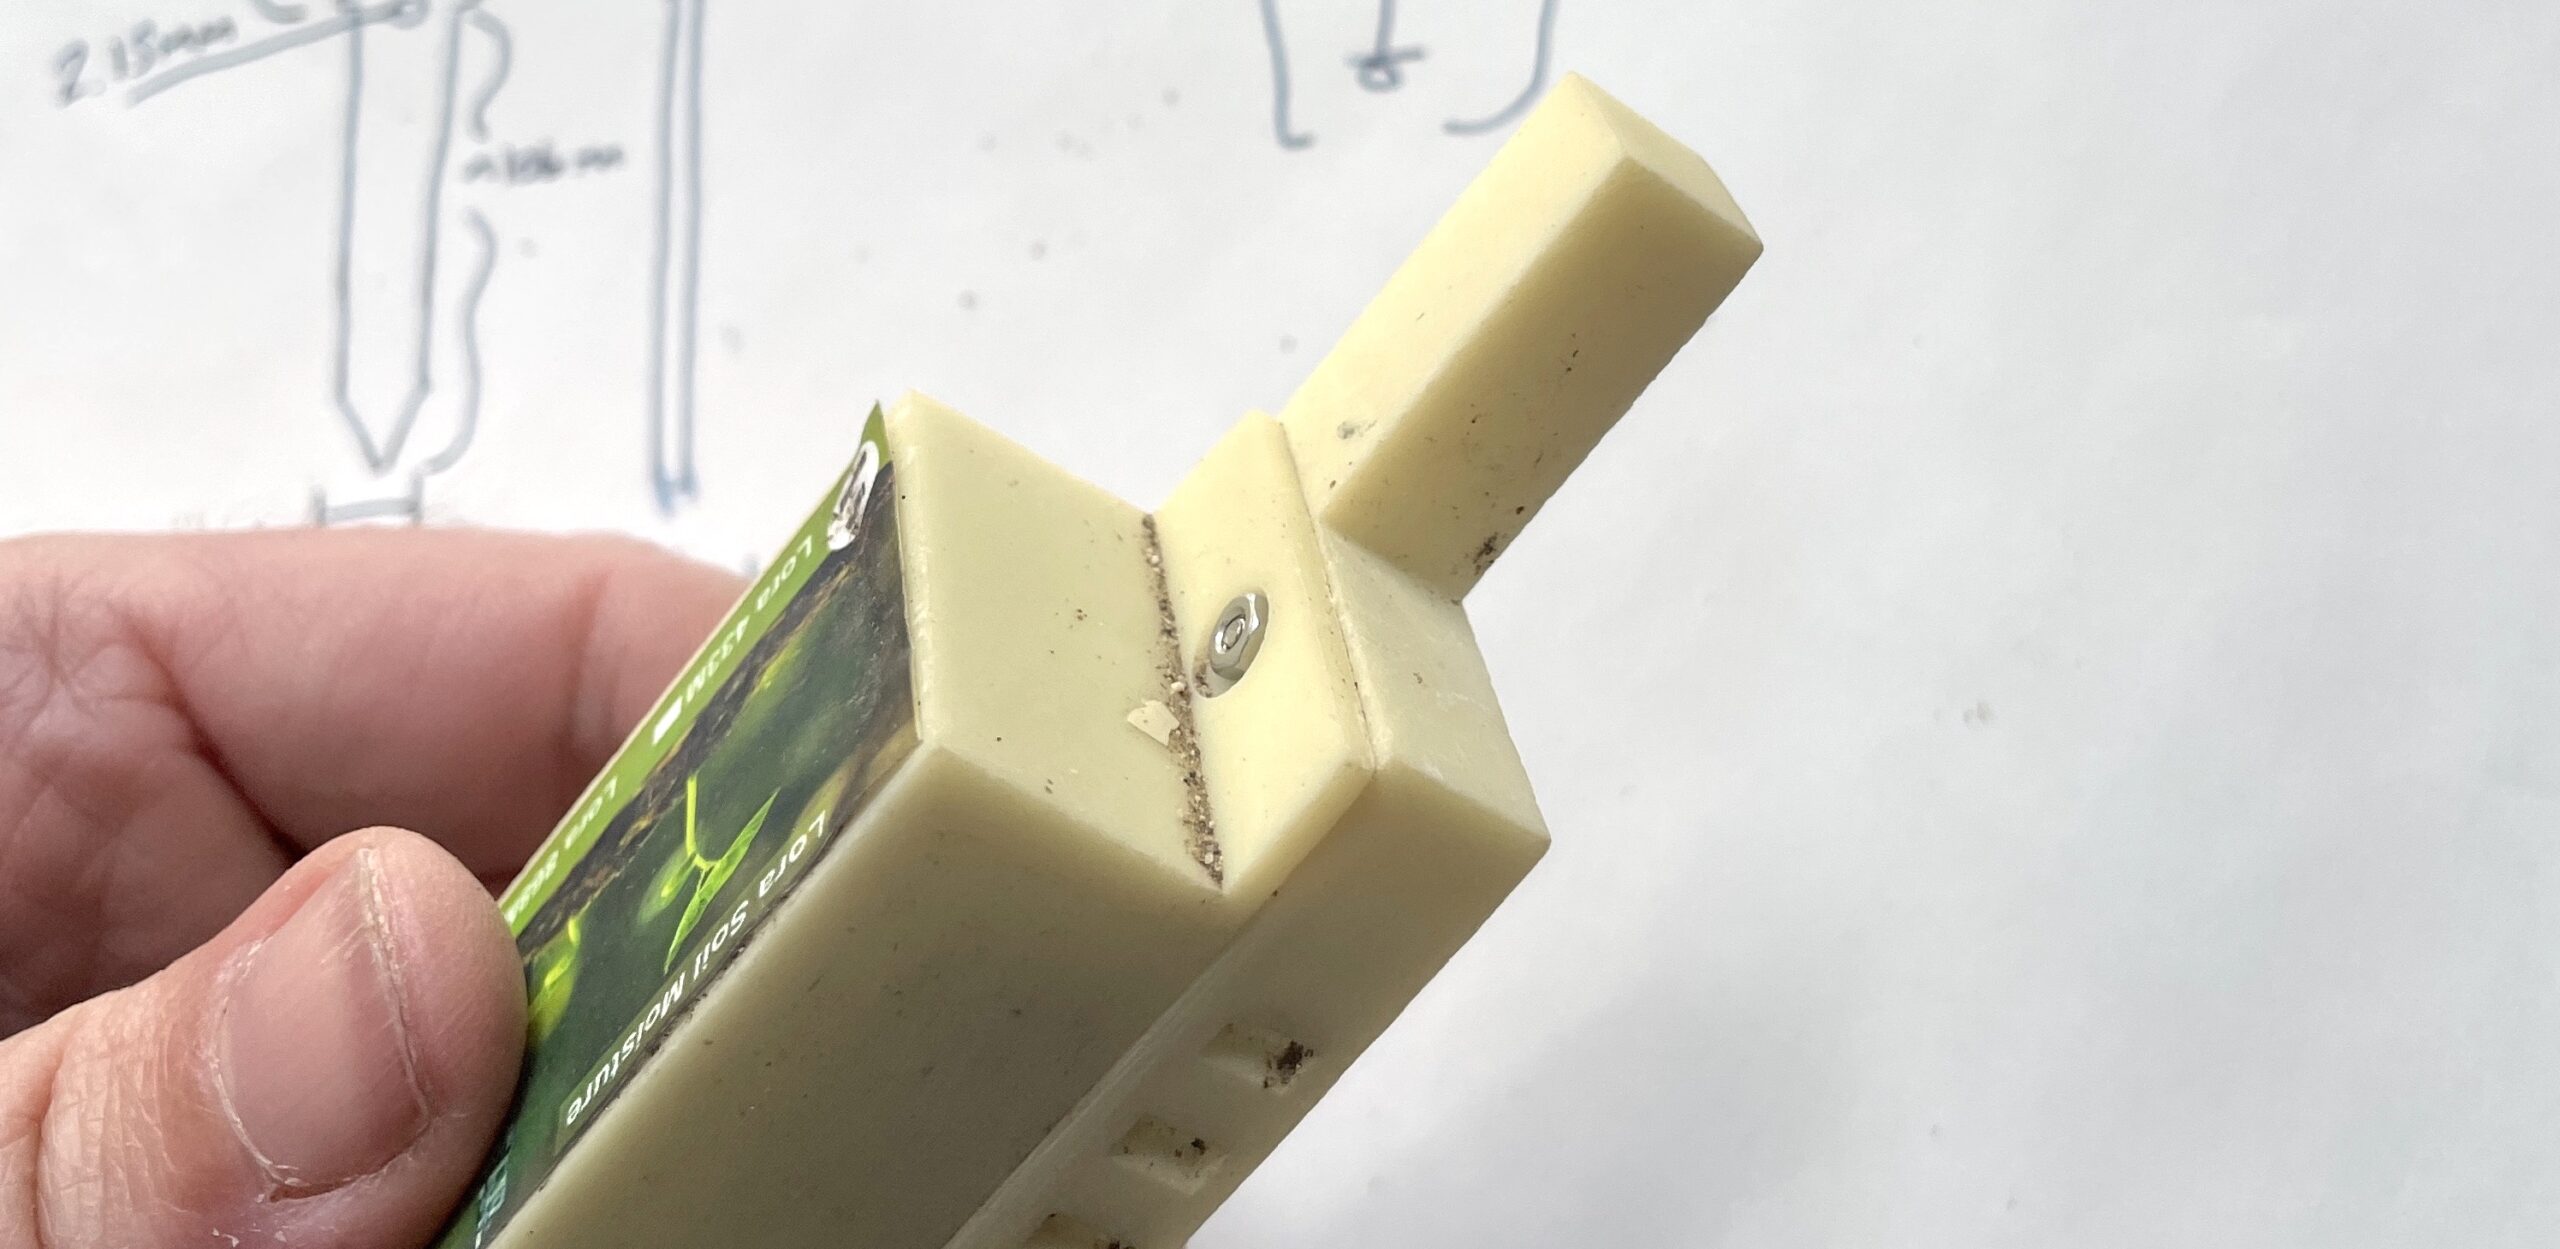
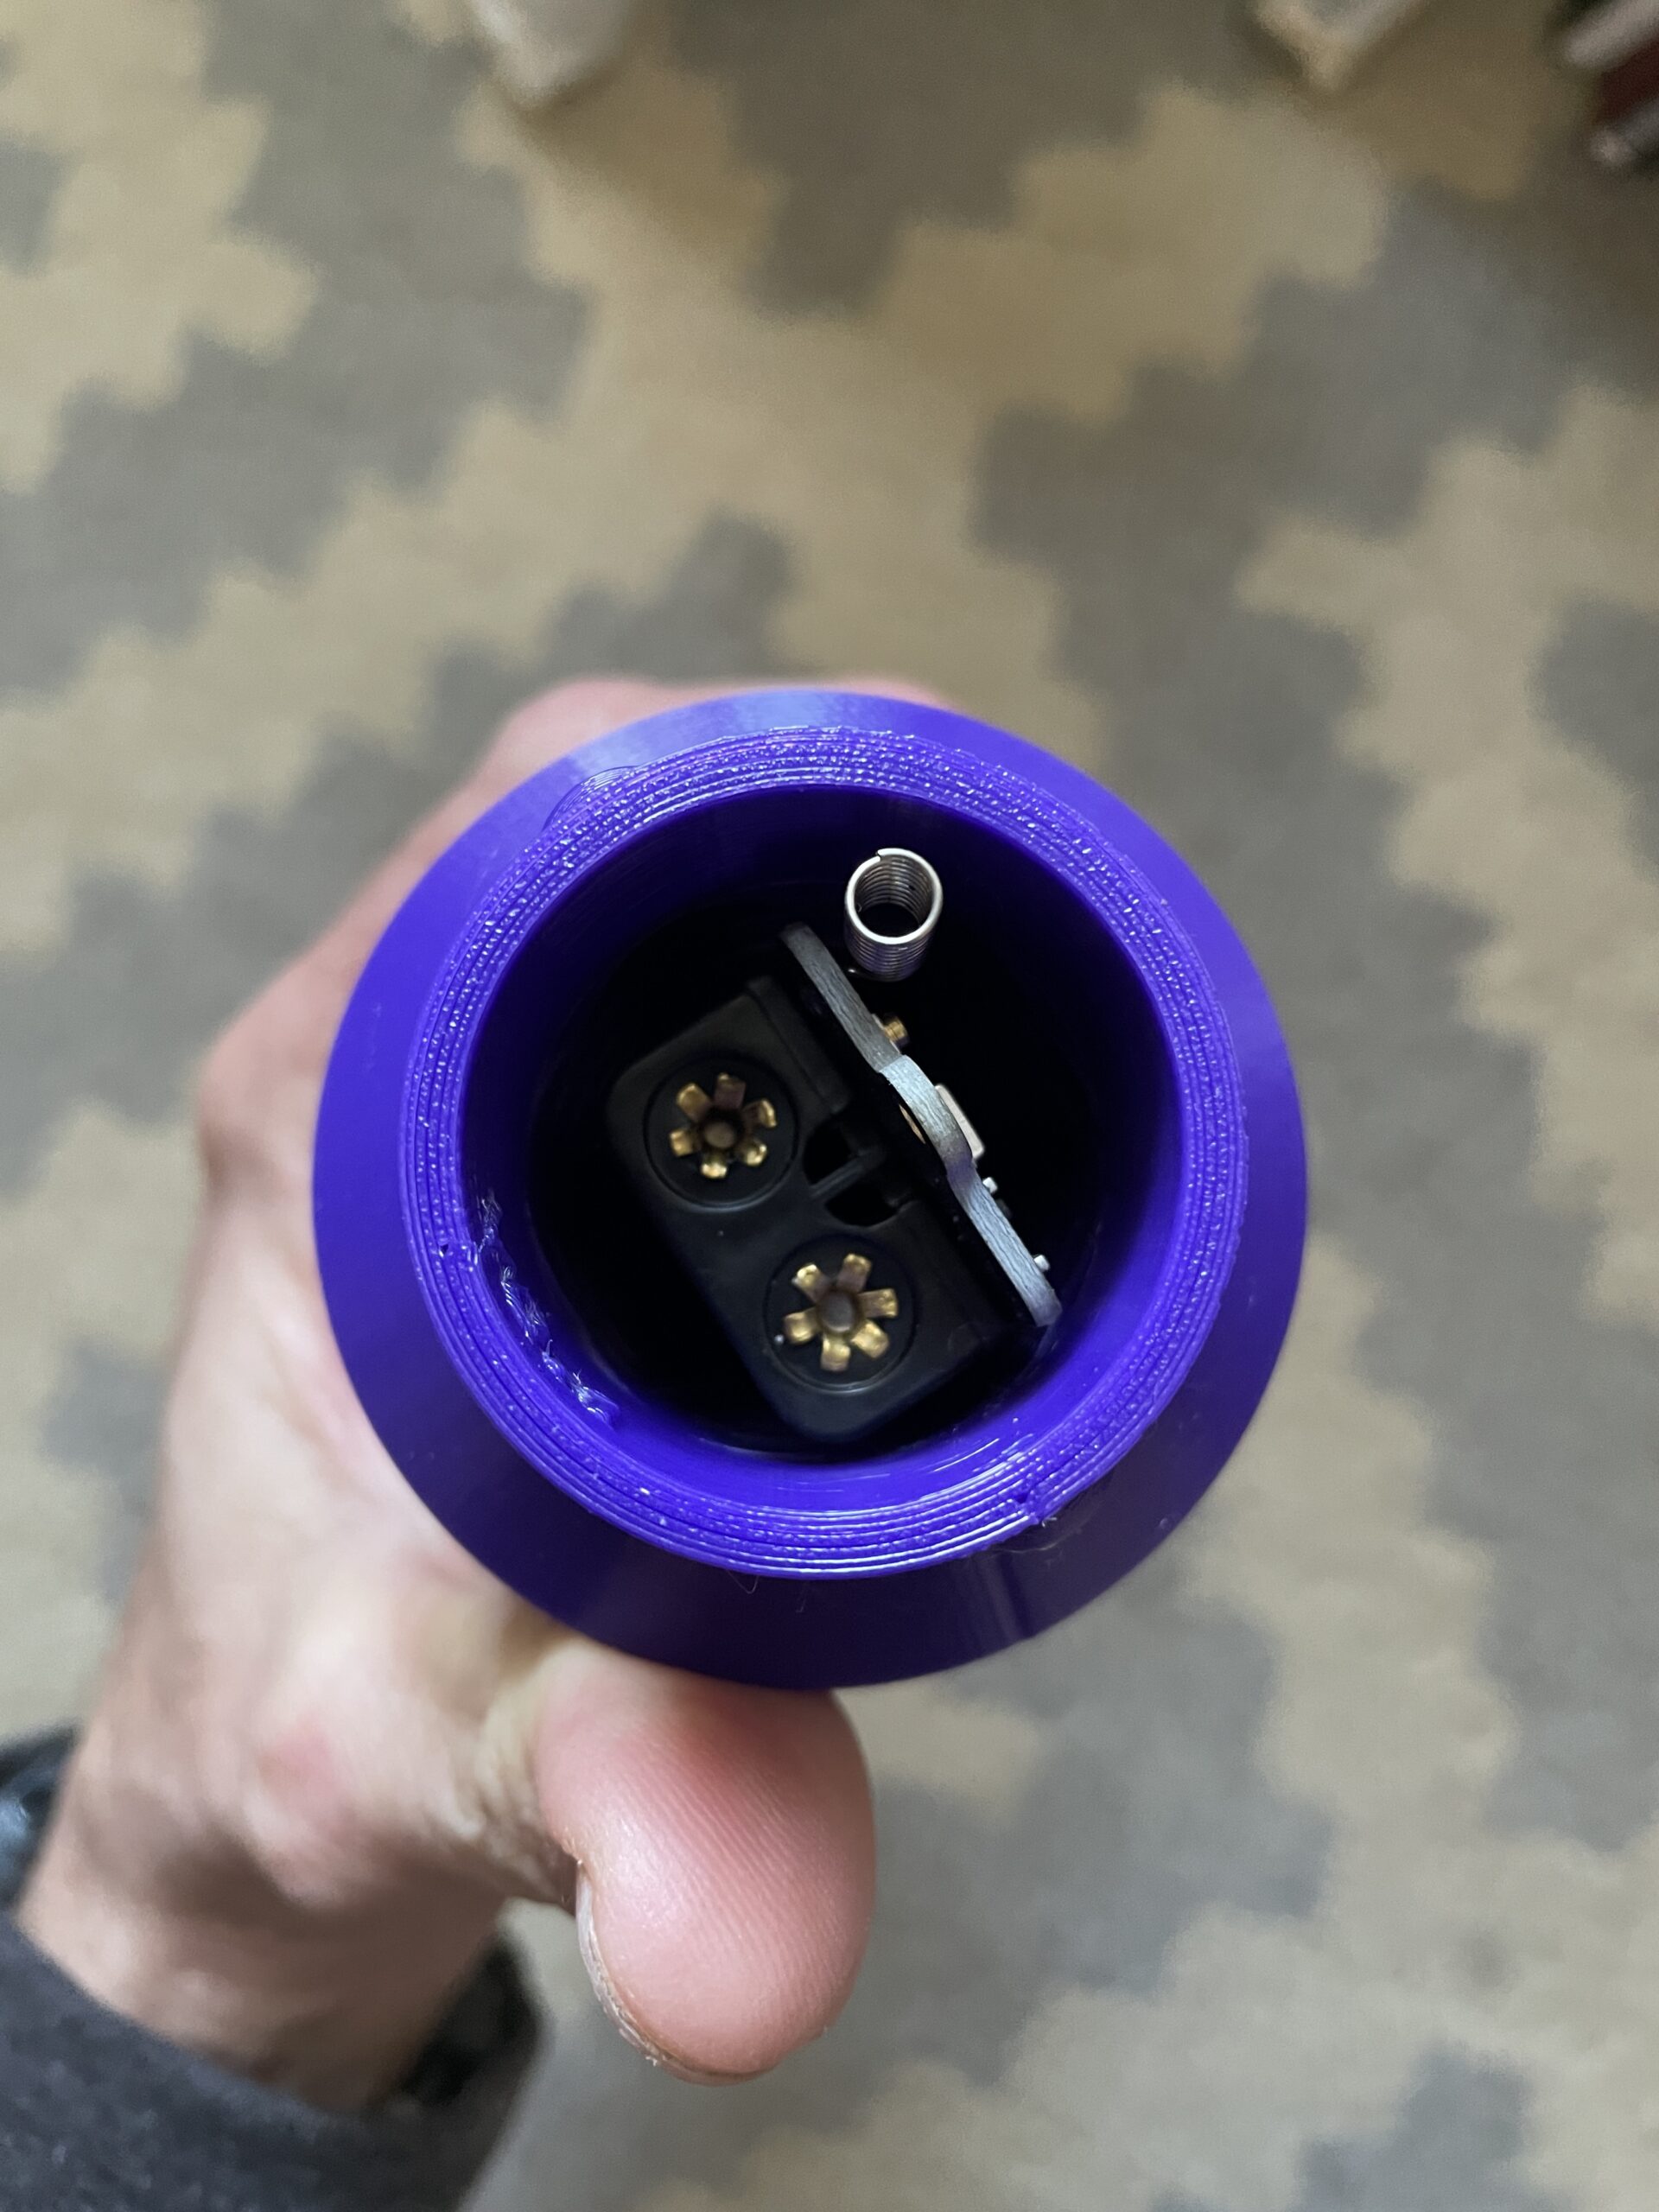
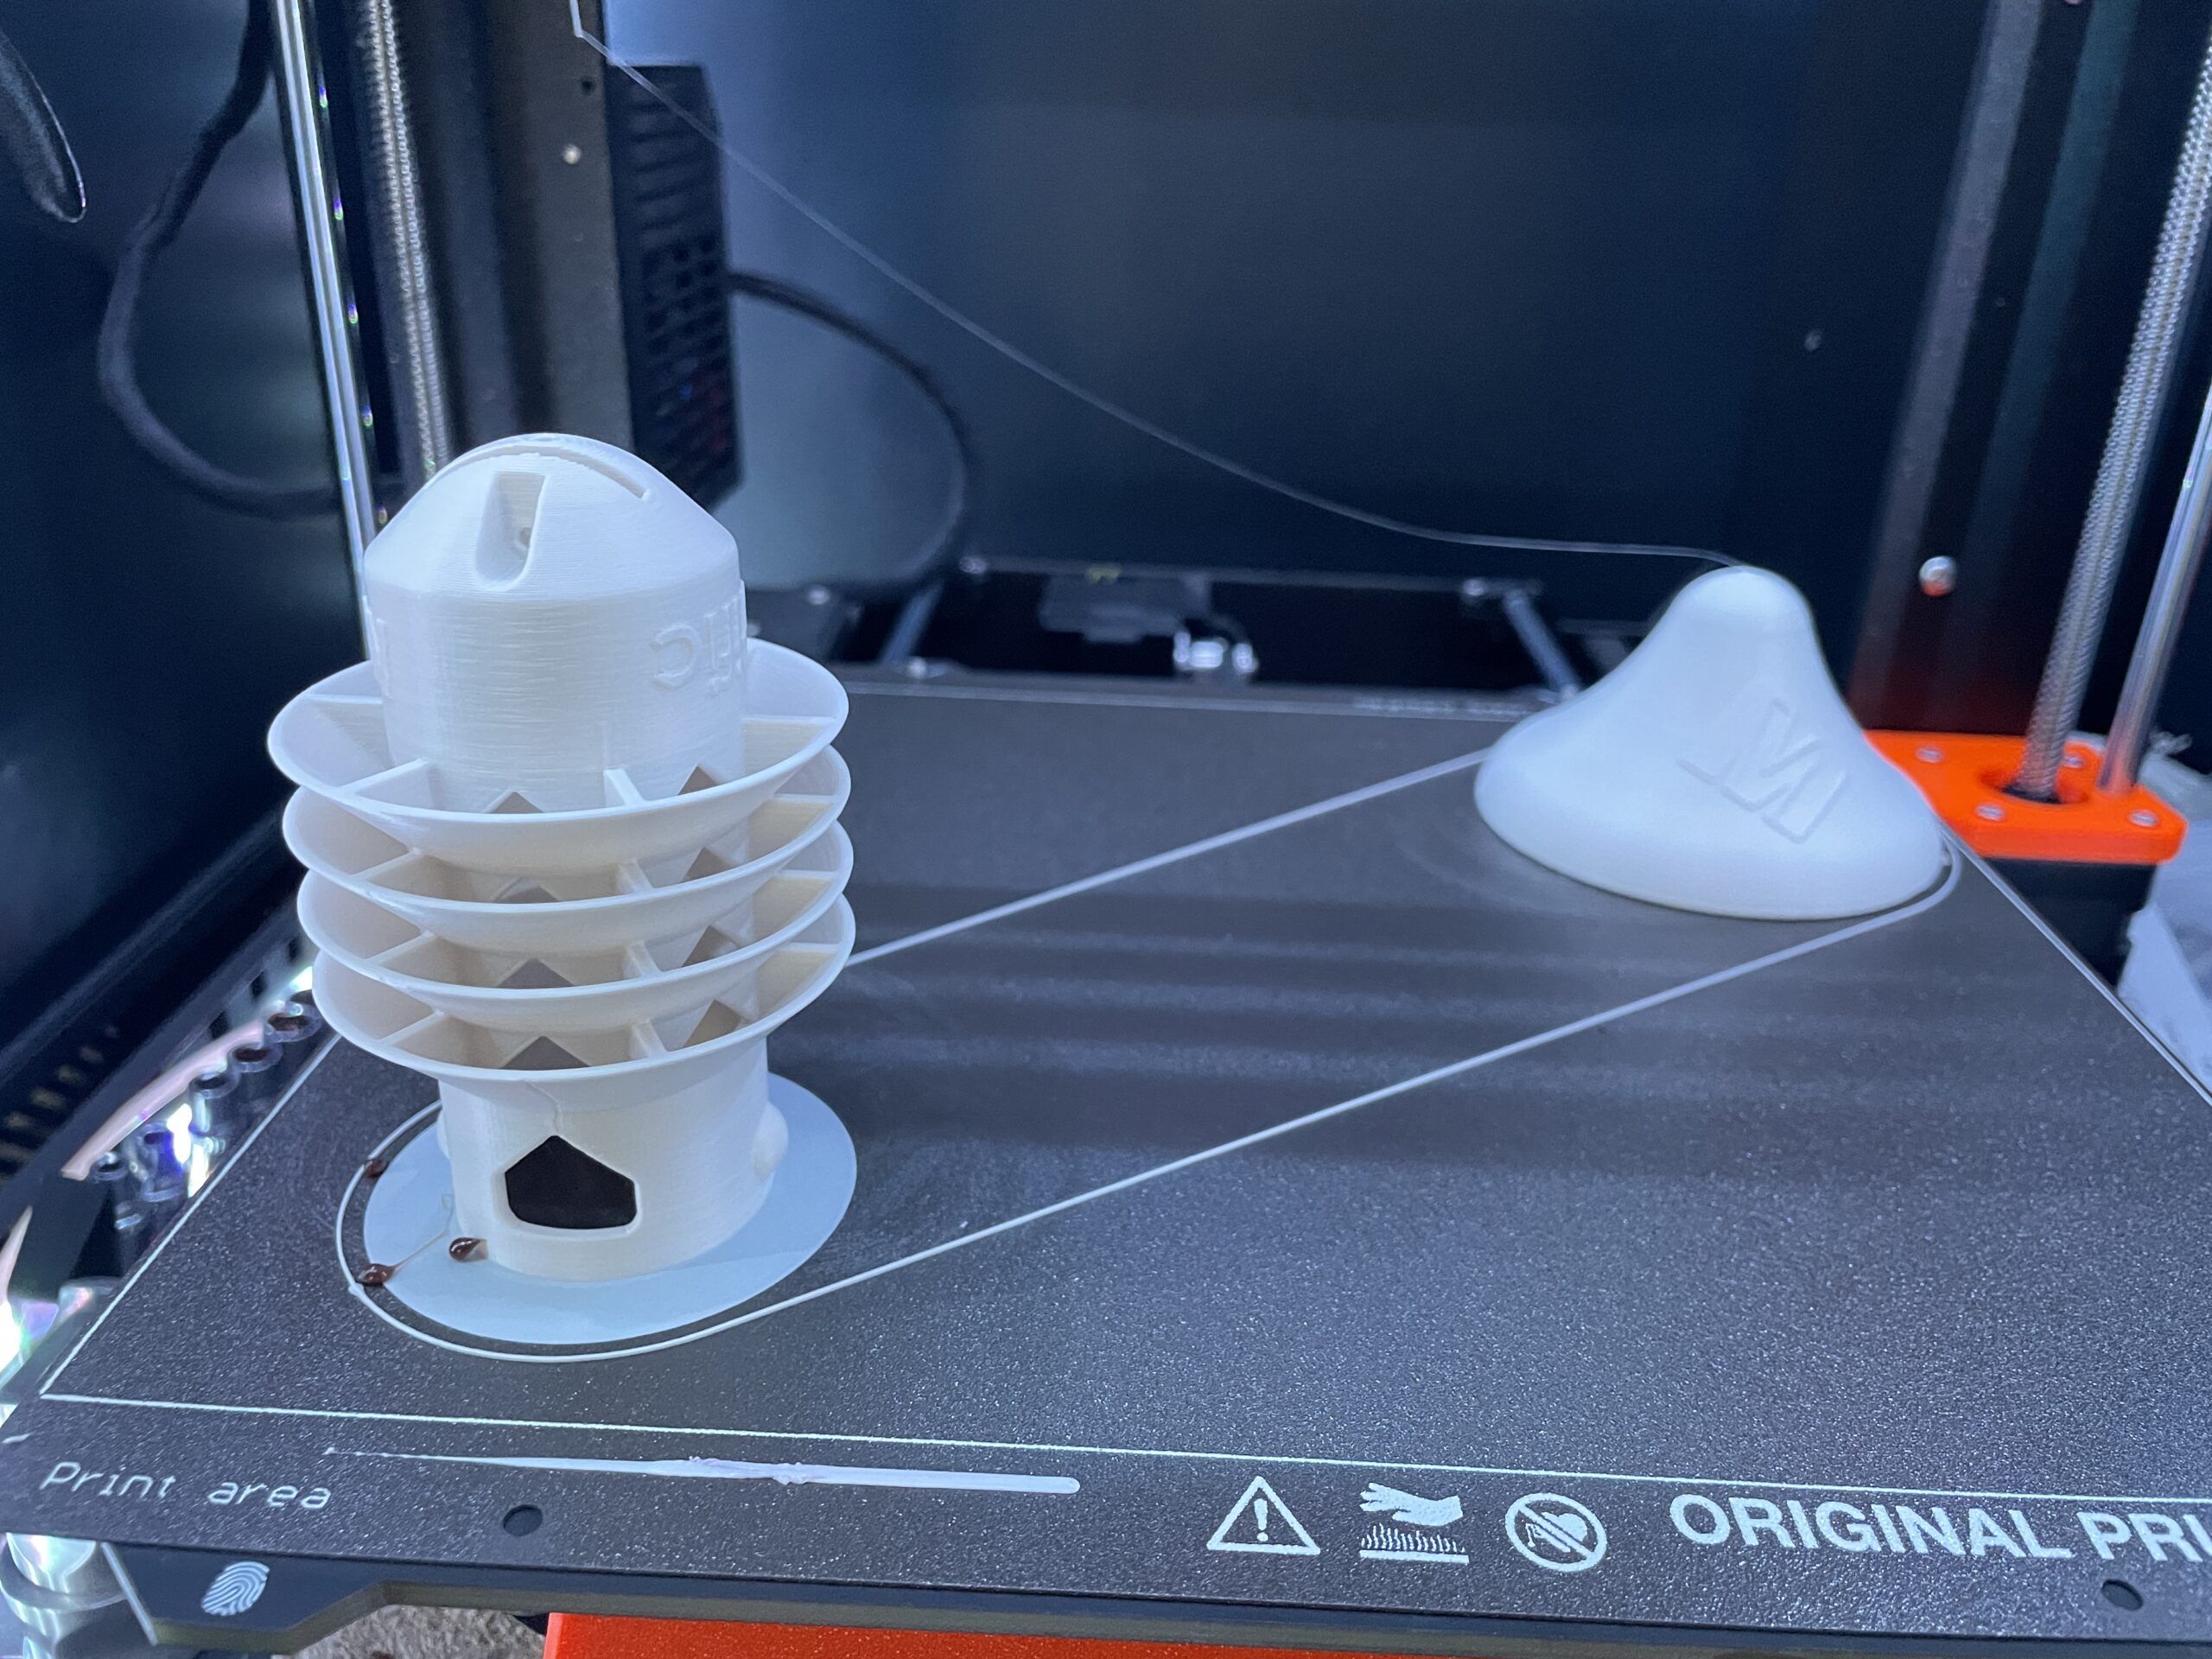
The soil sensor slides into a protective cover and is secured with one of the provided screws. The cap is screwed on with a quarter turn locking mechanism (the raised dome in the picture on the right). Simple, durable, plenty of airflow, reasonably easy access (still have a screw at the bottom to secure the board to the printed cover.
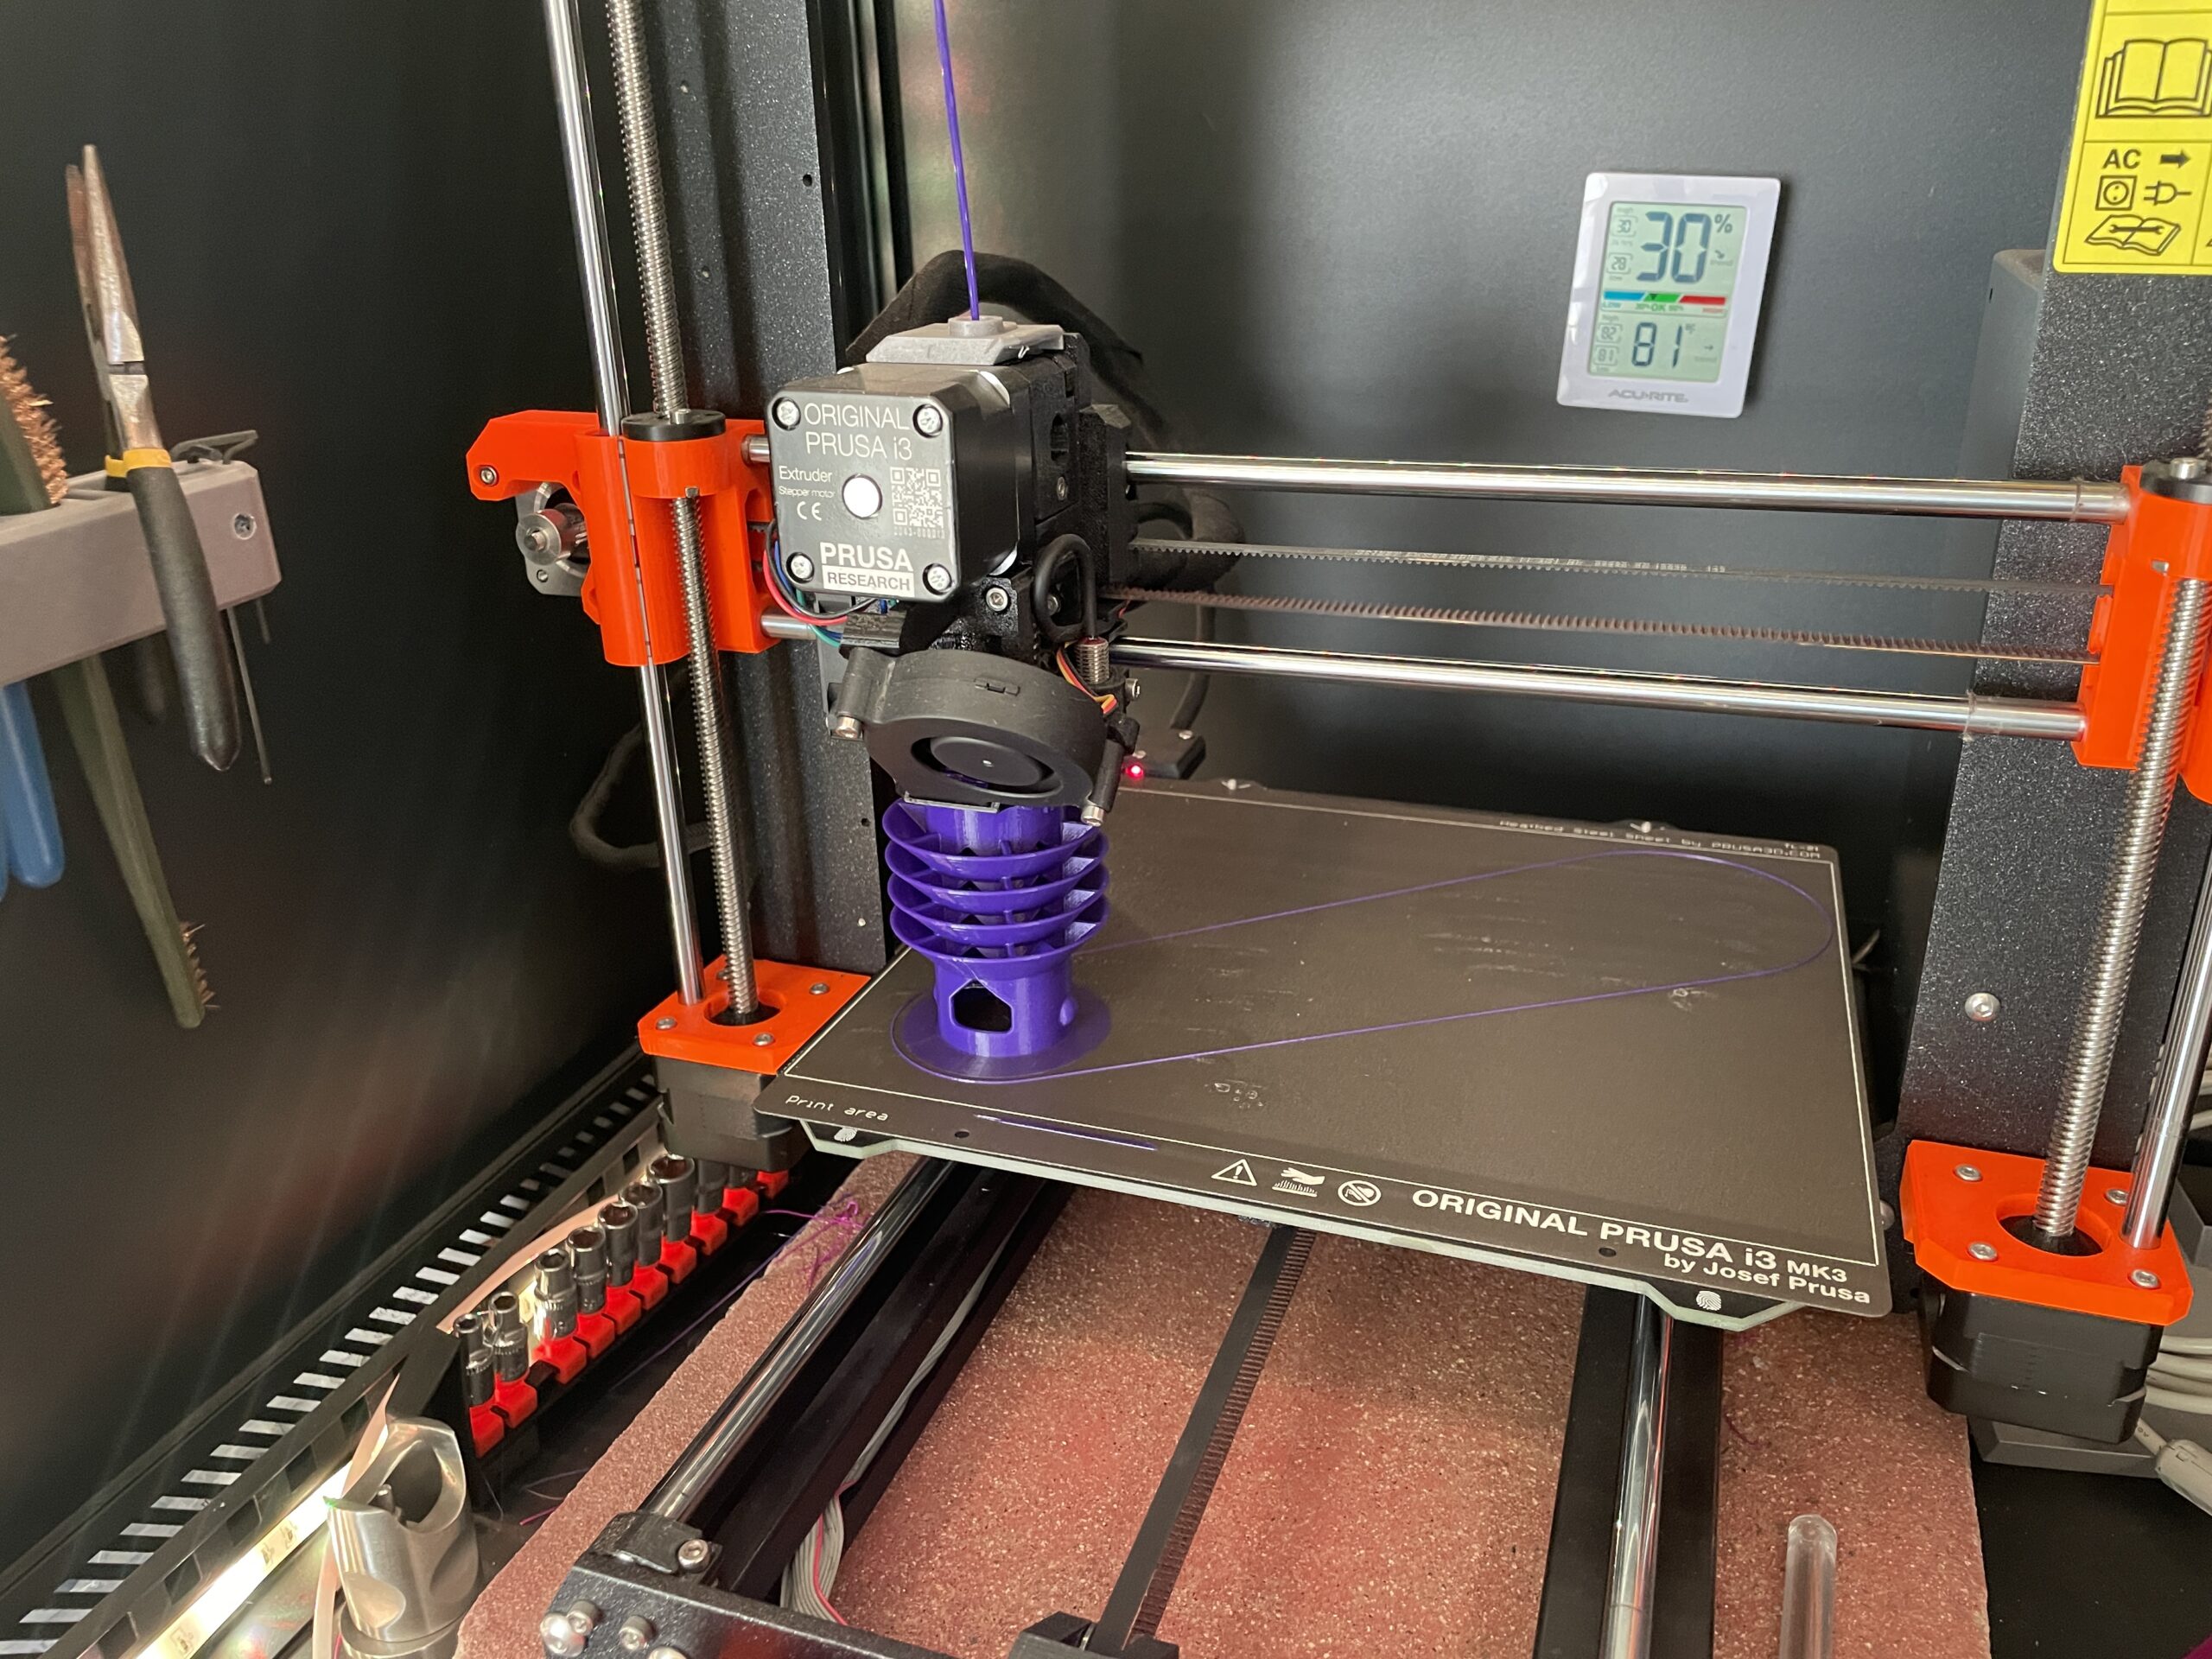
I printed up the first models in PETG; the color I had on hand was purple. PETG is cheaper than ASA and easier to print with. It was super exciting to see the first print commence!
Now, nothing goes from zero to hero with just one step, and along the way we had a few mishaps; failed prints, fittings that were a bit too loose or tight, and minor modifications. It took us, oh, 8 print attempts (maybe a few more) to get to a spot we were both happy with. Some of those were my fault as a beginner 3D printer, and some of those are a result of the necessary obstacles on the path to improvement.
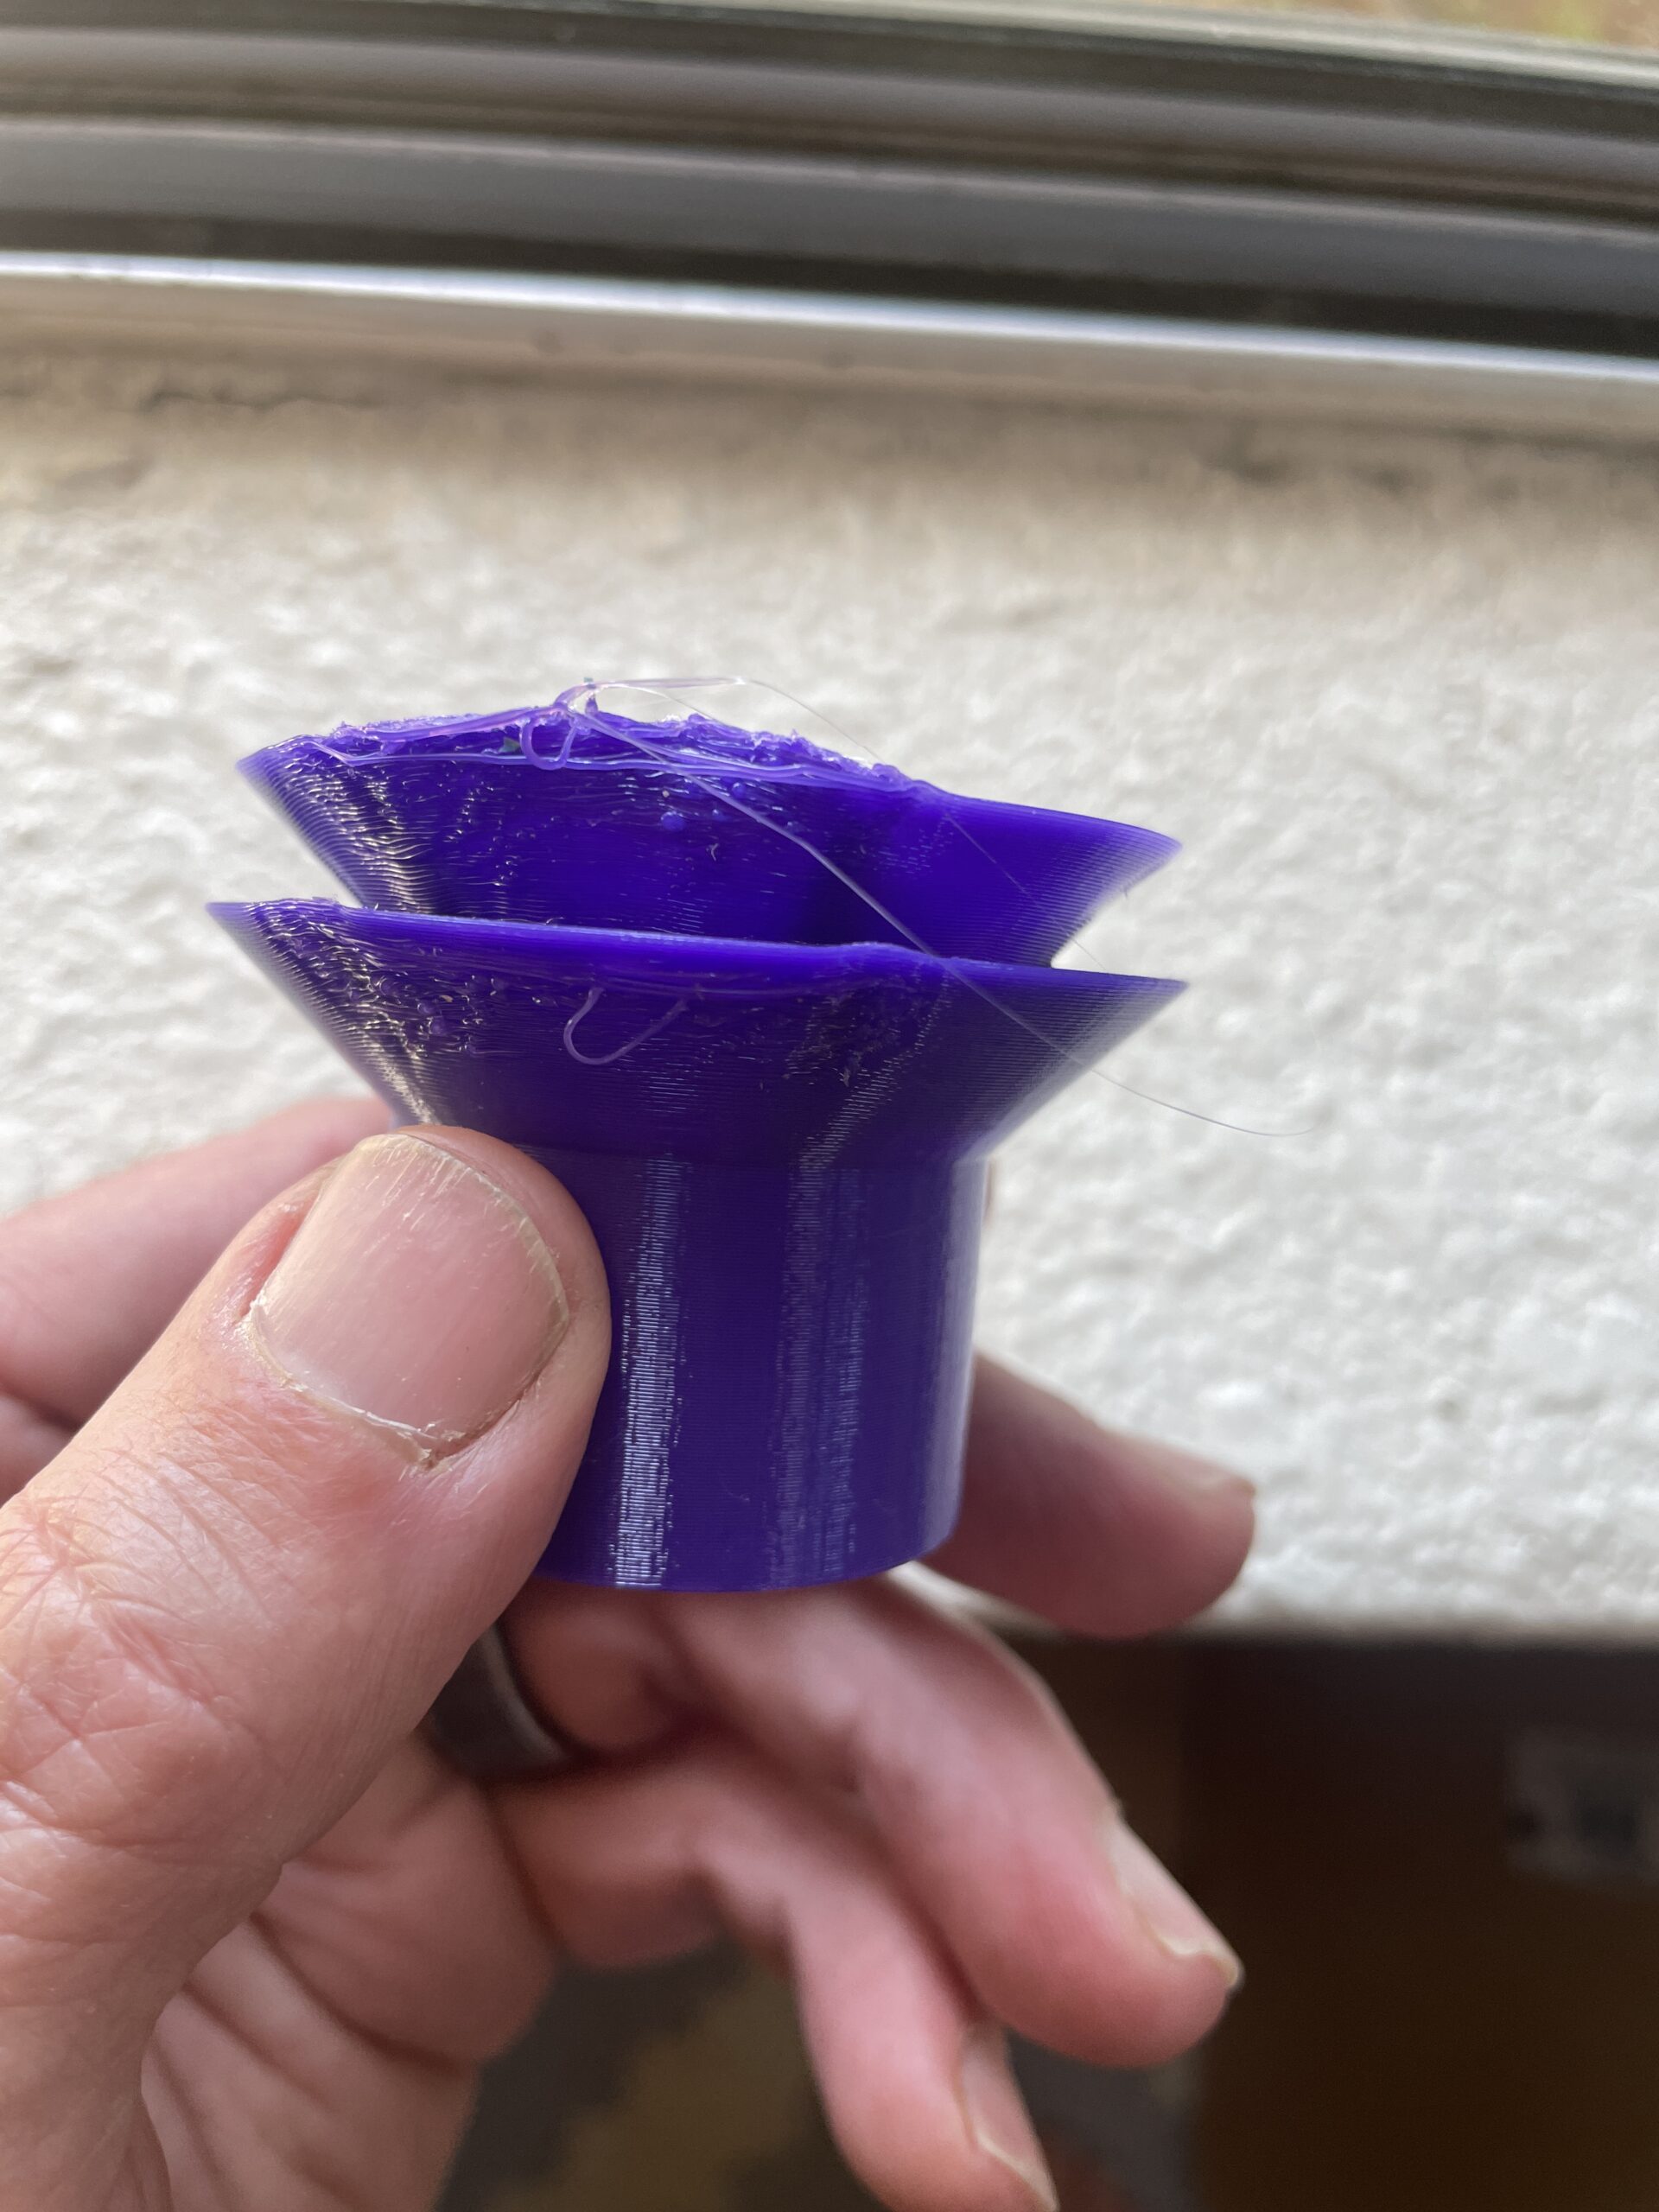

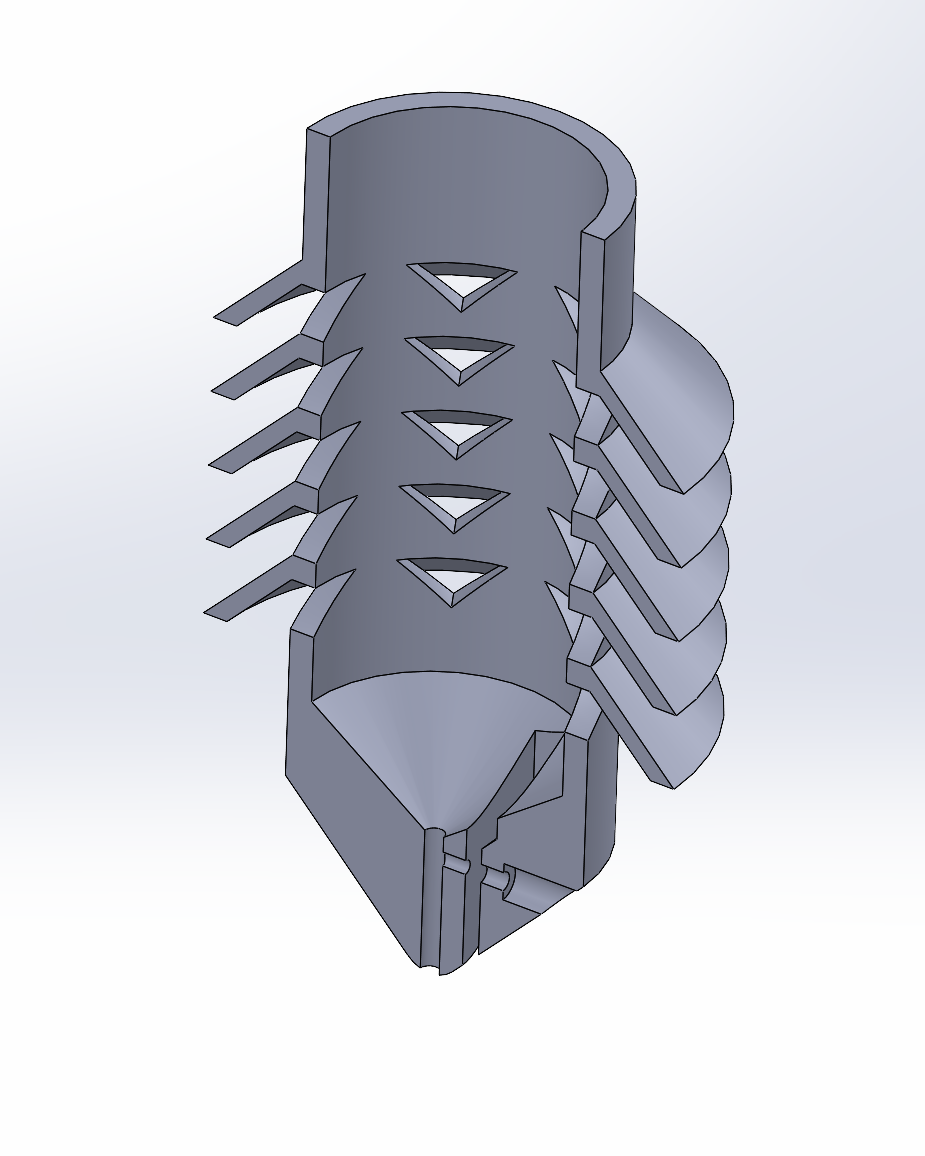
The noteworthy modifications were shrinking the cap, making a small channel at the bottom for the screw instead of having it be just a hole, moving and slightly the shrinking the main air flow opening opposite the sensor, and closing off the the cap top on the battery side to protect the batteries as much as we could.
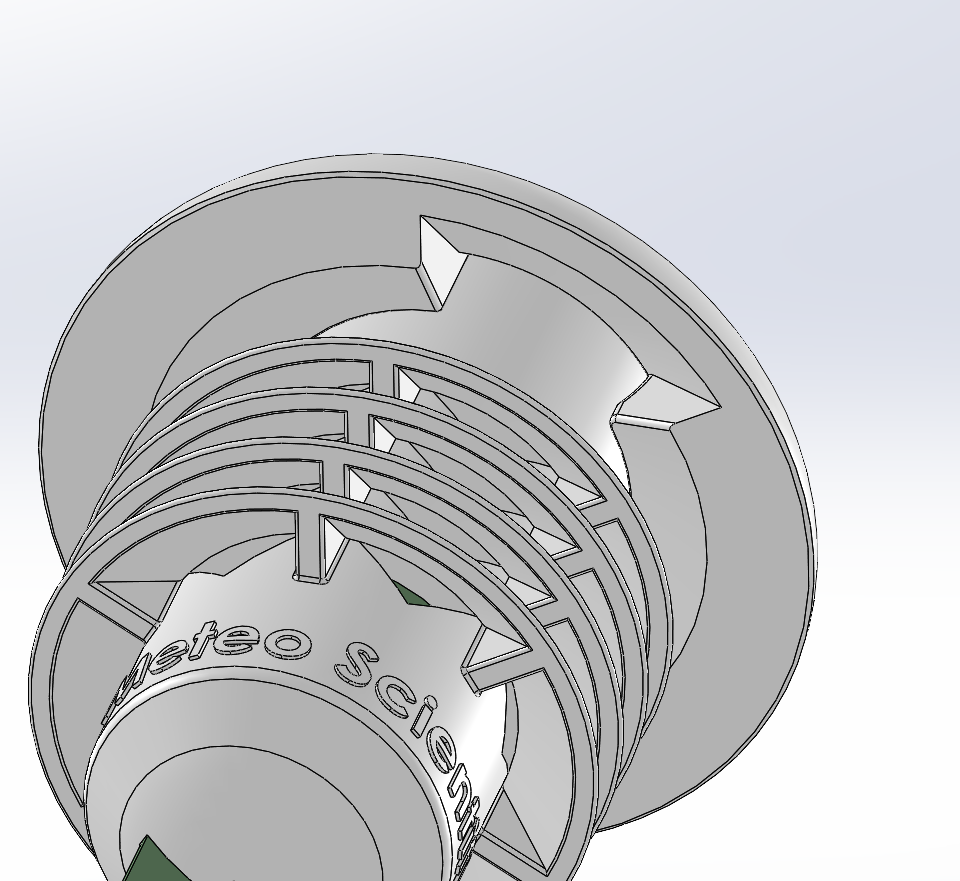
Working with George on this ended up being really engaging and fun as we went back and forth with ideas. When we ended up with a design we were both psyched with, I put in a final request for the Meteo Scientific logo (MS is the sensor business arm of GK) to be added to the print, and we did our first run in white ASA.
If you’d like to see these devices actually in use, I shared a video over on YouTube about how they’re getting deployed.
So, that’s it, from initial problem identification to solution finding, incremental improvements, and a finished product. The whole thing cost about $500 in design work from George, which seems super reasonable to me for the quality and outcome we got. I’ve made the print file freely available over on Printables, so if you’d like to print this out for your V3 sensor you’re welcome to do so.
All the print settings are contained in that file, so if you’ve got a Prusa or access to one it should be a straighforward job to have your own housing up and running in no time. If you’d like to hire George to do work for you, check him out on Upwork here (you’ll need an Upwork account).
Hopefully this inspires you to lean in a little to the next problem you’re presented with and see if you can use the power of our connected world to solve your problem and share that solution with others.
Rock on!
Nik @ Gristle King
Leave a Reply