Do you have the best antenna for your location? What kind of coverage is your Helium Hotspot providing? Is the location you’ve identified as good on Helium.Vision actually that good?
The way to answer these questions definitively is to test your setup. No amount of simulation, prediction, or just thinking (or even hoping) will replace the stone-cold facts of an actual test.
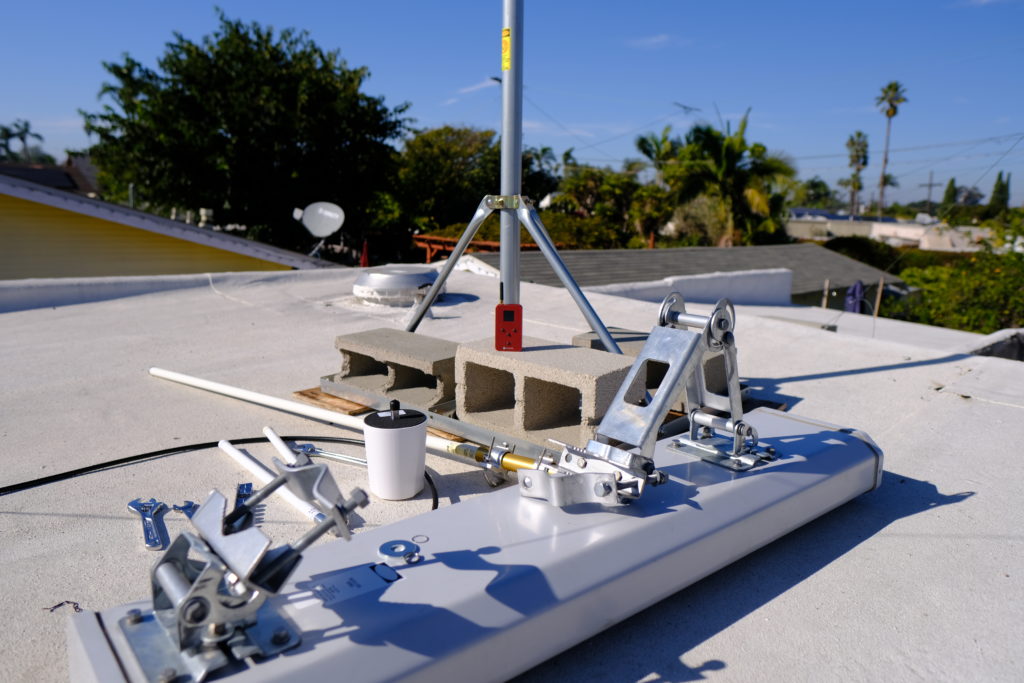
I’ve covered a few ways to test various components, but this time we’ll dig in to where the rubber meets the road:
QUESTION: How will a specific antenna at a specific proposed location actually perform?
Let’s start by defining what kind of data you’d need to answer that question.
First, you’re going to want to know if your ANTENNA is actually working, and how well it’s working.
Second, you’ll want to know HOW MANY Hotspots your proposed location can be witnessed by. Since beacons & witnesses are two sides of the same coin, it’s pretty reasonable to assume that “if they can hear you, you can hear them.” Yes, that’s an assumption. Yes, I’m familiar with the assumption ASS-U-ME problem. This particular assumption is very likely to be useful, though it may not be as accurate as we’d like.
Third, if you plan on actually using the Helium Network (which is where all the long term profits are), a test should show you what kind of coverage your proposed location will provide beyond just being witnessed by other Hotspots.
I’m using a GLAMOS Walker, along with its companion app/site, to do my testing.
Here’s how it works in broad strokes, then we’ll dig into the details.
1. Set up the GLAMOS.
2. Take the GLAMOS to your proposed location, attach the antenna(s) you’re going to use or test, and fire off a bunch of beacons.
3. Head back over to the GLAMOS app to see your results.
GLAMOS SET UP — PART 1
The set up is straightforward. Slaven, the creator of the GLAMOS, gives world class support, so if you get stuck when you’re going through the directions, check in on the Discord #glamos channel for help from him or the GLAMOS community.
The first thing to do is create an account over on the GLAMOS app, then follow the instructions below. I’ve included both Slaven’s demo video as well as a written out version.
- Go to the GLAMOS app, then create an account or sign in.
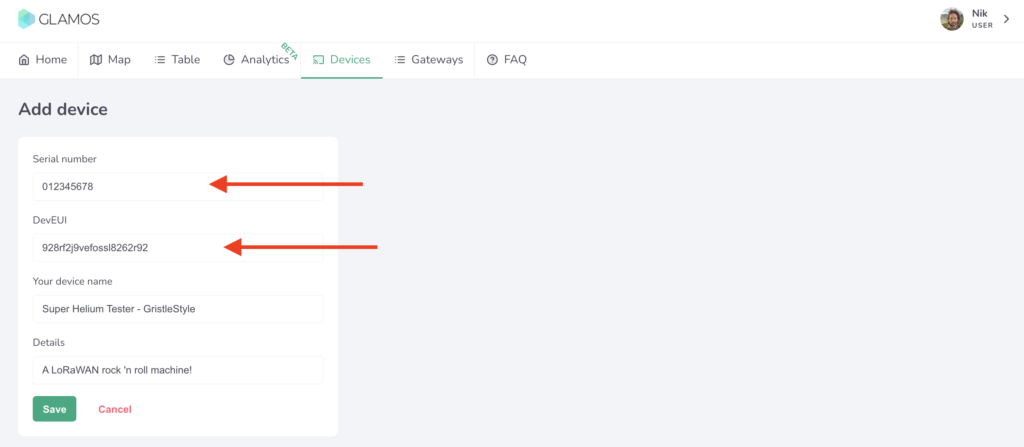
- Go to Devices on the top menu, and Add Device

Now add in the Serial Number and DevEUI of your device. You should have received an email with these when you bought the GLAMOS, so you can just copy/paste ’em in. Or, like me, you can miss the email, turn the GLAMOS on and go to Settings –> Keys then manually type ’em in.
Trust me, you should use the copy/paste option. 🙂
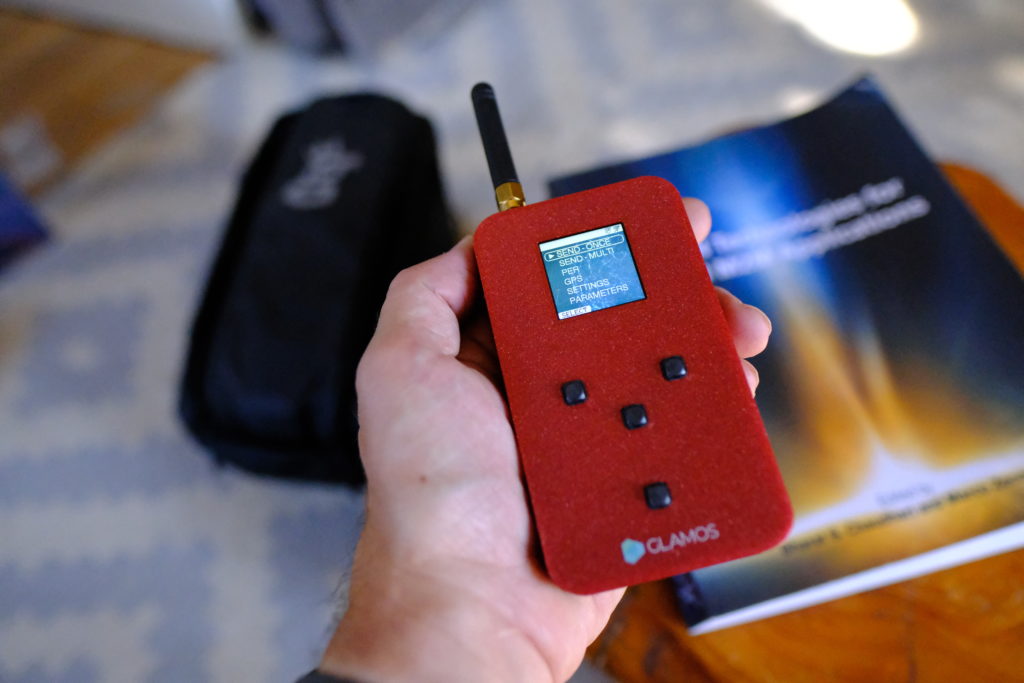
Ok, so you might think now that all you’ve got to do is attach the antenna you want to test, head to your location, and mash that SEND — ONCE button.
Not so fast, turbo. You need to add in the gateways (aka Helium Hotspots) you want to test. That could be a large area, or it could just be the deployment net you’re using. If you’d like to test all the gateways within a radius of a point, you’ll need to set that up. Here’s how:
Go to the Menu bar at the top of the app and click on Gateways, then click on the Add Gateway button.

Every Gateway has to know what Server it’s going to use. In this case, we’re using Helium, but the GLAMOS can also be used for other protocols & projects.
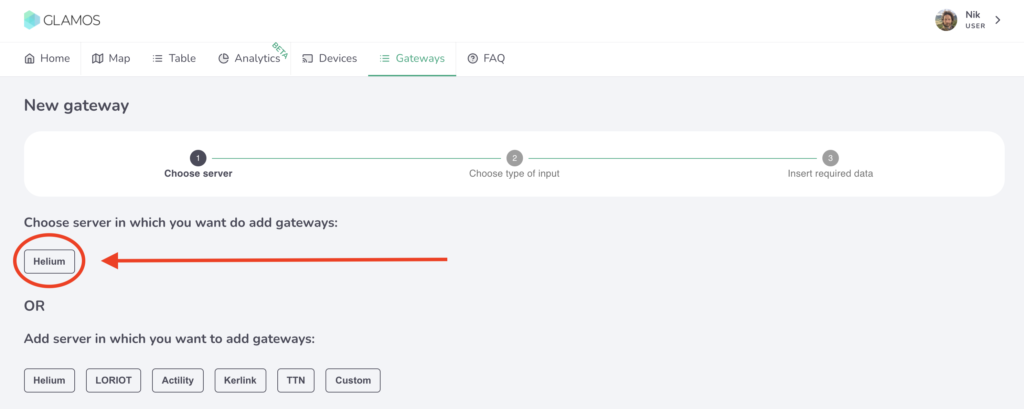
Now you’ve got a choice: Do you want to test a very specific part of the Network, say a few Helium Hotspots you’ve deployed to see if they can “see” each other, or do you want to do testing of all gateways over a wider area? I wanted to test a couple antennas over a wide area, so I chose “Add all gateways in range to server”, like this:
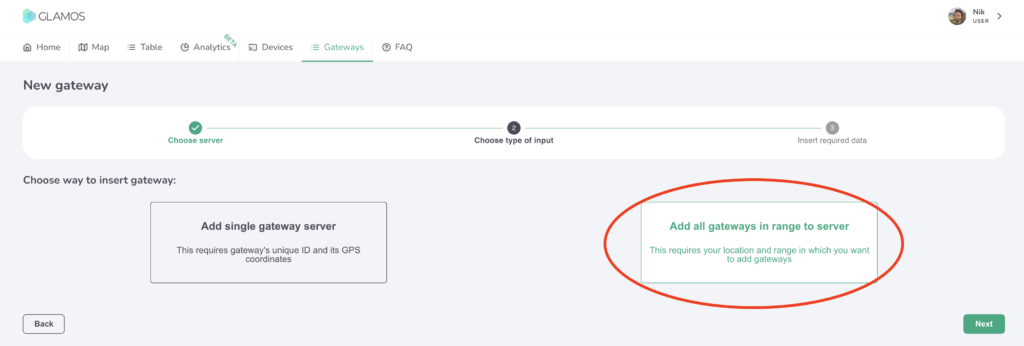
Select a center point and a radius, then let ‘er rip.
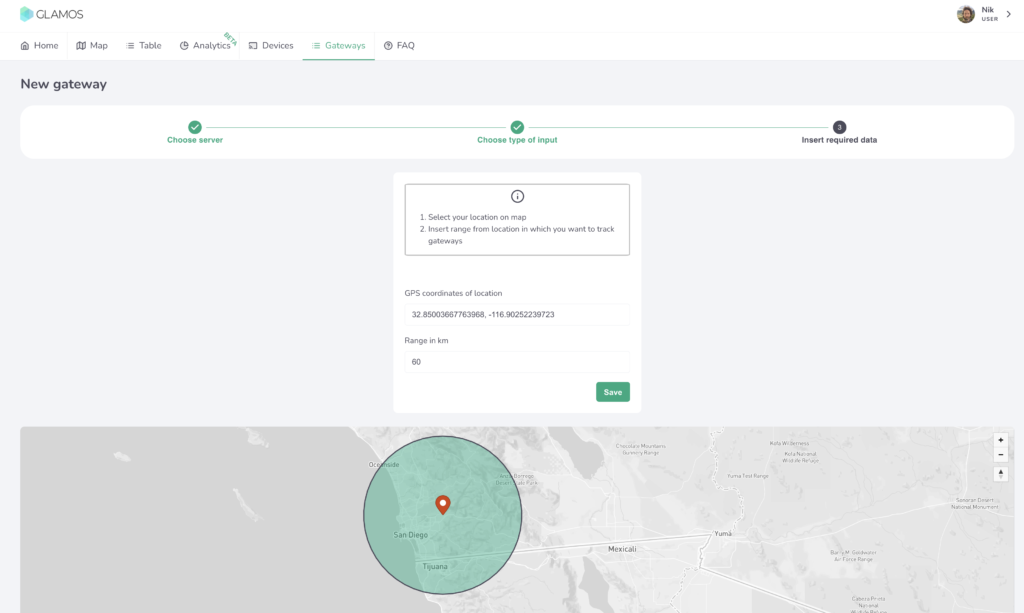
Back in the Gateways menu you’ll now see your new Server, woohoo! Cool, so now your GLAMOS knows what to do. Next up is telling it who to do it with. You’ll need to get it connected to your Console account on the Helium Network. Yep, the data credits to run this thing will come from your account. Relax, it’s pennies.
PART 2: PROVISION GLAMOS ON HELIUM CONSOLE
Slaven, the creator of the GLAMOS, has made a little vid for ya on how to navigate this.
Just in case you need that decoder script link from the video, here it is. The one I started with is below, but that’s being updated all the time. Use the link for the latest version.
function Decoder(bytes, port) {
  // Decode an uplink message from a buffer (array) of bytes to an object of fields.
  //Decoder for GLAMOS Walker device.

  var decoded = {};

  decoded.latitude = ((bytes[0]<<16)>>>0) + ((bytes[1]<<8)>>>0) + bytes[2];
  decoded.latitude  = (decoded.latitude / 16777215.0 * 180) - 90;
  decoded.latitude = +decoded.latitude .toFixed(7);

  decoded.longitude = ((bytes[3]<<16)>>>0) + ((bytes[4]<<8)>>>0) + bytes[5];
  decoded.longitude = (decoded.longitude / 16777215.0 * 360) - 180;
  decoded.longitude = +decoded.longitude .toFixed(7);

  var altValue = ((bytes[6]<<8)>>>0) + bytes[7];
  var sign = bytes[6] & (1 << 7);
  if(sign)
  {
    decoded.altitude = 0xFFFF0000 | altValue;
  }
  else
  {
    decoded.altitude = altValue;
  }

  decoded.ant  = bytes[8];

  decoded.accuracy = 3;

  decoded.position_num = bytes[9];


  return decoded;
}
Ok, so now your GLAMOS Walker is set up, it’s connected to the Helium Network and you’re ready to start testing. Nice work!
TESTING ANTENNAS WITH THE GLAMOS
If you have antennas with N‑type fittings (many of them do), you’ll need an adaptor to go from the GLAMOS to the antenna. Current GLAMOS have a little connector-adaptor kit. I bought mine a while ago, so mine didn’t. I mean, you know me: I would’ve made cables anyway.
You can order custom cables from McGill Microwave. I’d recommend 4–5′ of LMR 240, and get SMA-Male and N‑Male connectors. Obvi you can use the GLAMOS to test antenna cables as well, so if you want to get wild order different lengths and types, but for now we’ll keep it simple.
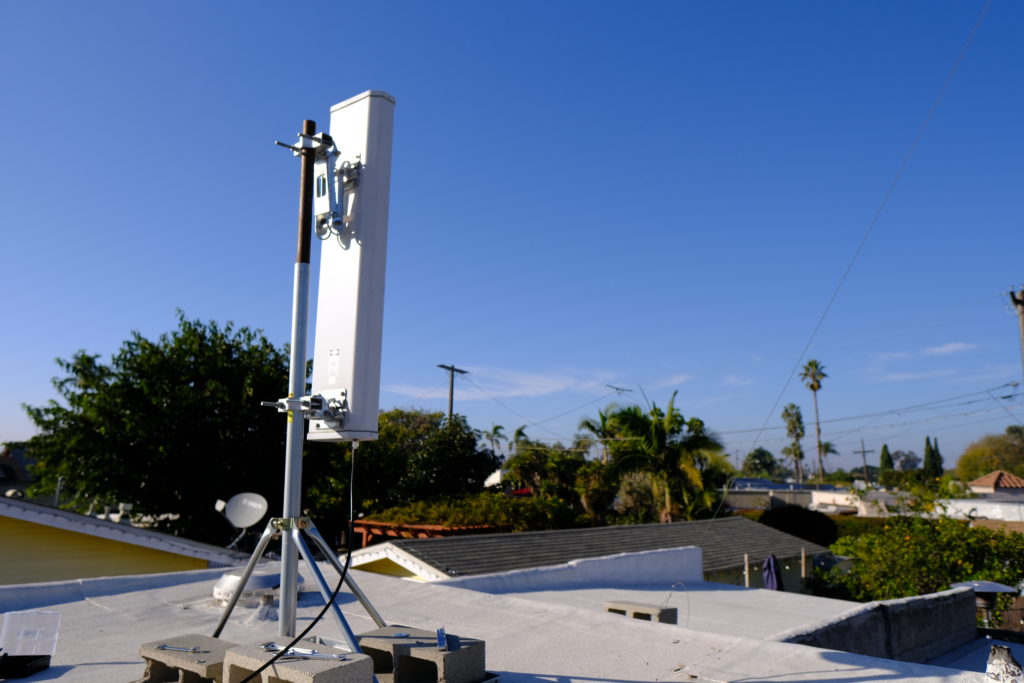
Cables are generally a good idea because standing too close to the antenna when you test it can skew the results. I made one that was 4′ long so I can sit at the base of my testing rig and work the GLAMOS away from the antenna.
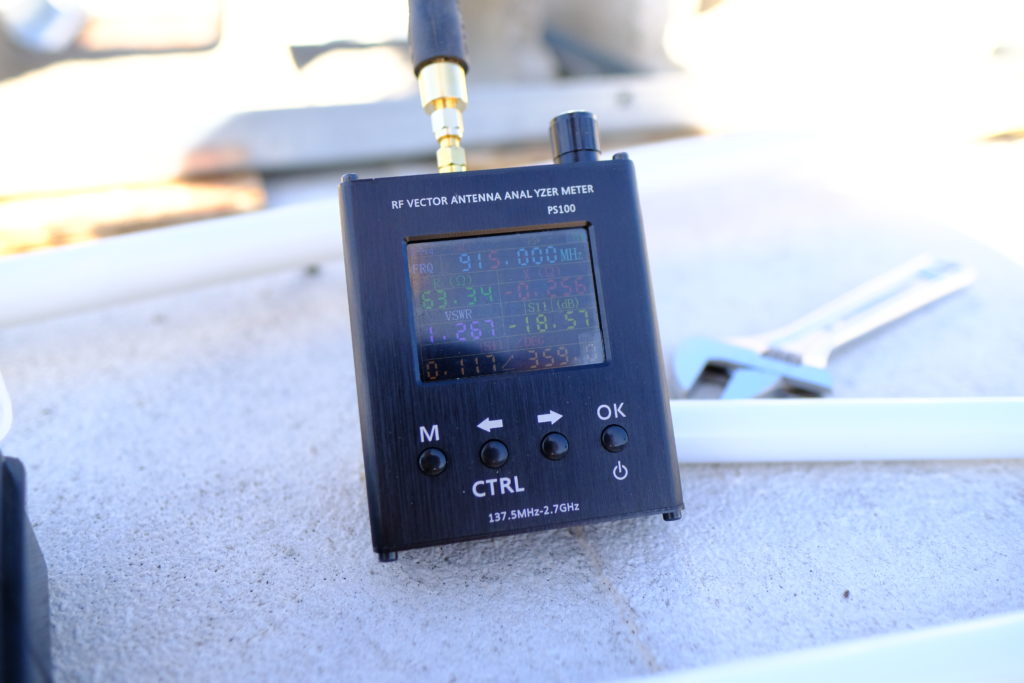
I start by checking to make sure the antenna is actually working and all my connections are good. For this, I use a little VNA I got off Banggood, though you can get ’em off Amazon as well. Here’s a VSWR reading of 1.267 off the HNTenna, excellent as usual. For the purposes of this test we just want to make sure the VSWR is lower than 2. All of the antennas in this test were between 1.175 and 1.367. So far, so good.
Now to test with the GLAMOS! I followed Slaven’s advice and set up the GLAMOS to send 10 messages each time. I did that 2 times for each antenna, so I had decent numbers to work with.
You can find this setting in the GLAMOS under SEND — MULTI –> SAME SF(loop) — REPEAT (set that to 10x).
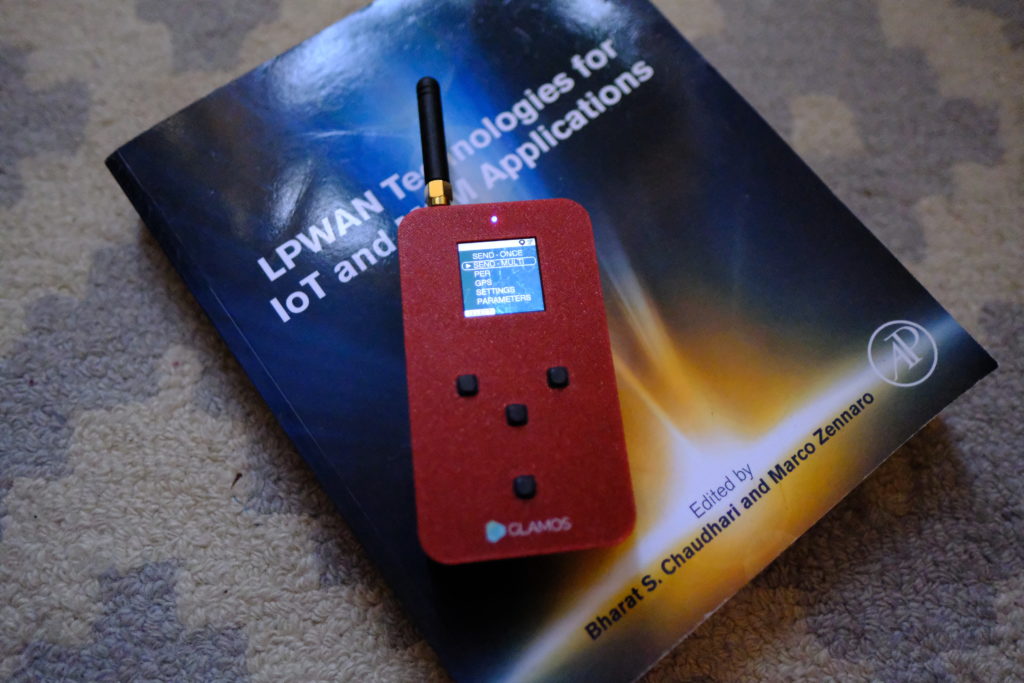
The readings off a single packet don’t give you enough data to make a good decision. Data credits are cheap as chips, so burn ’em up. In this case I tested 5 antennas 20 times each, and with a few misfires I managed to spend 277 DC. Whoop de doo. You get 10,000 DC for $1 US.
I spent the next hour just mounting, connecting, testing, disconnecting, mounting, reconnecting, testing, disconnecting…
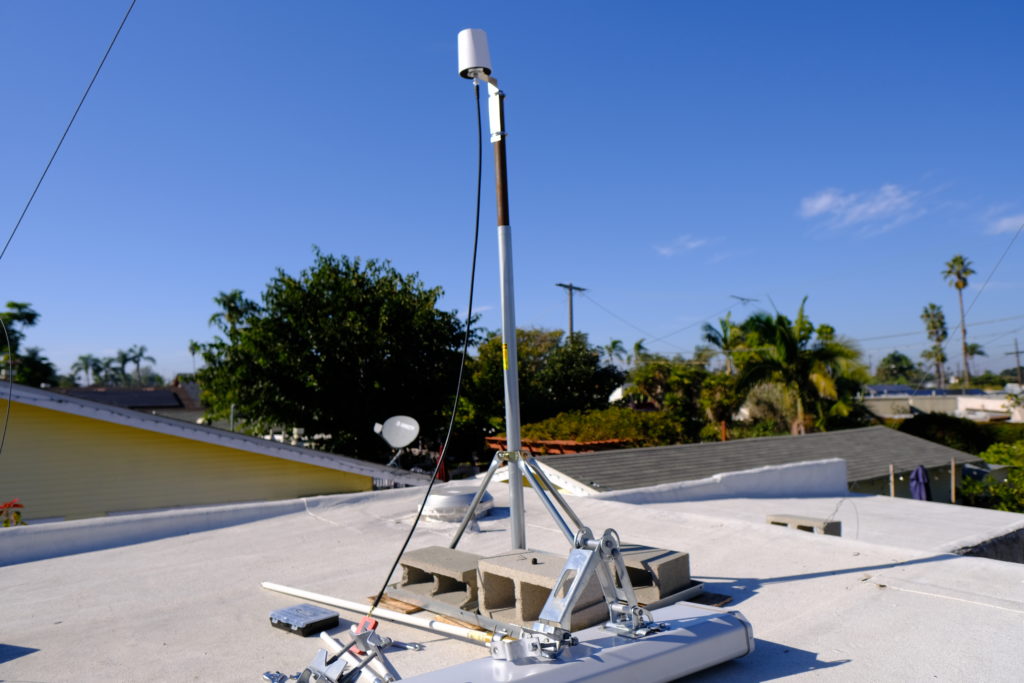
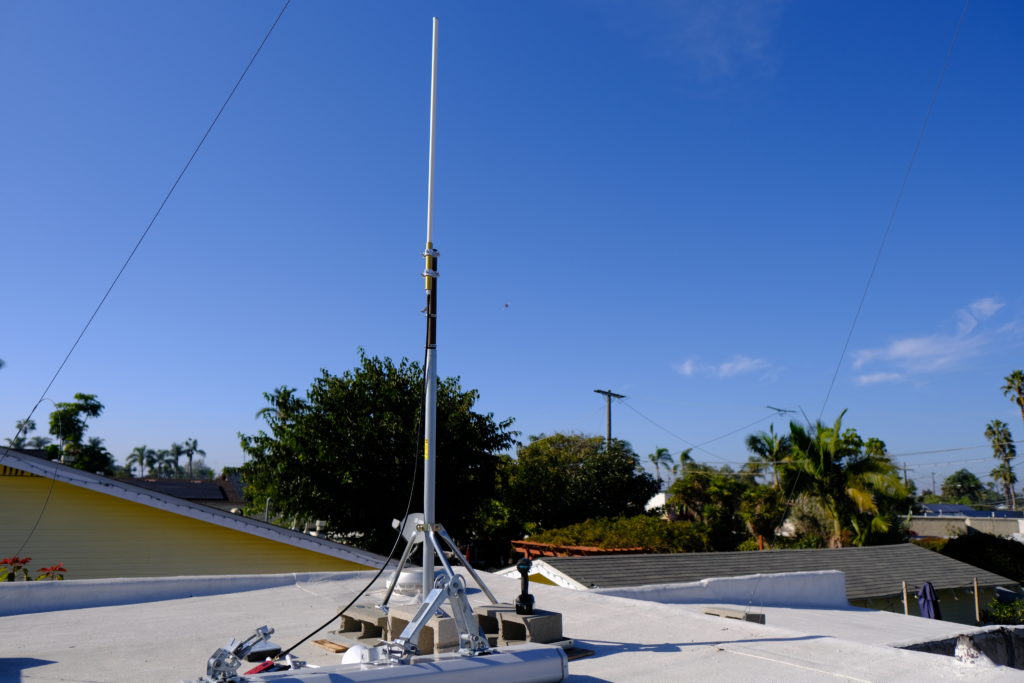
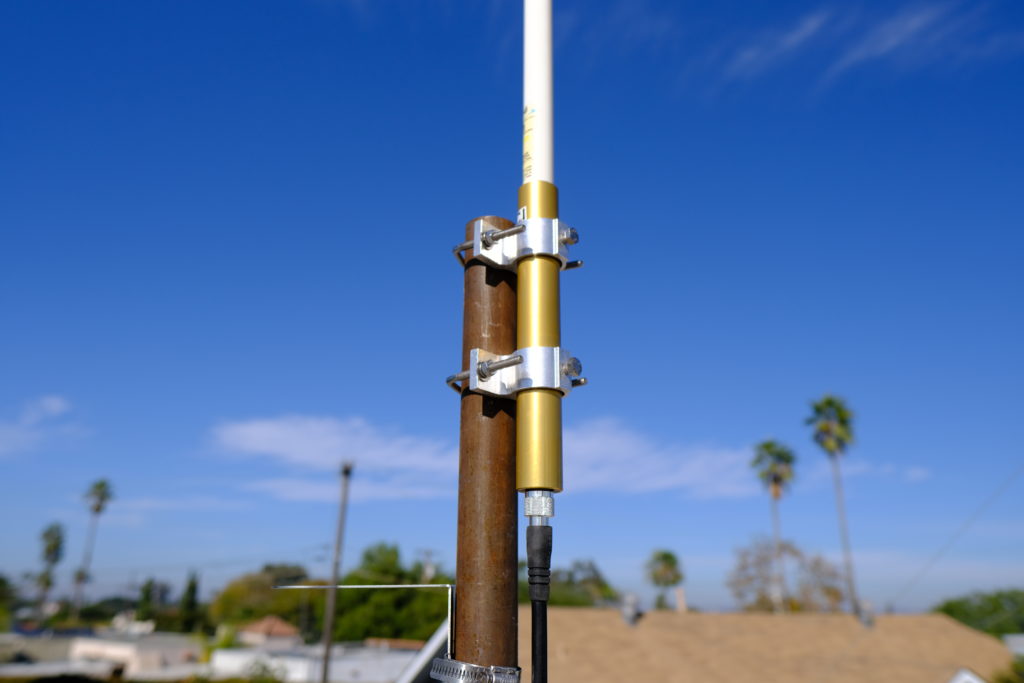
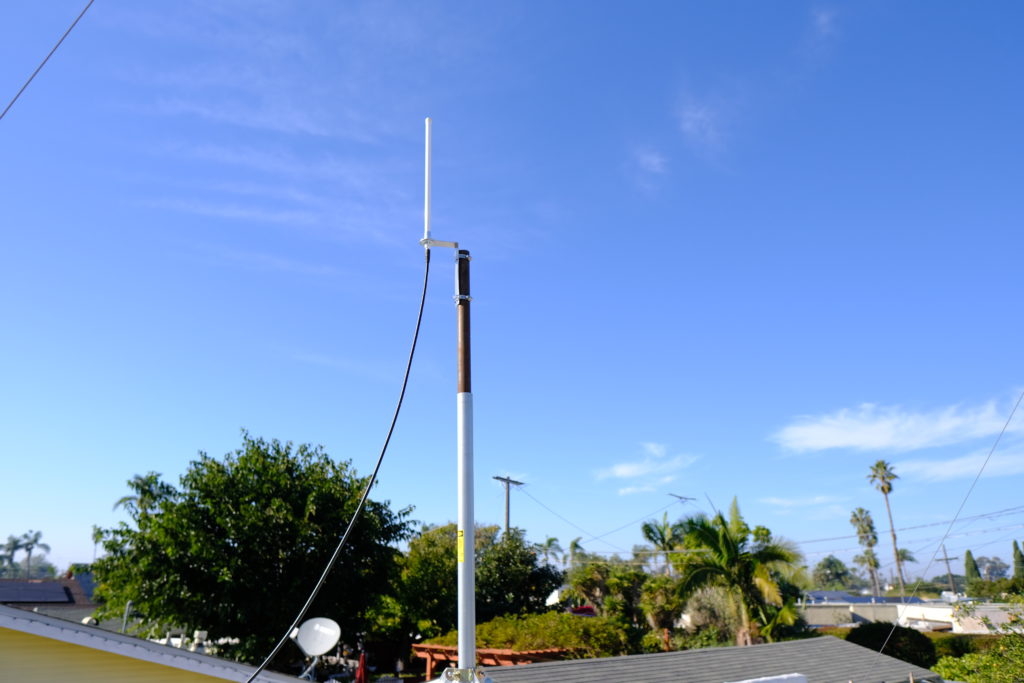
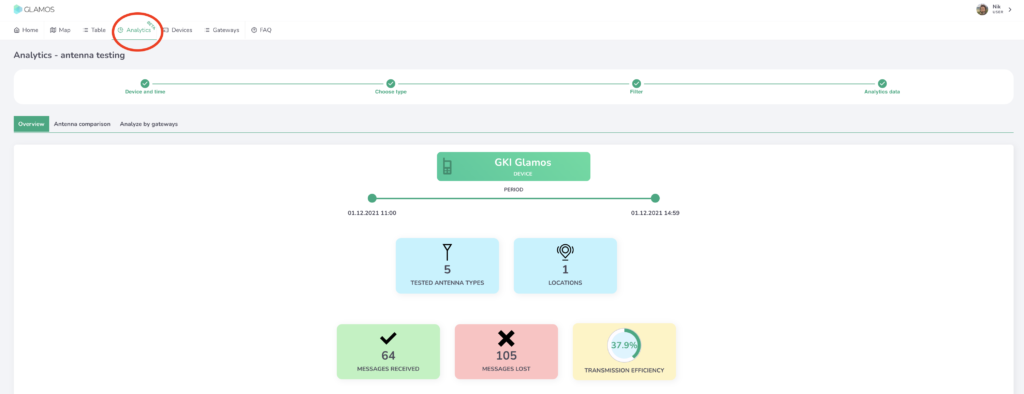
Once you’re done testing, head back to a computer and pull up the GLAMOS app so you can dig into the data. You can look at the data on the GLAMOS in the field if you want, but I like big screens. On your desktop in the app, go to Analytics, select the Device, Date, Time, and Type of test, then filter and fidget and sort to your heart’s delight.
The results from this test of 5 antennas were pretty cool, at least for me. I tested the HNTenna, a Laird 6 dBi, 2 eBay cheapies, and the giant 13 dBi sector antenna I used before I knew what I was doing. Here are the results.
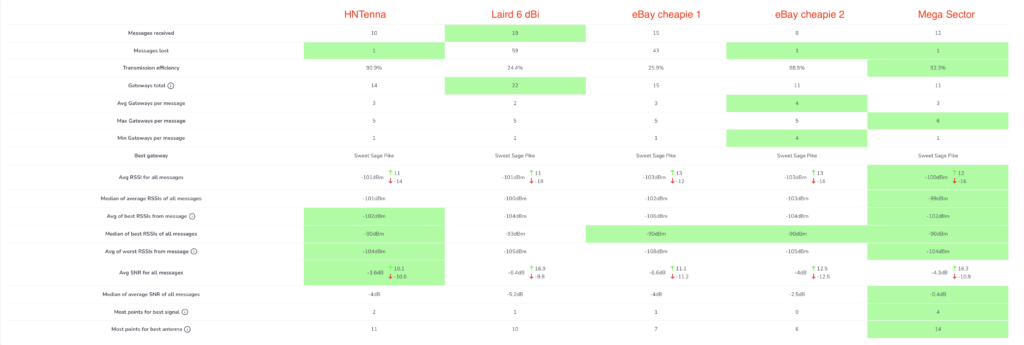
The obvious takeaway is wrong, just FYI. I threw that 13 dBi in there just to see what would happen, knowing it would have skewed results. Remember, every 3 dB is a doubling in power, so a 13 dBi is pushing out a focused signal more than octuple (what a word!) the power of a little 3 dBi. That means it’ll “win” hands down in every measure of signal strength.
I was pleased to see the HNTenna did well, and I was surprised how good at least one of the eBay cheapies was. I would’ve expected the Laird to do a bit better, though it definitely had the most messages received. For reference, and so you don’t go out and immediately replace your antenna with a ridiculously overpowered sector, I had that Mega Sector up for a MONTH with earnings in the bottom 10% of all Helium Hotspots before I managed to tweak the settings and dial down the power significantly so it’d fall within acceptable levels. Once I did that it performed well, although now that I have the HNTenna on it it’s doing just as well or better at about a third of the price and a hundreth of the install hassle.
The GLAMOS app really lets you dig around in the data, listing out how each antenna for all the gateways that witnessed it. Here’s the Laird, for example:
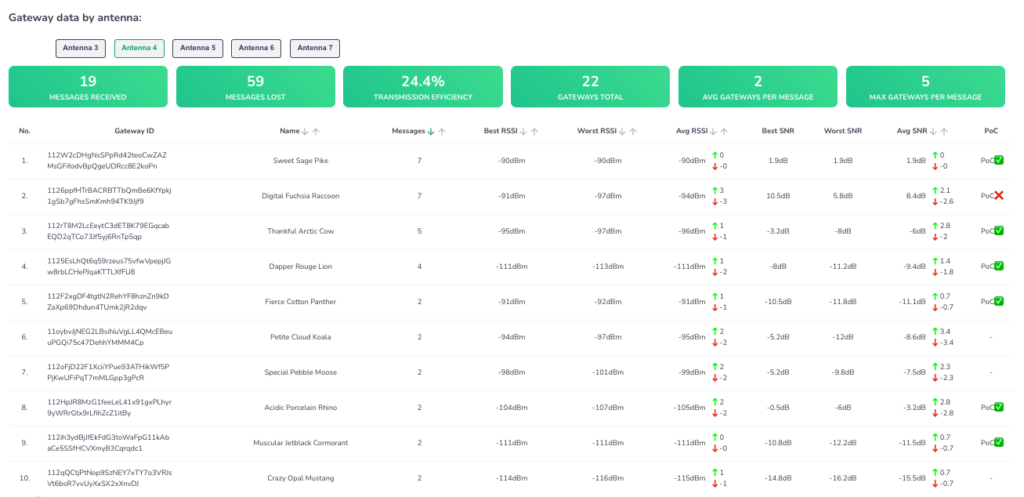
Check out that far right column where it tells you whether or not the signal would have fallen within the current (PoCv10) RSSI/SNR ratio. That will change with the update to PoCv11. Super useful!
You can use the GLAMOS to test more than antennas; you can test locations, whether indoor or outdoor will perform better, and by how much, and how a long cable might effect your actual reach. We haven’t even gotten into using it for testing sensors yet, I’ll leave that for another post.
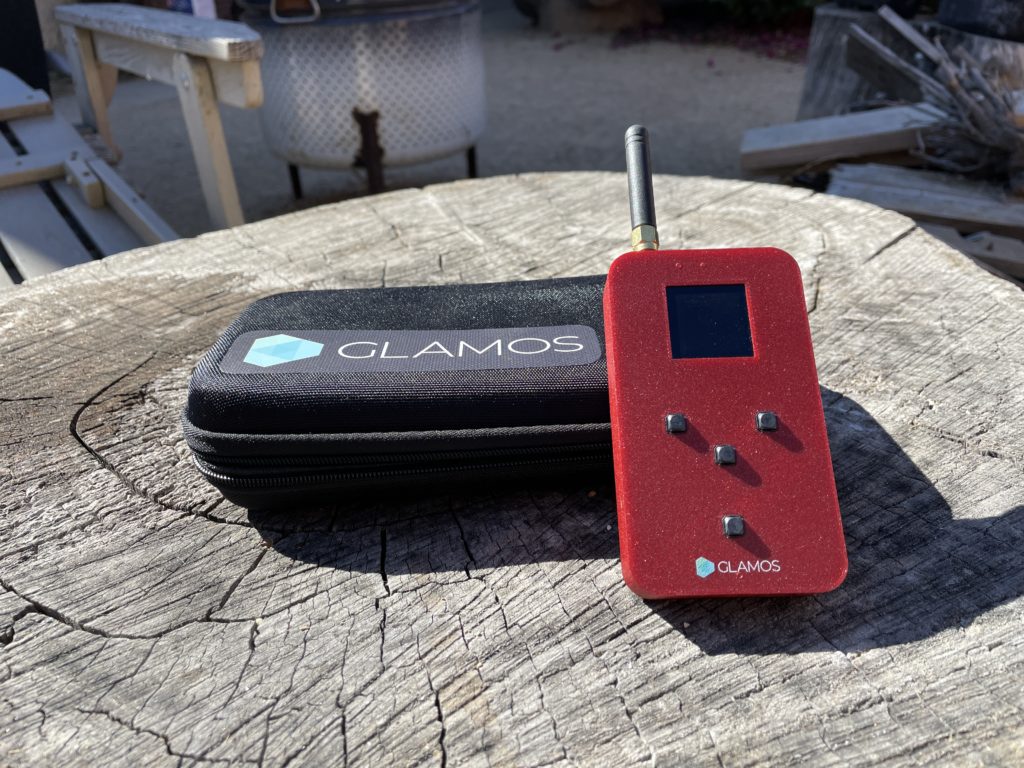
So, what antenna should you buy? I’d start by picking up a GLAMOS testing unit before I went and bought any more antennas. Learn how to use it, then test your antennas, test your locations, and deploy a smarter, better, more efficient (and more profitable) Helium Network.
So…How Does This Help Me With Providing Coverage and Earning Profit?
Helium is a blockchain network that rewards users who provide WUPU (Wide, Unique, Proveable, and Useful) coverage. The better your WUPU coverage, the more you’ll earn. Now, WUPU isn’t a Helium metric, it’s something I teach people about to help them understand at broad strokes how to assess a potential deployment.
If you want to have a high earning hotspot, testing the Wide and Proveable aspects of coverage is essential. Now, whether or not your coverage is Unique or Useful is something you’ll need to assess in different ways. I’d start with my post on HIP 17 and scaling, then check out how to use the Network.
Rock on in your Helium glory, and best of luck to you in your deployments!

Leave a Reply